Access Flooring and Raised Floor Systems Guide
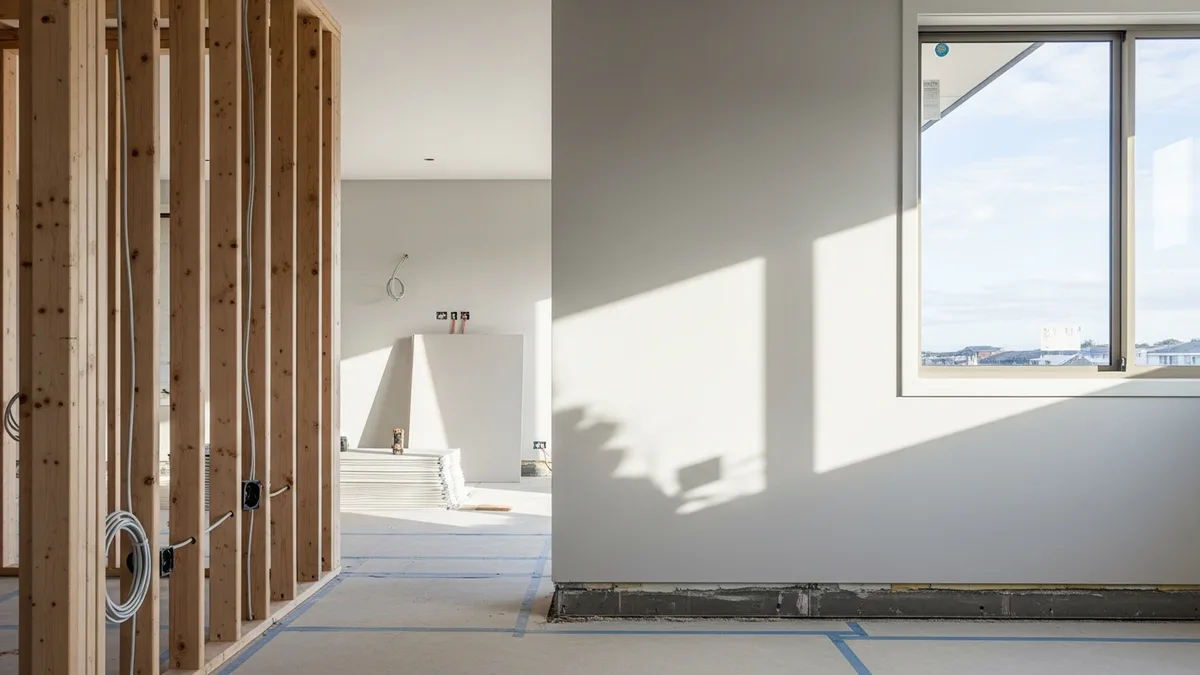
If you have spent any time on commercial construction projects, you have probably run into the challenge of routing cables, data lines, HVAC ducts, and plumbing through a building without turning the ceiling into a tangled mess. Access flooring solves that problem by creating a usable void space between the structural slab and the surface people walk on. It is one of those systems that, once you understand how it works, you start seeing applications for it everywhere.
This guide breaks down what contractors need to know about access flooring and raised floor systems, from selecting the right panel type to managing installation on a live job site.
What Access Flooring Is and Why Contractors Should Care
Access flooring (sometimes called raised flooring or raised access flooring) is a system built from modular panels that sit on top of adjustable pedestals. The pedestals bolt or bond to the structural slab, and the panels drop into place on top of them. The result is a grid of removable floor tiles with an open plenum underneath that can house anything from fiber optic cables to chilled water piping.
The concept has been around since the 1960s, when data centers needed a way to run massive cable bundles beneath mainframe computers. Today, access flooring shows up in corporate offices, hospitals, laboratories, control rooms, broadcast studios, and government facilities. The applications keep expanding because building owners want flexibility, and flooring contractors are seeing more demand for these systems. When you can lift a panel and reroute services in an afternoon instead of cutting concrete, you save time and money on every future renovation.
For contractors, access flooring work touches multiple trades. You are coordinating with electricians, data cabling crews, HVAC techs, and fire protection installers, all of whom need access to that plenum. Managing those interactions is where a solid construction project management approach makes or breaks the job.
The financial upside for contractors is real. Access flooring is specialty work, and owners pay a premium for crews that know how to install it correctly. If you are looking to grow your commercial division, adding raised floor capability to your service list can open doors to data center, healthcare, and corporate office projects that have strong margins.
Types of Access Floor Panels and Pedestal Systems
Not all access floor systems are created equal. Choosing the right combination of panels and pedestals depends on the load requirements, the finish the owner wants, and what is running through the plenum.
Panel Types
Steel panels with concrete fill are the workhorse of the industry. A steel shell gets filled with lightweight concrete, giving you a panel that handles rolling loads from server racks, heavy furniture, and equipment carts. These panels typically weigh 30 to 40 pounds each and handle concentrated loads of 1,000 to 1,250 pounds. You will see these in data centers, trading floors, and any space where heavy equipment moves across the floor.
All-steel panels skip the concrete fill and rely on welded or stamped steel construction. They are lighter, which makes installation faster, but they can be noisier underfoot unless you add damping pads. These work well in control rooms and broadcast facilities where weight matters but you still need solid load ratings.
Calcium sulfate panels (sometimes called woodcore or cementitious panels) use a calcium sulfate core wrapped in a steel shell. They offer good acoustic performance, hold screws well for attaching floor finishes, and hit a middle ground between weight and load capacity. Corporate offices and government buildings favor these because they accept carpet tiles, vinyl, laminate, or stone finishes without fuss.
Aluminum panels are lightweight and corrosion-resistant, making them the go-to choice for cleanrooms, laboratories, and environments with moisture concerns. If you are working on pharmaceutical or biotech projects, our cleanroom and pharmaceutical facility construction guide covers the full scope of requirements beyond just flooring. They cost more per panel but save on pedestal sizing and structural loading.
Pedestal Systems
Pedestals come in fixed-height and adjustable varieties. For most commercial work, you want adjustable pedestals so you can level the floor across an uneven slab. A typical pedestal has a steel base plate, a threaded rod or screw mechanism for height adjustment, and a head that receives the panel corners.
Corner-lock pedestals grip all four panel corners and lock them in place, which gives you a stiffer floor and reduces panel rocking. Snap-on pedestals allow panels to drop in without tools, which speeds up installation but can allow more movement underfoot.
Stringer systems connect pedestals with horizontal braces, creating a rigid grid that improves seismic performance and lateral stability. If you are working in a seismic zone or installing a floor higher than 18 inches, stringers are usually required by the engineer of record.
Getting the right materials ordered and delivered on schedule means staying on top of your material management process from day one. Raised floor components often ship from specialty manufacturers with lead times of 6 to 10 weeks, so early procurement is critical.
Planning and Specifying a Raised Floor Installation
Before a single pedestal hits the slab, you need a solid plan. Here is what goes into specifying an access floor system correctly.
Load Requirements
The structural engineer and the access floor manufacturer both need to agree on load ratings. The key numbers are:
- Concentrated load: The maximum weight on a single point, typically measured on a 1-inch square area at the center of a panel. Office environments usually need 1,000 pounds. Data centers may require 2,000 pounds or more.
- Ultimate load: The load at which the panel fails. This should be at least 3 times the concentrated load rating for a reasonable safety factor.
- Rolling load: Important for spaces where heavy carts, server racks on wheels, or pallet jacks cross the floor. Rolling loads are measured in pounds over a specific wheel size and number of passes.
- Uniform distributed load (UDL): The total weight spread evenly across the panel, measured in pounds per square foot. Most commercial systems handle 250 to 1,250 PSF depending on the panel type.
Finished Floor Height
The plenum height drives pedestal selection and affects everything from door frame heights to stair landings. Work with the architect early to confirm the finished floor elevation, and make sure every trade knows that number. A 12-inch raised floor changes door rough openings, ADA ramp calculations, and ceiling heights. Speaking of code requirements, if the project involves public spaces, you should review the ADA compliance requirements for commercial projects before finalizing your floor height.
Fire Rating and Plenum Requirements
Most building codes treat the space under a raised floor as a plenum, which means strict rules about what materials can go in there. Cables need to be plenum-rated (CMP for data, OFNP for fiber). Some jurisdictions require fire suppression in the plenum space, which adds another coordination point with the fire protection contractor.
The panels themselves may need to meet specific fire ratings. ASTM E136 (noncombustibility) and NFPA 75 (data center fire protection) are common references. Get the spec sheet from the manufacturer and confirm it meets local code before you order.
Coordination with Other Trades
This is where access flooring projects get complicated. The plenum is shared space. Electricians want cable trays on one side, the HVAC crew needs ducts for underfloor air distribution, and the plumber may be running condensate drains. Without a coordination plan, you end up with conflicts that cost time and money.
A BIM model or at minimum a detailed 2D coordination drawing showing every service in the plenum will save you headaches. Make sure each trade knows their zone and their maximum height within the plenum. Use your scheduling tools to sequence the work so each trade gets clean access before the panels go down.
Installation Process Step by Step
Once materials arrive and the slab is ready, here is how a typical raised floor installation flows.
Step 1: Slab Preparation
The structural slab needs to be clean, dry, and reasonably level. Most access floor manufacturers specify a maximum slab deviation of 1/4 inch over 10 feet. If the slab is worse than that, you have two options: self-level with a floor topping compound, or use taller pedestals with more adjustment range.
Sweep the slab, fill any major cracks or holes, and verify that the concrete has cured to the required moisture level. Pedestal adhesive will not bond properly to wet or dusty concrete.
Step 2: Layout and Pedestal Placement
Contractors across the country trust Projul to run their businesses. Read their reviews.
Snap chalk lines to establish the grid. Standard panels are 24 inches by 24 inches (600mm x 600mm is the metric equivalent you will see on international projects). Start from a reference wall or column line and work outward. The goal is to minimize cut panels at the perimeter.
Set pedestals at every grid intersection. Apply adhesive to the base plate, press it onto the slab, and adjust the height to the target elevation using a laser level. Some crews set all pedestals first and then drop panels. Others work in sections, setting pedestals and panels together row by row. The row-by-row method gives you a walking surface as you go, which is helpful on large floors.
Step 3: Panel Installation
Drop panels onto the pedestal heads, checking for level and tight joints as you go. Use a straightedge across multiple panels to catch any high or low spots. If a panel rocks, adjust the pedestal underneath.
At the perimeter, you will need to cut panels to fit against walls, columns, and other obstructions. Use a circular saw with a metal-cutting blade for steel panels, or a diamond blade for calcium sulfate panels. Cut panels sit on half-pedestals or angle brackets attached to the wall.
Step 4: Stringer Installation (If Required)
If the spec calls for stringers, install them between pedestals after the grid is set but before final panel placement. Stringers snap or bolt onto the pedestal heads and lock the grid into a rigid framework. This step is especially important in seismic zones or for floors over 18 inches tall.
Step 5: Underfloor Services
With the grid in place, pull panels as needed and install the underfloor services. Cable trays, power whips, data cables, HVAC ducts, and plumbing all go in during this phase. Keep a detailed as-built drawing showing what runs where. Future maintenance crews will thank you.
Coordinate this phase tightly. You do not want the electrician pulling panels that the HVAC crew just placed ductwork under. A clear subcontractor management plan keeps everyone working in the right areas at the right times.
Step 6: Floor Finish Application
Once all underfloor services are in and inspected, replace the panels and apply the finished surface. Carpet tiles are the most common finish because they are modular (you can pull one tile and the panel beneath it without disturbing the rest of the floor). Vinyl composition tile (VCT), luxury vinyl plank, laminate, and even stone or porcelain tile are options depending on the space.
For a deeper look at flooring finish options and installation techniques, check out our flooring installation guide.
Common Problems and How to Avoid Them
Every contractor who has done raised floor work has a story about something going sideways. Here are the most common problems and how to prevent them.
Panel Rocking
Panels that rock underfoot are the number one complaint from building occupants. The cause is usually pedestals that are slightly off-level or gaskets that have compressed unevenly. Prevention: use a laser level during installation, check every panel before moving on, and install corner-lock pedestals if the spec allows them.
Pedestal Adhesive Failure
If the slab is dusty, wet, or contaminated with curing compound residue, the pedestal adhesive will not stick. The pedestal pops loose, and you have a section of floor that shifts. Prevention: prep the slab properly. Grind off curing compound in the pedestal locations, vacuum the surface, and check moisture levels with a calcium chloride test or relative humidity probe.
Plenum Congestion
When multiple trades cram services into the plenum without coordination, you end up with cables draped over duct work, pipes blocking panel removal, and no room to add anything later. Prevention: create a plenum coordination drawing before any trade starts work. Assign vertical zones (for example, electrical on the bottom 4 inches, data in the middle, HVAC on top) and enforce them.
Incorrect Load Rating
Specifying panels that cannot handle the actual loads in the space leads to cracked panels, sagging, and potential safety hazards. This happens most often when a space gets repurposed (an office becomes a server room, for example). Prevention: always specify panels with a load rating that accounts for future use changes. When in doubt, go one grade higher.
Cost Overruns on Cut Panels
Perimeter cuts generate waste and take time. On complex floor plans with lots of columns, curved walls, or irregular shapes, cut panels can eat your labor budget. Prevention: run a panel layout in CAD before you start and count every cut piece. Factor that labor into your estimate upfront so there are no surprises.
Air Leakage in Underfloor Air Systems
If the raised floor is part of an underfloor air distribution (UFAD) system, air leakage through panel joints and perimeter gaps will kill system performance. Prevention: specify gasketed panels, seal the perimeter with foam or caulk, and use brush grommets where cables pass through panels. Test the plenum for pressure before the mechanical contractor signs off.
Managing Access Flooring Projects with the Right Tools
Access flooring projects involve dozens of moving parts: long lead-time materials, multiple trade coordination, precise installation tolerances, and a finished product that has to look and perform perfectly. The contractors who handle these projects well are the ones with strong systems behind them.
Tracking material orders, delivery dates, and installation progress across a raised floor project is exactly the kind of work where construction management software earns its keep. When your pedestal shipment is delayed by two weeks, you need to know immediately so you can reschedule the electricians who were planning to start cable tray installation. That kind of real-time visibility into your schedule and material pipeline is what separates smooth projects from chaotic ones.
If you are still running these coordination tasks through spreadsheets and group texts, you are leaving money on the table and exposing yourself to mistakes. A tool like Projul brings your scheduling, communication, material tracking, and budgeting into one platform so nothing slips through the cracks.
For contractors building out their commercial capabilities, access flooring is a high-value specialty that rewards precision and planning. The systems are not complicated, but they demand attention to detail at every step. Get the spec right, prep the slab, coordinate the trades, and use the right tools to keep everything on track. Do that consistently, and you will build a reputation that keeps the phone ringing.
The commercial construction space has plenty of room for contractors who take the time to learn specialty systems like raised floors. If you are expanding from residential work, our residential to commercial construction guide covers the key differences you need to prepare for. And if tenant improvement projects are on your radar, the commercial tenant improvement guide walks through the scope and coordination challenges you will face.
Access flooring is one of those trades where doing it right the first time saves everyone time, money, and frustration down the road. Take the time to learn the systems, invest in the right training, and build your processes around solid project management fundamentals. The work is out there, and the contractors who deliver quality raised floor installations will keep winning it.
Ready to stop guessing and start managing? Schedule a demo to see Projul in action.
DISCLAIMER: We make no warranty of accuracy, timeliness, and completeness of the information presented on this website. Posts are subject to change without notice and cannot be considered financial advice.
Frequently Asked Questions
What is access flooring in construction?
How much does a raised floor system cost per square foot?
What is the typical height of a raised floor system?
Can access flooring be installed over existing concrete slabs?
How do you maintain a raised floor system after installation?
Related Articles
Parking Garage Waterproofing and Deck Coating: A Contractor's Complete Guide
Parking garage waterproofing and deck coating work is specialized, high-stakes, and easy to get wrong. This guide...
Read More →
Construction Plaster and Specialty Wall Finishes Guide
Plaster and specialty wall finishes are making a serious comeback in both residential and commercial construction. This...
Read More →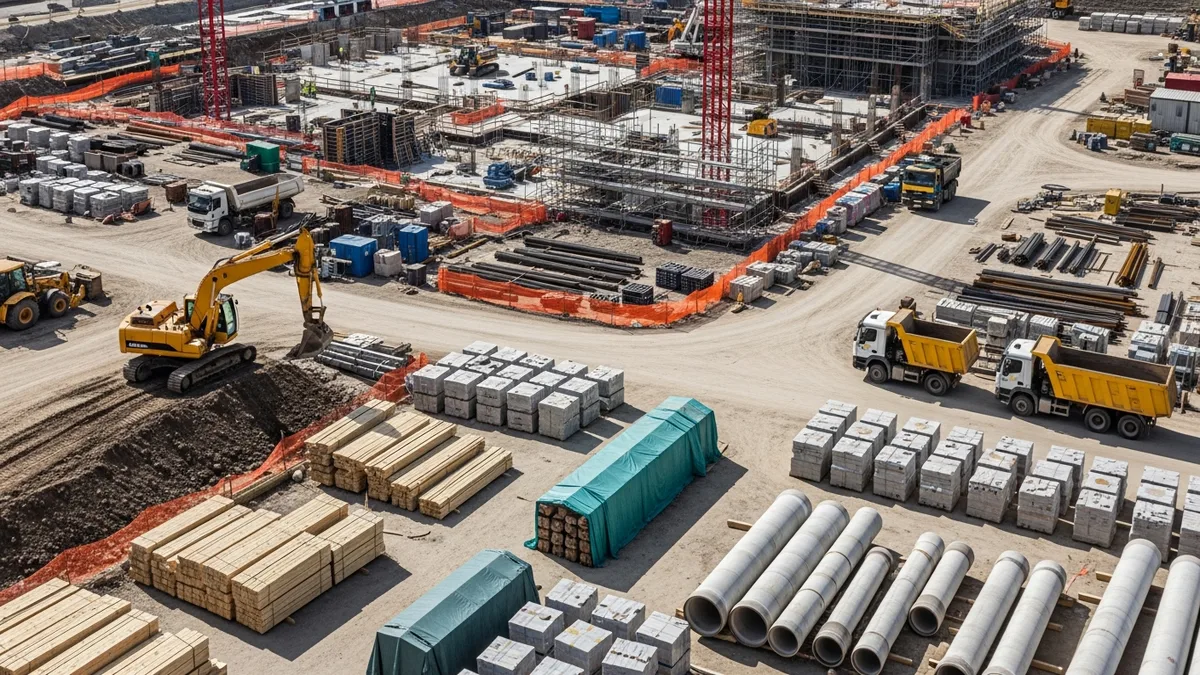
Built-Up Roofing vs Single-Ply Membrane: A Contractor's Complete Guide
Built-up roofing and single-ply membranes are the two dominant flat roofing systems in commercial construction. This...
Read More →