ADA Compliance in Construction: Ramp Grades, Doorway Widths, Bathroom Layouts, and Signage | Projul
ADA compliance is one of those areas where a lot of contractors know just enough to be dangerous. Everyone knows you need a ramp and a wide bathroom stall, but the actual requirements fill hundreds of pages of standards, and the details trip people up constantly.
The Americans with Disabilities Act (ADA) became law in 1990, and the ADA Standards for Accessible Design have been updated several times since. For construction purposes, the 2010 ADA Standards are the current benchmark, and they work hand-in-hand with the ICC/ANSI A117.1 standard that most building codes reference.
Getting ADA wrong is expensive. Tear-outs and rework are bad enough, but the legal exposure is worse. ADA lawsuits have become common, and building owners who get sued usually come looking for the contractor who built it wrong.
This guide covers the ADA requirements that matter most on a construction site: ramps, doors, bathrooms, parking, and signage.
The Basics: Who Needs to Comply?
New Construction
All new commercial and public-use buildings must be fully ADA compliant. No exceptions. This includes:
- Retail stores, restaurants, and offices
- Medical and dental offices
- Hotels and motels
- Government buildings
- Schools and universities
- Religious organizations (houses of worship are exempt from ADA Title III, but many comply voluntarily)
- Multifamily housing common areas
Renovations and Alterations
When you renovate an existing building, the altered areas must be brought up to current ADA standards. If the renovation affects a “primary function area” (where the main activities of the business take place), you must also improve the path of travel to that area, including entrances, hallways, restrooms, and drinking fountains.
The path-of-travel requirement is capped at 20 percent of the total renovation cost. If full compliance along the path of travel would exceed that amount, you spend up to 20 percent and prioritize the most critical improvements.
Existing Buildings (No Renovation)
Even without a renovation, existing buildings have an ongoing obligation to remove barriers when it is “readily achievable.” This is a lower standard than full compliance, but it still means things like adding grab bars, adjusting door hardware, lowering paper towel dispensers, and restriping parking lots.
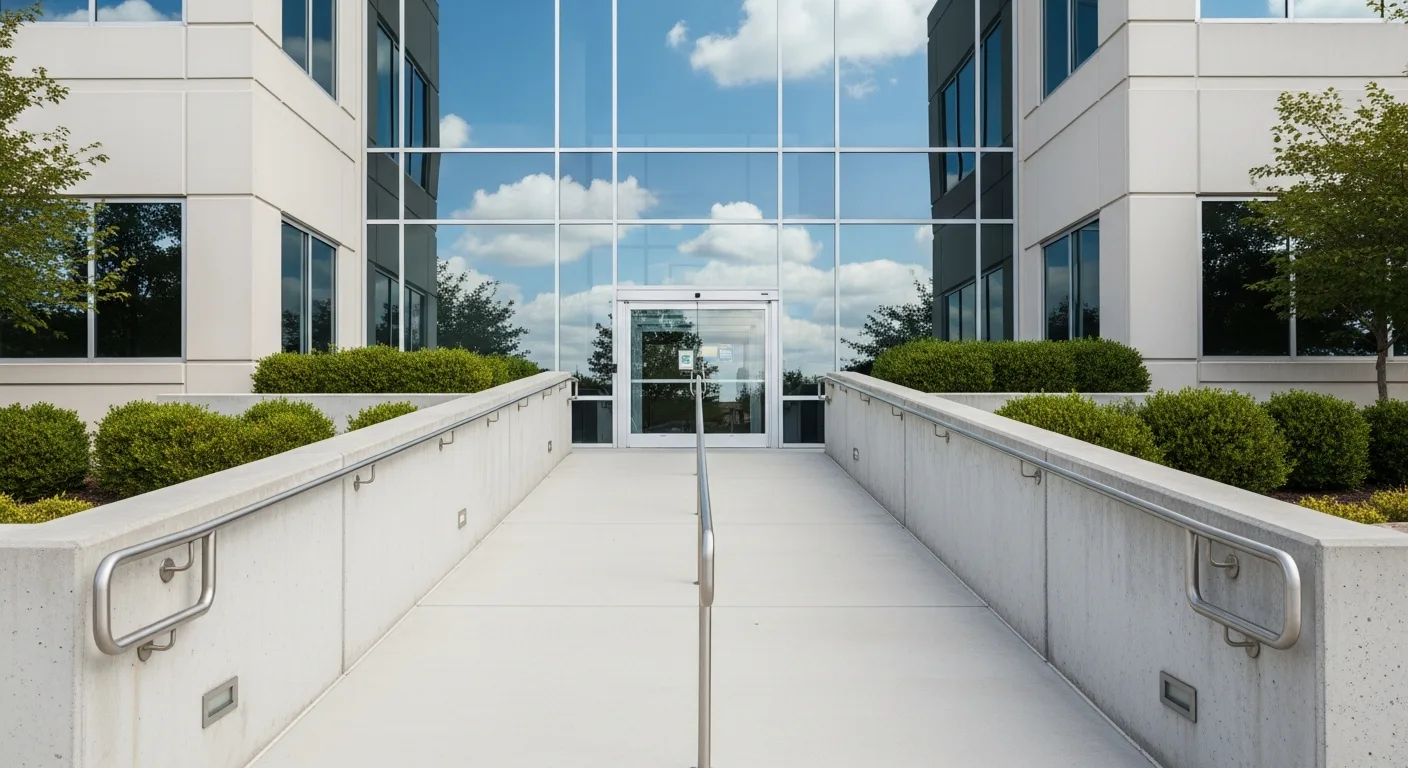
Ramps and Slopes
Ramps are where ADA compliance starts for most projects. Getting the slope, width, landings, and handrails right requires careful measurement and planning.
Running Slope
The maximum running slope for an ADA ramp is 1:12 (8.33 percent grade). That means for every inch of elevation change, you need 12 inches of ramp length. A 30-inch rise requires a minimum ramp length of 30 feet.
For exterior ramps in areas with snow and ice, many designers specify 1:16 or 1:20 slopes even though the code allows 1:12. The flatter slope is safer in slippery conditions.
Cross Slope
The cross slope (side-to-side tilt) of a ramp surface cannot exceed 1:48 (about 2 percent). This applies to the ramp surface, landings, and the accessible route leading to the ramp. Getting cross slope right requires careful attention during concrete finishing or paver installation.
Width
The minimum clear width of a ramp between handrails is 36 inches. This is measured between the inside faces of the handrails, not the edges of the ramp surface.
Landings
Landings are required at the top and bottom of every ramp and at every change of direction. Requirements:
- Top and bottom landings: Minimum 60 inches long and at least as wide as the ramp
- Intermediate landings: Required for every 30 inches of rise (so a 30-inch rise at 1:12 slope means you need a landing at the 30-foot mark)
- Direction change landings: Minimum 60 by 60 inches
Handrails
Ramps with a rise greater than 6 inches need handrails on both sides. Requirements:
- Height: 34 to 38 inches above the ramp surface
- Diameter: 1-1/4 to 2 inches for circular cross-sections
- Extensions: Handrails must extend 12 inches beyond the top and bottom of the ramp
- Gripping surface: Must be continuous and smooth, with no obstructions
- Clearance: 1-1/2 inches minimum between the handrail and the wall
Edge Protection
Ramps need edge protection to prevent wheelchairs from slipping off the side. This can be a curb at least 4 inches high, a wall, a rail, or an extended surface at least 12 inches beyond the inside face of the handrail.
Doorways and Door Hardware
Doors seem simple until you start measuring clearances and maneuvering spaces. ADA door requirements go well beyond just the width.
Clear Opening Width
The minimum clear opening width is 32 inches, measured between the face of the door and the opposite stop when the door is open 90 degrees. For most standard 36-inch doors, this works out fine. But when you factor in hinges, closers, and hardware, some 34-inch doors do not make the cut.
Pro tip: When in doubt, install 36-inch doors. The minimal cost difference eliminates clearance problems.
Maneuvering Clearances
This is where most violations happen. ADA requires specific clearance zones on both sides of every accessible door to allow a wheelchair user to approach, open, pass through, and close the door.
The required clearances depend on the door type (hinged, sliding, or folding) and the approach direction (front, side, or latch side). For a standard hinged door with a closer:
- Pull side (approaching from the latch side): 24 inches of clearance beyond the latch side and 60 inches of depth
- Push side (approaching from the hinge side): 24 inches beyond the latch side and 48 inches of depth
These clearances are measured from the face of the door and the adjacent wall. They must be level (1:48 maximum slope) and clear of any obstructions including walls, columns, furniture, and equipment.
Draw these clearances on your floor plan before framing. Discovering a maneuvering clearance problem after the walls are up is a painful lesson.
Door Hardware
All door hardware on accessible routes must be operable with one hand, without tight grasping, pinching, or twisting of the wrist. This rules out round doorknobs. Acceptable alternatives include:
- Lever handles
- Push/pull bars
- Paddle handles
- Touchless/automatic openers
Door closers must allow the door to be opened with no more than 5 pounds of force (for interior doors). Fire-rated doors may require more force, which creates a conflict that is typically resolved with automatic openers.
Thresholds
Door thresholds cannot exceed 1/2 inch in height (1/4 inch for sliding doors). If the threshold is between 1/4 inch and 1/2 inch, it must be beveled with a slope no greater than 1:2.
Accessible Bathrooms
Accessible restrooms are the number one area where ADA violations are found during inspections. The requirements are precise and interrelated, so one mistake often cascades into multiple violations.
Turning Space
Every accessible restroom must provide a 60-inch diameter turning space clear of all fixtures, partitions, and obstructions. This is the space a wheelchair needs to make a 180-degree turn. You can also satisfy this with a T-shaped turning space.
Plan this space first, then place fixtures around it. Many bathroom layouts fail because the designer placed fixtures first and then could not fit the turning circle.
Toilet Requirements
- Centerline: 16 to 18 inches from the side wall (measured to the centerline of the toilet)
- Seat height: 17 to 19 inches above the floor (measured to the top of the seat)
- Clear floor space: 60 inches minimum from the side wall and 56 inches minimum from the rear wall for a wall-mounted toilet (59 inches for a floor-mounted toilet)
- Flush control: On the open side (away from the wall) or automatic
Grab Bars
Grab bars are required on the side wall and rear wall adjacent to the toilet:
- Side wall bar: 42 inches minimum length, mounted 12 inches from the rear wall, at 33 to 36 inches above the floor
- Rear wall bar: 36 inches minimum length, mounted 6 inches from the side wall toward the open side, at 33 to 36 inches above the floor
- Mounting: Must support 250 pounds of force in any direction. This means blocking in the wall during framing to provide solid backing.
Critical detail: Plan grab bar backing during framing. If you miss this, the drywall has to come off later to add blocking. This is one of the most common rework items on commercial bathroom projects.
Lavatory (Sink) Requirements
- Rim height: 34 inches maximum above the floor
- Knee clearance: Minimum 27 inches high, 30 inches wide, and 11 to 25 inches deep under the lavatory
- Faucets: Operable with one hand, no tight grasping or twisting. Lever, push, or sensor faucets are acceptable.
- Pipe protection: Hot water supply and drain pipes under the lavatory must be insulated or otherwise configured to prevent contact burns
Mirror Requirements
At least one mirror must have its bottom edge of the reflecting surface at 40 inches or less above the floor. Full-length mirrors mounted with the bottom edge at 35 inches also satisfy this requirement.
Accessories
Paper towel dispensers, soap dispensers, and hand dryers must be mounted with operable parts at 48 inches maximum above the floor (for a forward reach) or 44 inches (for a side reach over an obstruction). Toilet paper dispensers must be 7 to 9 inches in front of the toilet and 15 to 48 inches above the floor.
Accessible Parking
Number of Spaces
The minimum number of accessible parking spaces is based on the total count:
| Total Spaces | Accessible Spaces Required |
|---|---|
| 1 to 25 | 1 |
| 26 to 50 | 2 |
| 51 to 75 | 3 |
| 76 to 100 | 4 |
| 101 to 150 | 5 |
| 151 to 200 | 6 |
| 201 to 300 | 7 |
| 301 to 400 | 8 |
| 401 to 500 | 9 |
| 501 to 1,000 | 2% of total |
| Over 1,000 | 20 + 1 per 100 over 1,000 |
Van-Accessible Spaces
At least one of every six accessible spaces (or fraction thereof) must be van-accessible. Van-accessible spaces need an 8-foot-wide access aisle (compared to the standard 5-foot aisle) and a vertical clearance of 98 inches minimum at the space, access aisle, and along the route to the space.
Location
Accessible spaces must be on the shortest accessible route to the building entrance. They should be on the same level as the entrance when possible. If the parking lot has multiple entrances, accessible spaces should be distributed accordingly.
Signage
Each accessible space needs a sign with the International Symbol of Accessibility, mounted at least 60 inches above the ground (measured to the bottom of the sign) so it is visible when a vehicle is parked in the space. Van-accessible spaces need an additional “Van Accessible” sign.
Surface and Slope
The parking space and access aisle must have a maximum slope of 1:48 (about 2 percent) in all directions. The surface must be firm, stable, and slip-resistant. This rules out loose gravel.
Signage Requirements
ADA signage is more specific than most contractors realize. There are different rules for different types of signs.
Permanent Room Identification Signs
Signs that identify permanent rooms and spaces (offices, restrooms, stairwells, room numbers) must include:
- Raised characters: Characters must be raised at least 1/32 inch above the sign surface
- Braille: Grade 2 Braille below the raised characters
- Character height: 5/8 inch to 2 inches
- Font: Sans-serif, no italic or decorative fonts
- Contrast: Characters must contrast with the background (light on dark or dark on light)
- Finish: Non-glare background and characters
- Mounting: On the wall adjacent to the latch side of the door, 48 to 60 inches above the floor to the baseline of the lowest character
Directional and Informational Signs
Signs that provide direction or information (like “Exit,” “Elevator,” or “Cafeteria This Way”) do not need raised characters or Braille, but they must:
- Be high contrast
- Use a sans-serif font
- Have characters sized proportionally to the viewing distance (minimum 3 inches for overhead signs)
International Symbol of Accessibility
The wheelchair symbol is required on signs identifying accessible entrances, parking spaces, restrooms, and other accessible facilities.
Common ADA Violations Contractors Should Watch For
These are the violations inspectors and ADA consultants find most frequently:
- Missing maneuvering clearance at doors. The door swings into the required clearance zone, or a wall or column encroaches.
- No grab bar backing in walls. The framing crew did not install blocking, so grab bars cannot be properly anchored.
- Toilet centerline out of range. The rough-in is 15 inches or 19 inches from the wall instead of 16 to 18 inches.
- Ramp cross slope too steep. The ramp surface was finished with too much tilt, often because the forms were not level.
- Thresholds too high. Exterior door thresholds exceed 1/2 inch.
- Inaccessible door hardware. Round knobs installed on accessible routes.
- Parking lot slope exceeds 1:48. The paving contractor did not grade the accessible spaces flat enough.
- Signage mounted at wrong height or on wrong side of door. Room signs on the hinge side instead of the latch side.
- Lavatory knee space blocked by pipes. Hot water pipes not insulated or vanity cabinet blocks wheelchair approach.
- Missing detectable warning surfaces. The truncated dome pads at curb ramps are missing or the wrong color.
Managing ADA Compliance on Your Projects
ADA compliance involves dozens of specific dimensions and clearances across every area of the building. Tracking all of these details on paper is unreliable. When you have multiple projects running simultaneously, the risk of missing something goes up fast.
Projul’s project management platform lets you create checklists for ADA requirements by room and area, attach detail drawings and specifications, track inspections, and document compliance with photos. When the ADA consultant walks the building, you have everything documented and organized.
Want to see how Projul can help you stay on top of code compliance across all your projects? Schedule a demo or review pricing options.
Final Thoughts
ADA compliance is not optional, and it is not something you can figure out as you go. The requirements are specific, measurable, and enforced. Getting them right requires planning during design, attention during framing and rough-in, and verification before finishes go in.
The good news is that ADA work is not mysterious. The dimensions are published, the standards are clear, and most of the requirements are straightforward once you know them. Build accessibility into your standard checklists, train your crews on the critical dimensions, and verify clearances before closing up walls.
It is the right thing to do, and it keeps your projects out of legal trouble. That is a win on both counts.
Frequently Asked Questions
What is the maximum slope for an ADA-compliant ramp?
How wide does a doorway need to be for ADA compliance?
What are the ADA requirements for accessible bathrooms?
How many accessible parking spaces are required by ADA?
What are the ADA requirements for signage?
Does ADA apply to residential construction?
What happens if a building is not ADA compliant?
Are existing buildings required to meet current ADA standards?
Related Articles

BIM Clash Detection: How to Catch Conflicts Before They Cost You on the Jobsite
BIM Clash Detection: How to Catch Conflicts Before They Cost You on the Jobsite Every contractor has a story about the...
Read More →
Asphalt Paving and Compaction Guide: Mix Types, Laydown Temperatures, and Quality Testing
Asphalt paving looks straightforward from a distance. A truck dumps material, the paver lays it down, and rollers...
Read More →
Construction Jobsite Wi-Fi & Connectivity Guide: Setting Up Reliable Internet in the Field
A practical guide to getting reliable internet on construction job sites. Learn about cellular hotspots, mesh networks,...
Read More →