Concrete Polishing and Grinding Guide: Grit Progression, Densifiers, Coatings, and Maintenance | Projul
Concrete Polishing and Grinding Guide: Grit Progression, Densifiers, Coatings, and Maintenance
Polished concrete has gone from a warehouse-only finish to one of the most requested flooring options in commercial retail, restaurants, offices, and even residential homes. If you are a contractor looking to add this service or improve your process, this guide covers everything from equipment and grit selection to densifiers, coatings, and long-term maintenance.
We will walk through the full process step by step, the way you would actually do it on a job site. No theory fluff. Just what works.
Why Polished Concrete Is Worth Adding to Your Services
The demand for polished concrete keeps growing, and the margins are solid once you know what you are doing. Here is why more contractors are picking up grinders:
- Low material cost, high labor value. You are selling skill and equipment time, not expensive materials.
- Repeat business. Commercial clients need maintenance, repairs, and new floors in additional locations.
- Fewer callbacks. A properly polished floor does not peel, chip, or delaminate like coatings can.
- Fast turnaround. Most jobs can be completed in 2 to 5 days depending on size and finish level.
If you already do concrete work, polishing is a natural add-on. If you are a flooring contractor, it opens up a whole new revenue stream.
Understanding the Concrete Surface Before You Start
Before you fire up a grinder, you need to evaluate the slab. This step determines your starting grit, your timeline, and your bid price.
Slab Condition Checklist
- Existing coatings or adhesive. Old paint, epoxy, carpet glue, or tile mastic needs to come off first. This is the most time-consuming part of many jobs.
- Cream coat thickness. The top layer of a concrete slab (the cream) is softer than the aggregate below. Heavy cream means more grinding before you see aggregate exposure.
- Flatness. A wavy slab means your grinder will cut high spots first. You may need to do a leveling pass before you start the polishing sequence.
- Cracks and joints. Cracks can be filled with epoxy or polyurea, but they will always be visible. Set client expectations early.
- Moisture. Test with a calcium chloride kit or relative humidity probe. High moisture can cause densifier issues and affect coatings.
- Hardness. Use a Mohs hardness pick set. Softer concrete (under 3 on the Mohs scale) eats through diamonds faster and requires different tooling.
Aggregate Exposure Levels
The Concrete Polishing Association of America (CPAA) defines exposure levels:
- Level A (Cream polish). No aggregate visible. You are polishing just the surface paste.
- Level B (Salt and pepper). Fine aggregate is exposed. This is the most common commercial spec.
- Level C (Medium aggregate). Larger stones visible. Requires more material removal.
- Level D (Large aggregate). Maximum exposure. Heavy grinding needed.
Know which level your client wants before you start. Each level requires different amounts of material removal, which directly affects your time and tooling costs.
Equipment You Need
Grinders
The workhorse of any polishing operation is a planetary grinder. These machines have a large rotating head with smaller satellite discs that spin in the opposite direction. This gives you even, consistent material removal.
- Small jobs (under 1,000 sq ft): A single-head grinder in the 20-inch range works fine. Brands like Lavina, HTC, and Husqvarna all make solid machines.
- Medium jobs (1,000 to 5,000 sq ft): Step up to a 25 to 30-inch machine. The wider head covers more ground per pass.
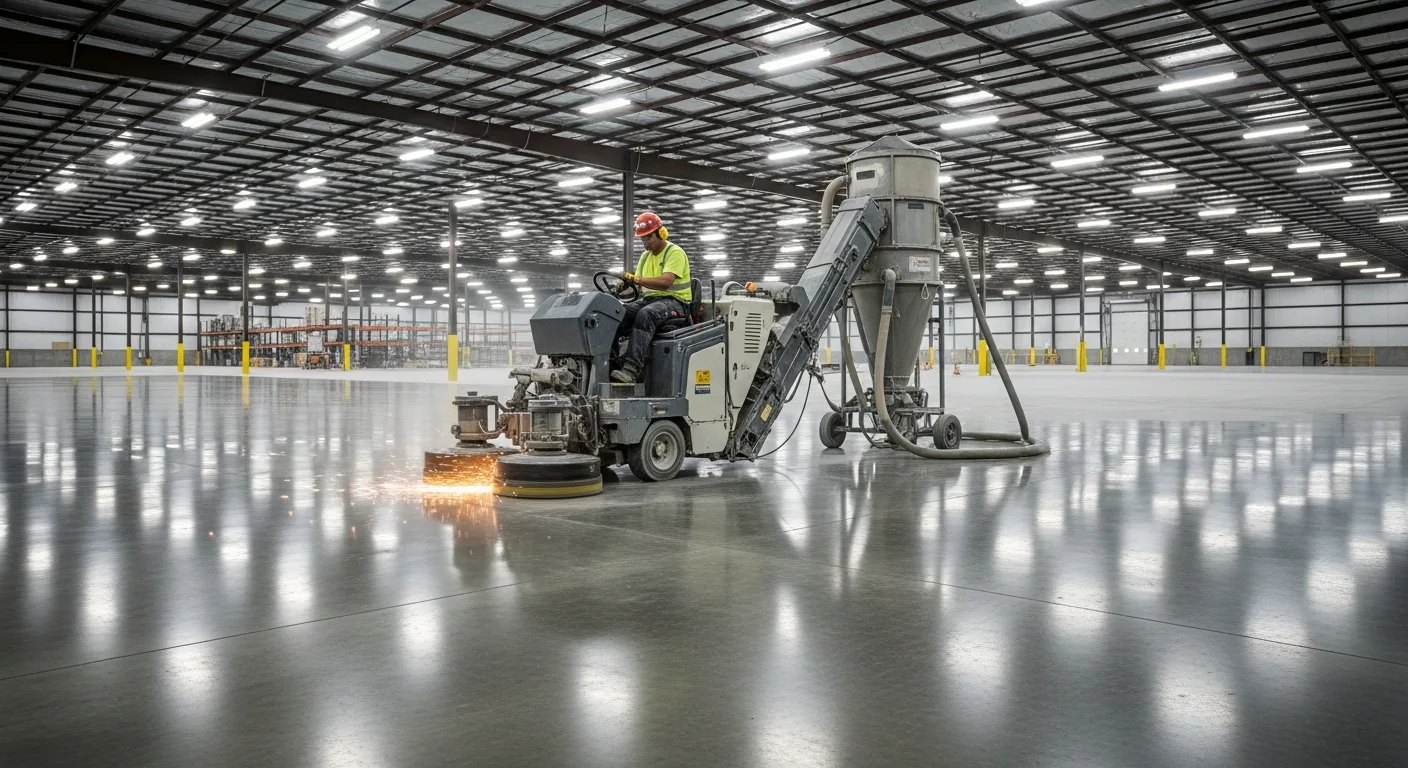
- Large jobs (5,000+ sq ft): You want a 30 to 32-inch machine, possibly two running simultaneously. Some crews use ride-on grinders for big warehouse floors.
Dust Collection
This is not optional. Concrete dust is a serious health hazard (silica exposure), and OSHA requires dust controls on grinding operations. You need either:
- A dedicated dust extractor rated for concrete grinding (HEPA filtered)
- A industrial vacuum with a pre-separator
Make sure your extraction system matches your grinder’s CFM requirements. If the suction is too low, dust escapes. If it is too high, the grinder loses contact with the floor.
Edge Tools
Your big grinder cannot reach walls, columns, or tight corners. You will need:
- A hand grinder or angle grinder with diamond cup wheels for edges
- An edge-specific planetary grinder (7 to 9 inch head) for production edge work
Edge work is tedious but necessary. Clients notice when the edges do not match the field.
The Grit Progression: Step by Step
This is where the real craft lives. Each grit step removes the scratch pattern from the previous one. Skip a step and those scratches show up in the final finish.
Metal-Bond Diamond Phase (Cutting Phase)
Metal-bond diamonds are embedded in a metal matrix that wears away slowly, exposing fresh diamond. These are your aggressive cutting tools.
Step 1: 30 or 50 Grit (Rough Grind) This is your initial cut. Use 30 grit for heavy coating removal, lippage correction, or deep aggregate exposure. Use 50 grit if the slab is in decent shape and you just need to open the surface.
Run the machine at a steady pace. Do not push too fast or the diamonds skip and leave uneven scratch patterns. Overlap each pass by about one-third of the head width.
Step 2: 100 Grit (Refining Cut) After 30 or 50, move to 100 grit. This starts refining the scratch pattern. You should see the floor getting smoother, and the heavy gouges from the first pass should be gone.
Step 3: 200 Grit (Final Metal-Bond Pass) The 200 grit pass is your last metal-bond step. After this, the floor should feel smooth to the touch but will not have any shine yet. This is a good time to fill any cracks or pinholes with a color-matched filler.
Densifier Application
After the 200 grit pass, clean the floor thoroughly with a vacuum and apply your densifier. Lithium silicate densifiers are the industry standard for most applications.
How densifiers work: They penetrate the concrete and react with calcium hydroxide to form calcium silicate hydrate (CSH). This hardens the surface and fills microscopic pores, which gives you a better polish in the resin-bond phase.
Application tips:
- Spray or pour onto the surface and spread with a microfiber mop
- Keep the surface wet for 15 to 20 minutes
- Do not let it dry on the surface (it will leave white residue that is difficult to remove)
- Scrub off excess with an auto scrubber or mop
- Let the floor dry completely before moving to resin-bond diamonds
Some contractors apply densifier twice: once after 200 grit and again between 400 and 800 grit. On softer concrete, the double application helps.
Resin-Bond Diamond Phase (Polishing Phase)
Resin-bond diamonds are embedded in a resin matrix. They polish the surface rather than cut it. This is where the shine develops.
Step 4: 400 Grit Your first resin pass. The floor will start to show a slight sheen. Check for any remaining scratches from the metal-bond phase. If you see deep scratches, you may need to go back to 200 grit in that area.
Step 5: 800 Grit The shine becomes noticeable. At this point, you can see reflections in the floor under good lighting. Most commercial specs call for an 800 grit finish as the minimum for “polished.”
Step 6: 1500 Grit This is a high-polish finish. Reflections are clear and the floor has a satin to semi-gloss look.
Step 7: 3000 Grit Maximum gloss. The floor looks like glass. This is typically reserved for showrooms, lobbies, and high-end residential. Each additional step above 800 adds time and cost, so make sure the client is paying for it.
Gloss Measurement
Use a gloss meter to verify your finish. Readings are taken at 60 degrees:
- 800 grit: typically 40 to 55 gloss units
- 1500 grit: typically 55 to 70 gloss units
- 3000 grit: typically 70 to 85+ gloss units
Document your readings. It protects you if the client questions the finish later.
Guard and Sealer Application
After your final polish pass, apply a guard product. This is not a coating. It is a thin protective layer that fills any remaining micro-pores and makes the floor easier to maintain.
Common guard types:
- Lithium-based guards work well over densified floors and do not change the appearance much
- Acrylic guards add a slight sheen and provide stain resistance
- Hybrid guards combine the benefits of both
Apply with a microfiber mop in thin, even coats. Burnish with a high-speed burnisher after application for best results.
Coatings vs. Polished Concrete: When to Use Each
Not every job calls for a full polish. Sometimes a coating makes more sense.
When to Use Polished Concrete
- High-traffic commercial spaces (retail, warehouses, offices)
- Clients who want low long-term maintenance
- Slabs with good aggregate and mix design
- When the client wants a natural concrete look
When to Use Coatings (Epoxy, Polyurethane, Polyaspartic)
- Garage floors and workshops
- Chemical-resistant environments (labs, food processing)
- When the client wants solid colors or decorative flake systems
- Over slabs that are too damaged or uneven for polishing
If you go the coating route, surface prep is still critical. Grind to at least 50 or 100 grit to create a profile for the coating to bond to. A coating over smooth concrete will peel.
Common Mistakes and How to Avoid Them
Skipping grits. Every grit step exists for a reason. Jumping from 50 to 400 leaves deep scratches that show up in the final polish. Do not shortcut the process.
Letting densifier dry on the surface. White haze from dried densifier is a pain to remove. Keep the surface wet and scrub off excess promptly.
Running the machine too fast. Speed kills quality. Let the diamonds do the work. A steady walking pace gives you consistent scratch patterns.
Not testing the slab first. Always do a small test area (3x3 feet minimum) before bidding or starting production. This tells you how the slab will respond and helps you set accurate expectations with the client.
Ignoring moisture. High moisture vapor emission rates (MVER) can push densifier back out of the slab and cause white spots. Test before you start and address moisture issues first.
Poor dust collection. Besides the health hazard, concrete dust settles back into your scratch pattern and interferes with the polishing process. Keep your dust extractor running and empty it regularly.
Maintenance Plan for Polished Concrete
A polished floor is low maintenance, not no maintenance. Here is what your clients need to know:
Daily
- Dust mop with a clean microfiber pad
- Clean up spills promptly (especially acidic liquids like coffee, juice, or vinegar)
Weekly
- Auto scrubber with a neutral pH cleaner formulated for polished concrete
- Inspect for any damage or staining
Monthly
- Check for wear patterns in high-traffic areas
- Touch up guard product in heavy-traffic zones if needed
Annually
- Full guard product reapplication
- Professional inspection and maintenance (this is where you get recurring revenue)
Offer your clients a maintenance contract. It is good for them and great for your bottom line. Recurring revenue from maintenance keeps your crews busy during slow periods.
Tracking Your Concrete Polishing Jobs
Polished concrete jobs involve multiple site visits, material purchases, and labor hours across several days. Keeping all of that organized on paper or in spreadsheets gets messy fast.
Projul’s project management features let you track each phase of the job, from the initial grind through final guard application. You can log labor hours, material costs, and progress photos all in one place. When it is time to invoice, everything is already documented.
If you are building out a polishing division, having a system that tracks your actual costs against your estimates is the fastest way to dial in your pricing. Check out Projul’s pricing to see if it fits your operation, or schedule a demo to see how it works for specialty concrete contractors.
Building Your Polished Concrete Business
If you are just getting started in concrete polishing, here are some practical tips:
- Start with grind-and-seal jobs. These require less equipment and fewer grit steps. They build your skills without the pressure of a full polish.
- Invest in training. Take a manufacturer’s training course (HTC, Husqvarna, and Superabrasive all offer them). The techniques you learn will save you from expensive mistakes.
- Buy quality tooling. Cheap diamonds cost more in the long run because they wear faster and give inconsistent results.
- Document everything. Before and after photos, gloss readings, material batch numbers. This protects you and impresses clients.
- Build relationships with GCs. General contractors need reliable polishing subs. Once you prove yourself on a couple jobs, referrals follow.
Polished concrete is a skill trade. The more floors you do, the better you get at reading slabs and adjusting your process. Put in the reps, track your numbers, and the profits will follow.
Frequently Asked Questions
What grit sequence should I use for polished concrete?
When do I apply densifier during the polishing process?
Can you polish any concrete slab?
What is the difference between polished concrete and a concrete coating?
How much does concrete polishing cost per square foot?
How do I maintain polished concrete floors?
What equipment do I need to start a concrete polishing business?
How do I bid a concrete polishing job?
Related Articles

BIM Clash Detection: How to Catch Conflicts Before They Cost You on the Jobsite
BIM Clash Detection: How to Catch Conflicts Before They Cost You on the Jobsite Every contractor has a story about the...
Read More →
Asphalt Paving and Compaction Guide: Mix Types, Laydown Temperatures, and Quality Testing
Asphalt paving looks straightforward from a distance. A truck dumps material, the paver lays it down, and rollers...
Read More →
Construction Jobsite Wi-Fi & Connectivity Guide: Setting Up Reliable Internet in the Field
A practical guide to getting reliable internet on construction job sites. Learn about cellular hotspots, mesh networks,...
Read More →