Construction Deck Building Guide for General Contractors | Projul
If you have been in this business long enough, you have watched at least one deck project go sideways. Maybe it was a footing that shifted after the first winter. Maybe it was a ledger board that pulled away from the house because someone skipped the flashing. Or maybe it was a client who wanted a “simple deck” that turned into a three-month nightmare of change orders and code violations.
Deck building looks straightforward compared to a full home build, and that is exactly why it trips up so many general contractors. The work is deceptively technical, the code requirements are specific, and the margin for error on structural connections is razor thin.
This guide breaks down what actually matters when you are running deck projects, from the dirt up. No fluff, no theory. Just the stuff that keeps your builds standing, your inspectors happy, and your clients coming back.
Footings and Foundations: Get This Wrong and Nothing Else Matters
Every deck starts in the ground. And the ground is where most deck failures begin.
Your footing design depends on three things: frost depth in your area, soil bearing capacity, and the load your deck needs to carry. Miss any one of those and you are building on borrowed time.
Frost depth is non-negotiable. If your footings do not extend below the frost line, they will heave. It might not happen the first year or even the second, but it will happen. In Minnesota, that means digging down 42 inches. In Georgia, you might get away with 12. Know your local requirement and hit it every time.
Soil bearing capacity is the one most guys skip. Sandy soil, clay, fill dirt, they all carry load differently. If you are building on undisturbed native soil, you are probably fine with standard footing sizes. But if the lot was graded recently or you are building near a slope, get a soil report. The $500 it costs is nothing compared to a footing that sinks six months after you hand over the keys.
For the footings themselves, you have a few options:
- Poured concrete piers are the gold standard. Dig, set a tube form, pour, and set your post bracket before the concrete kicks. Simple and strong.
- Precast pier blocks work for ground-level decks that are not attached to the house, but most inspectors will not approve them for improved structures.
- Helical piles are gaining traction for sites with bad soil or access problems. They cost more but skip the concrete cure time entirely.
If you are pouring concrete footings, make sure you understand the basics of working with concrete on site. Getting the mix, placement, and cure right matters just as much below grade as it does for a slab. Our concrete basics guide covers the fundamentals if you need a refresher.
One more thing: always over-engineer your footings slightly. An extra two inches of diameter or four inches of depth costs almost nothing during construction but gives you a real safety margin. Inspectors notice when you do the minimum, and they notice when you go beyond it.
Ledger Board Attachment: The Connection That Holds Everything Together
If your deck attaches to the house, the ledger board is the most critical connection in the entire structure. It is also the number one point of failure in deck collapses. The stats are ugly. The majority of catastrophic deck failures trace back to improper ledger attachment.
Here is what a proper ledger installation looks like:
Remove the siding. You cannot bolt a ledger through vinyl or fiber cement siding and call it good. The siding needs to come off so the ledger sits directly against the sheathing and rim joist of the house. Some guys try to use spacers to keep the siding in place. That is not code in most jurisdictions and it creates a water trap.
Flash it right. Flashing is what keeps water from running behind the ledger and into the house framing. You need a self-adhesive membrane behind the ledger, metal flashing tucked under the siding above, and proper drainage paths so water that does get in has somewhere to go. This is the step that gets skipped most often, and it is the step that causes the most long-term damage.
Use the right fasteners. Lag screws or through-bolts, sized per your local code and the IRC. For most applications, that means 1/2-inch lag screws or bolts at a specific spacing pattern. Your engineer or code book will tell you exactly what is needed based on joist span and tributary load. Do not guess here.
Check the rim joist. Before you bolt anything, make sure the rim joist behind the sheathing is solid. Older homes sometimes have rim boards that are rotted, undersized, or poorly attached to the floor system. If the thing you are bolting to is weak, your ledger connection is weak. Period.
Contractors across the country trust Projul to run their businesses. Read their reviews.
The ledger ties directly into the structural framing of the house, so this is where your framing inspection knowledge really pays off. The same principles that apply to load paths in wall framing apply to how your deck transfers load into the building.
Material Selection: Picking the Right Stuff for the Job
The decking material conversation has gotten more complicated in the last decade, and clients are asking more questions than ever. You need to know the real trade-offs, not just what the sales rep told you at the lumber yard.
Pressure-treated lumber is still the workhorse of the deck industry. It is affordable, strong, readily available, and every carpenter on your crew knows how to work with it. The downsides are real though: it cracks, warps, and needs regular maintenance. Ground-contact rated PT is mandatory for any wood that touches or is near the ground. Above-ground rated is fine for decking and rails. Do not mix them up.
Composite decking has come a long way. The current generation of capped composites resists fading, staining, and scratching far better than the early products that gave composites a bad name. They cost two to three times more than PT lumber for the decking material alone, but they require almost zero maintenance. For clients who want a “set it and forget it” deck, composite is the right call. Just remember that your substructure is still wood or steel, so you are not eliminating wood from the project entirely.
Tropical hardwoods like ipe, cumaru, and tigerwood are the premium option. They are incredibly dense, naturally resistant to rot and insects, and look stunning. They also dull saw blades fast, require pre-drilling for every fastener, and cost as much as some composite options. They are a specialty product for clients who want the best and are willing to pay for it.
Aluminum framing is worth mentioning for the substructure. It will not rot, will not warp, and holds up in wet environments where wood framing would fail within a few years. Waterfront properties, pool decks, and commercial applications are where aluminum framing really makes sense. The cost is higher, but the longevity math works out.
No matter what materials you choose, getting accurate quantities is critical for your budget. A material takeoff that is off by even 10% can eat your profit on a deck job. A solid estimating process that accounts for waste factors, fastener counts, and hardware makes the difference between a profitable project and a lesson learned.
Code Compliance and Permits: The Stuff Nobody Wants to Deal With
Let’s be honest. Nobody got into construction because they love paperwork. But permits and code compliance are the cost of doing business, and on deck projects, they matter more than most GCs realize.
The IRC (International Residential Code) has an entire section dedicated to decks, and most local jurisdictions have adopted it with amendments. Here are the big items your inspector is going to look at:
Structural connections. Every post-to-beam, beam-to-joist, and joist-to-ledger connection needs to be made with approved hardware. Simpson Strong-Tie and USP are the two brands you will see most often. The days of toenailing a beam to a post are long gone. Your inspector wants to see metal connectors, and they want to see the right ones.
Guard rails and balusters. Any deck surface more than 30 inches above grade needs a guard rail that is at least 36 inches high (42 inches in some jurisdictions). Baluster spacing cannot exceed 4 inches. The 4-inch sphere rule is not a suggestion. And your rail system needs to resist a 200-pound lateral load at the top. That means your posts need to be properly sized and attached, not just screwed to the outside of the rim joist with a couple of lag bolts.
Stair requirements. Deck stairs have their own set of rules: maximum riser height, minimum tread depth, consistent dimensions from top to bottom, handrails on both sides for wider stairs, and proper landing requirements at the bottom. Stairs are where inspectors get picky, because stairs are where people get hurt.
Lateral bracing. This is a newer code requirement that a lot of contractors are still catching up on. Your deck needs to resist lateral loads, not just vertical ones. That means diagonal bracing or specific connection hardware that prevents the deck from racking away from the house. The 2024 IRC has specific prescriptive solutions for this.
If you are not already familiar with the permit process in your area, take the time to learn it before your next deck project. Our permits guide walks through the general process and common pitfalls. The time you spend on the front end saves you from red tags and re-work on the back end.
Getting your inspections right the first time also comes down to communication. When your crew knows what the inspector is looking for before they show up, you pass. When they do not, you waste a day. Clear client communication also matters here, because your homeowner needs to understand that inspection hold points will affect the schedule.
Scheduling and Workflow: Running Deck Projects Without the Chaos
A deck project has fewer moving parts than a ground-up build, but that does not mean you can wing the schedule. In fact, the compressed timeline on most deck projects means that a single delay can cascade through the entire job.
Here is a realistic sequence for a typical attached residential deck:
- Permit submission and approval (1 to 4 weeks depending on jurisdiction)
- Layout and footing excavation (1 day)
- Footing inspection (wait for inspector, could be same day or 3 days)
- Pour footings (1 day plus cure time)
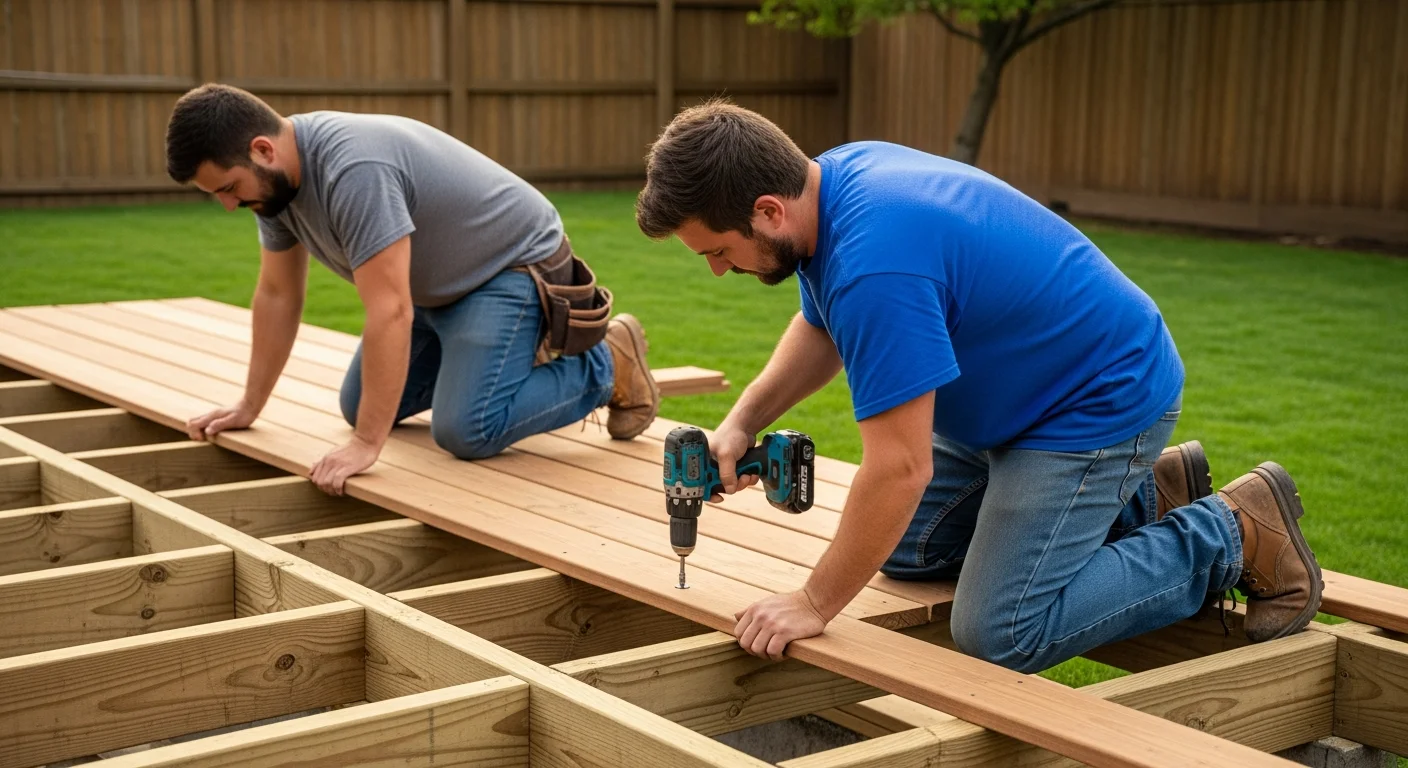
- Framing: posts, beams, joists (2 to 4 days)
- Framing inspection (another inspector hold point)
- Decking, stairs, and railings (3 to 5 days)
- Final inspection (one more hold point)
- Punch list and client walkthrough (1 day)
Those inspector hold points are what kill your schedule if you are not planning for them. In a busy building department, you might wait two or three days for each inspection. That is potentially a week of dead time built into a three-week project. If you have your crew scheduled tight with no float, you are going to have guys sitting around or you are going to have to juggle them to another job and hope they are available when the inspector finally shows.
This is where having a real scheduling system makes the difference. You need to be able to see your crew availability, block out inspection holds, and move things around when the inevitable delay hits. Trying to manage this with a whiteboard or text messages works until it does not, and on a deck project, “does not work” usually means you are eating labor costs.
Material lead times are the other scheduling killer. Composite decking, specialty fasteners, and custom railing systems can have lead times of two to six weeks. If you are not ordering materials as soon as the permit is approved (or even before, if you are confident), you will be sitting on a framed deck waiting for boards to show up.
Weather is the wild card you cannot control but need to plan for. Concrete needs time to cure and cannot be poured in freezing conditions. Composite decking expands and contracts with temperature and needs to be installed within the manufacturer’s recommended range. And nobody wants to work on an improved deck frame in high winds. Build weather days into your schedule or you will be explaining delays to your client every week.
Speaking of keeping things on track, the quality of your finished product depends on catching problems early, not after the decking is down. A good quality control process that includes checking joist spacing, fastener patterns, and railing post connections at each phase prevents expensive rework later.
Protecting Your Profit: Estimating, Change Orders, and Client Management
Deck projects are competitive. Every GC in town bids on decks, and plenty of handymen and unlicensed operators undercut legitimate contractors regularly. That means your pricing needs to be tight, your scope needs to be clear, and your change order process needs to be bulletproof.
Start with a thorough estimate. Your material list should account for every board, every fastener, every piece of hardware, and a waste factor of 10 to 15 percent for decking (more for diagonal or herringbone patterns). Your labor estimate needs to reflect the actual skill level of your crew and the complexity of the design. A simple rectangular deck and a multi-level wraparound with built-in benches are two completely different animals when it comes to labor hours.
Define your scope in writing. The proposal should spell out exactly what is included: demolition of the old deck (if applicable), footings, framing, decking, stairs, railings, permit fees, and cleanup. It should also spell out what is not included: landscaping repair, electrical for outlets or lighting, plumbing for gas lines, and anything else that falls outside the deck itself. Clients assume things are included unless you tell them otherwise.
Change orders happen. The client decides they want a wider staircase. The inspector flags something that requires additional bracing. You dig for footings and hit rock or an old septic line. Whatever the cause, you need a process for documenting the change, pricing it, getting approval, and adjusting the schedule. This is not optional. Verbal agreements on changes are how contractors lose money.
Get paid on a schedule. For most deck projects, a three-payment structure works well: a deposit at signing (enough to cover your initial material order), a progress payment at framing completion, and a final payment at project completion. Do not front-load your own money into a project. If the client is not willing to put down a deposit that covers your material exposure, that is a red flag.
If you are still building estimates in spreadsheets and managing payments with handshake agreements, you are leaving money on the table and exposing yourself to risk. A tool that handles your estimating, scheduling, and client communication in one place keeps your deck projects profitable and your operations running clean. If you want to see how that works in practice, check out a demo and see if it fits how your crew operates.
Wrapping It Up
Building decks that last is not about secrets or special techniques. It is about getting the fundamentals right, every time, on every project. Proper footings, correct ledger attachment, the right materials for the application, code-compliant connections, realistic scheduling, and clear financial management.
The contractors who build great decks are the same ones who build great anything: they plan the work, work the plan, and do not cut corners on the stuff that matters. The difference between a deck that lasts five years and one that lasts twenty-five comes down to decisions made in the first few days of the project, long before a single decking board goes down.
Book a quick demo to see how Projul handles this for real contractors.
Get those decisions right, keep your crew informed, stay ahead of your inspections, and communicate clearly with your clients. That is the formula. It is not complicated, but it does require discipline. And in this business, discipline is what separates the contractors who are still building ten years from now from the ones who are not.
Frequently Asked Questions
How deep should deck footings be?
Do I need a permit to build a deck?
What is the best decking material for longevity?
How long does it take to build a deck?
What are the most common deck building mistakes?
Related Articles

Best Solar Contractor Software: Managing Installations and Proposals
Solar contractors face unique challenges that generic construction software can't handle. From proposals and permits to...
Read More →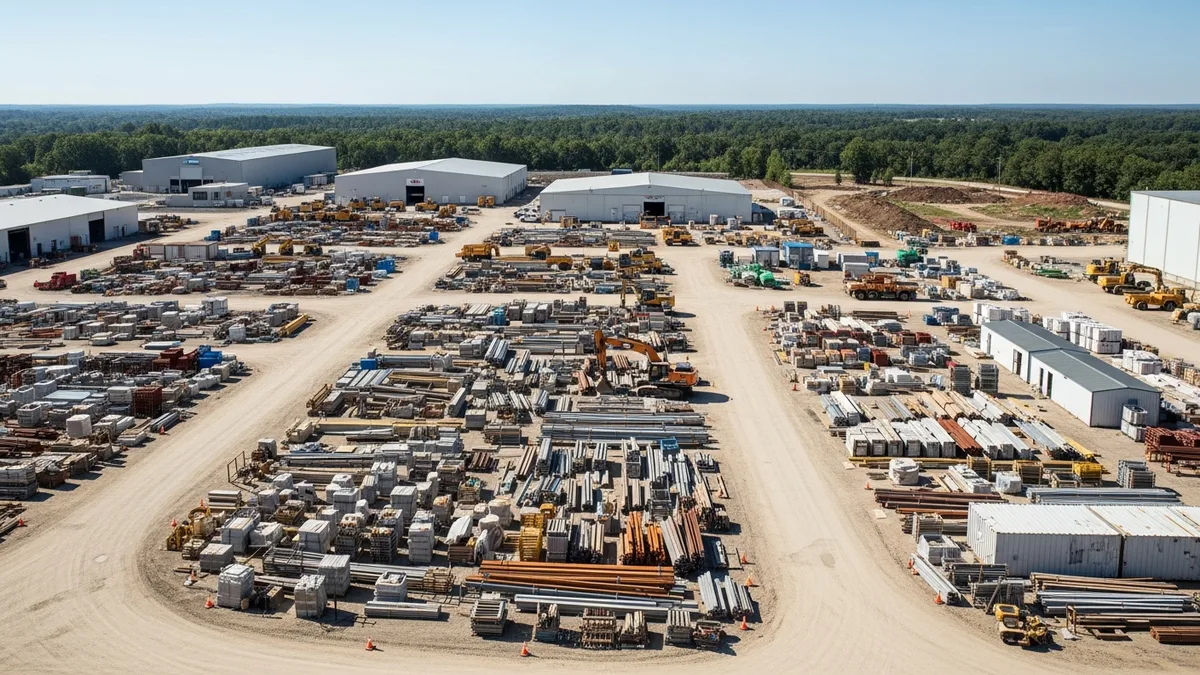
Construction Home Addition Management: What Every GC Needs to Know
Home additions are some of the most profitable and most complex residential projects a GC can take on. Here's what you...
Read More →
Construction Pool Building Guide: What Every GC Needs to Know
Pool construction is one of the most coordination-heavy projects a GC can take on. This guide breaks down what you...
Read More →