Construction Land Development Guide (2026)

Construction Land Development: What Contractors Need to Know About Site Prep, Grading, and Utilities
If you have been in this business long enough, you know that what happens before the foundation pour matters just as much as the build itself. Land development is the grunt work that sets the stage for everything. Get it right, and the rest of your project flows. Get it wrong, and you are chasing problems for months.
Whether you are breaking ground on a new subdivision, prepping a commercial pad, or developing a single lot for a custom home, the fundamentals stay the same. You need to understand your dirt, move it where it needs to go, get your utilities in place, and do all of it without blowing your budget or your schedule.
This guide breaks down what you actually need to know. No fluff. Just the stuff that matters when you are standing on a raw piece of land trying to figure out where to start.
Understanding the Site Before You Move Any Dirt
Every land development project starts with knowing what you are working with. And I do not mean just walking the property and eyeballing it. I mean actually understanding the soil, the topography, the water table, and what is hiding underground.
Geotechnical reports are not optional. A geotech survey tells you what kind of soil you are sitting on, how it compacts, where the rock is, and whether the water table is going to cause problems. Skipping this step to save a few thousand dollars is one of the most expensive mistakes a contractor can make. I have watched guys bid earthwork based on what they assumed was in the ground, only to hit rock at four feet and blow their budget in the first week.
Topographic surveys give you the lay of the land in real numbers. You need accurate contour data to plan your grading, figure out your cut-and-fill volumes, and design your drainage. A good topo survey also flags things like existing easements, setback lines, and property boundaries that will affect where you can actually build.
Before any equipment rolls onto the site, you should also check:
- Environmental constraints. Wetlands, protected species habitats, and flood zones can shut your project down fast if you do not identify them early. Your zoning and land use research should catch most of these, but always verify with the local environmental agency.
- Existing utilities. Call 811. Every single time. Mark everything. Then hand-dig around anything that is even close to your work area.
- Access points. How are you getting equipment in and out? Where are the haul roads? If the site does not have good access, you need to build it before you start moving dirt.
The pre-construction planning phase is where all of this comes together. Put in the work upfront and you save yourself from surprises later. Surprises in earthwork are almost never the good kind.
Site Preparation: Clearing, Demolition, and Erosion Control
Once you know what you are dealing with, it is time to prep the site. This means clearing vegetation, removing any existing structures, and getting your erosion control measures in place before you start grading.
Clearing and Grubbing
Clearing is exactly what it sounds like: removing trees, brush, and vegetation from the work area. Grubbing goes a step further and pulls out the root systems and organic material from below grade. You cannot compact fill on top of organic material. It will decompose, settle, and leave you with failures down the road.
A few things to keep in mind:
- Selective clearing is sometimes required. If the plans call for saving certain trees or vegetation buffers, mark them clearly and protect them with fencing. Replacing a mature oak because your operator got careless is expensive and makes you look bad.
- Disposal costs add up. Know where your green waste is going before you start clearing. Burning may or may not be allowed in your jurisdiction. Chipping on-site is sometimes an option. Either way, factor disposal into your bid.
- Topsoil stripping. On most sites, you will strip the topsoil layer and stockpile it for later use in finish grading and landscaping. Keep your topsoil piles away from drainage paths and cover them if the site is going to sit for a while.
Demolition
If there are existing structures on the site, they need to come down before grading can begin. Demo work requires its own permits, and you need to account for hazardous materials like asbestos, lead paint, and underground storage tanks. Environmental assessments before demolition are not just a good idea. They are required in most jurisdictions.
Erosion and Sediment Control
This is where a lot of contractors get into trouble with regulators. Your erosion control plan needs to be in place and functioning before you disturb any soil. That means silt fences, sediment basins, inlet protection, and stabilized construction entrances on day one.
Your stormwater management plan is directly tied to your erosion control. If you are disturbing more than one acre, you almost certainly need a SWPPP (Stormwater Pollution Prevention Plan) and a permit under the Clean Water Act. Inspections happen. Fines are real. Take this seriously.
Keep your erosion control measures maintained throughout the project. A silt fence that has been knocked over and buried in mud is not doing anything for you. Assign someone to inspect and maintain these systems weekly, and always after a rain event.
Grading: Getting the Dirt Right
Grading is the heart of land development. It is where you take a raw piece of ground and shape it into something you can build on. And it is where experience really counts.
Reading the Plans
Your grading plan shows existing contours, proposed contours, spot elevations, slopes, and drainage patterns. If you cannot read a grading plan fluently, you need to learn. Every number on that plan matters. A one-foot error in elevation can cascade into drainage problems, foundation issues, and rework that costs tens of thousands of dollars.
Key elements to pay attention to:
- Design elevations at building pads, parking areas, and roadways
- Slope ratios on cut and fill embankments (typically 2:1 or 3:1 depending on soil type)
- Drainage flow arrows showing where water is supposed to go
- Retaining wall locations where grade changes are too steep for slopes
- Benchmarks and control points that your surveyors will use to verify elevations throughout the project
Cut and Fill
The goal on most projects is to balance your earthwork. That means the dirt you cut from high areas gets used as fill in low areas, and you do not have to import or export significant quantities. Importing fill is expensive. Hauling excess dirt off-site is also expensive. A balanced site saves money.
But here is the reality: perfectly balanced earthwork is rare. Soil expands when you dig it up (swell factor) and compresses when you compact it (shrinkage factor). Your earthwork calculations need to account for these factors, or your volumes will be off.
Compaction is everything. Fill material has to be placed in lifts (usually 6 to 12 inches) and compacted to the specified density. That spec is usually 90% to 95% of the maximum dry density as determined by a Proctor test. Your geotech will specify the exact requirement. If you do not hit those numbers, you will fail your compaction tests, and the structural engineer is not going to sign off on building on material that is not properly compacted.
Moisture content matters too. Soil compacts best at its optimum moisture content. Too dry, and you cannot get it dense enough. Too wet, and it turns to mud. This is where weather becomes your biggest variable. A week of rain can shut down your earthwork operation completely.
Equipment Selection
The right iron for the job depends on the scale of work and the type of material:
- Dozers for pushing material short distances and rough shaping
- Scrapers for moving large volumes over longer distances on bigger sites
- Excavators for loading trucks, digging trenches, and working in tighter areas
- Motor graders for finish grading roads and parking areas
- Compactors (sheepsfoot for clay soils, smooth drum for granular material)
GPS machine control has changed the grading game. If you are not using it, you are leaving money on the table. A GPS-equipped dozer or grader can hit finish grade in fewer passes with less surveyor time. The upfront cost pays for itself fast on any project of decent size.
Good scheduling is critical during the grading phase. You are coordinating equipment, operators, survey crews, and testing labs. One piece out of sync and you are burning daylight with expensive machines sitting idle.
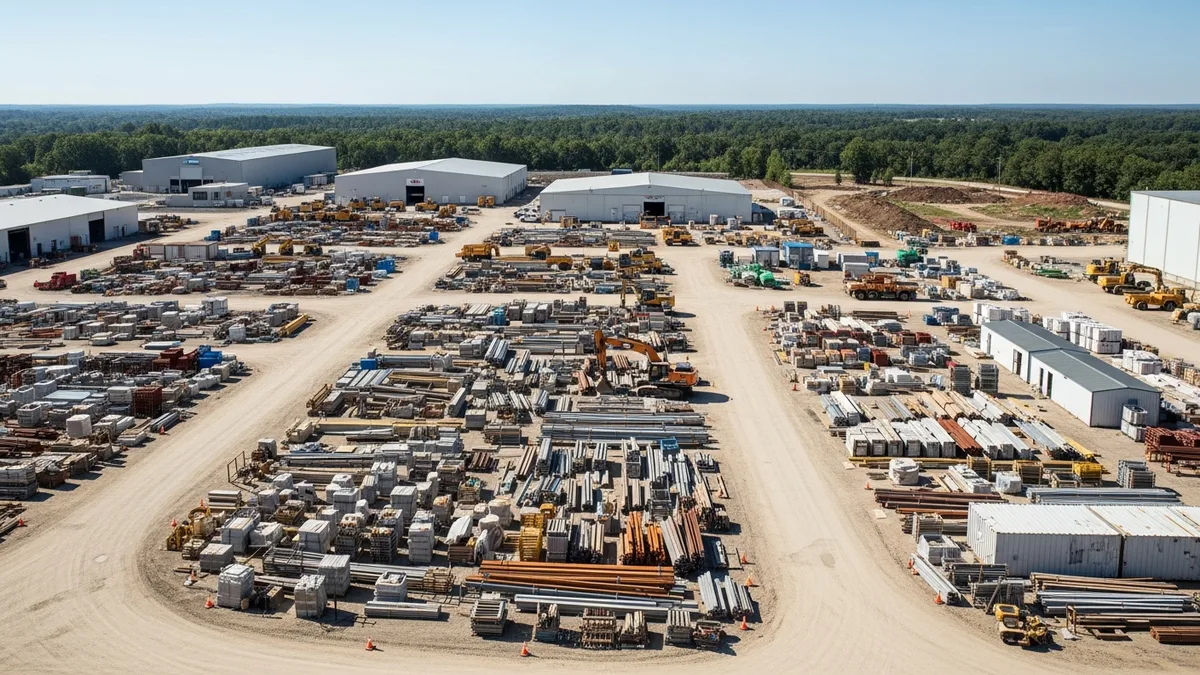
Utility Installation: Getting the Underground Work Done
Curious what other contractors think? Check out Projul reviews from real users.
Once your rough grading is in good shape, it is time to start putting utilities in the ground. On most sites, underground utilities include water, sanitary sewer, storm drain, gas, electric, and telecommunications. The sequence matters, and so does coordination with the utility providers.
Sequence of Work
Generally, you want to install the deepest utilities first and work your way up. That usually means sanitary sewer goes in first (it flows by gravity and needs specific slopes), followed by storm drain, water, and then the shallower stuff like gas, electric, and telecom.
Why does sequence matter? Because if you install a shallow utility first and then have to trench through it to get to a deeper one, you are creating conflicts, potential damage, and rework. Plan your utility sequence before you start digging and stick to it.
Water and Sewer
Water lines need to be installed at the correct depth (below the frost line in your area) with proper bedding material and backfill. Most jurisdictions require pressure testing and bacterial testing before a water line can be accepted and connected to the main.
Sanitary sewer is all about grade. Gravity sewer lines need a consistent slope (typically a minimum of 1% to 2% depending on pipe size) to keep things flowing. Laser levels in the trench are standard practice. If your sewer line has a belly or a reverse grade, it will back up. And nobody wants to get that call.
Manholes, cleanouts, and service laterals all need to be installed per the approved plans. Get your inspector involved early and maintain a good relationship. They can make your life easier or much harder depending on how you treat the process.
Storm Drain
Storm drain systems collect and convey runoff from the developed site. This includes catch basins, pipe runs, junction boxes, and outfall structures. Sizing is determined by the civil engineer based on drainage area calculations, but you need to make sure you are installing everything at the correct elevation and grade.
Pipe bedding is critical for storm drain. If the pipe is not properly supported, it can deflect, crack, or develop joint separation over time. Follow the spec for bedding material (usually crushed stone or pea gravel) and compaction of the backfill around and over the pipe.
Dry Utilities
Electric, gas, and telecom are typically the last underground utilities installed. These usually require coordination with the utility companies, who may want to do their own installations or inspect yours. Lead times for utility company work can be long, so get your service requests in early.
Conduit runs for electric and telecom need to be installed with proper cover depth, sweep fittings (not sharp bends), and pull strings for later wire installation. Stub these out at building pad locations per the electrical plans.
Having accurate estimates for your utility work is critical. Trench excavation, pipe material, bedding, backfill, and testing all add up fast. Miss something in your takeoff and you are eating the cost.
Permits, Inspections, and Regulatory Compliance
Land development is one of the most heavily regulated phases of construction. You will deal with multiple agencies, multiple permits, and multiple inspectors. Staying on top of this is not optional.
The Permit Process
Before you break ground, you typically need:
- Grading permit from the local building or engineering department
- Utility permits for water, sewer, and storm drain connections
- NPDES permit (stormwater) if you are disturbing more than one acre
- Right-of-way permits if any work happens in public roads or easements
- Environmental permits if wetlands, waterways, or protected areas are involved
The permits guide covers this in more detail, but the key takeaway is to start your permit applications as early as possible. Some jurisdictions take weeks or months to review and approve plans. If you are not accounting for permit timelines in your schedule, you are going to be sitting around waiting.
Inspections
Expect inspections at every major milestone: subgrade preparation, utility installation (before backfill), compaction testing, and final grade. Build these hold points into your schedule. There is nothing worse than having a trench open and ready for inspection, but the inspector cannot come out for three days.
Tips for keeping inspections moving:
- Call for inspections early. Most agencies need 24 to 48 hours notice.
- Have your paperwork ready. Compaction test results, as-built surveys, and material certifications should be organized and on-site.
- Fix deficiencies quickly. If an inspector flags something, address it the same day if possible. Letting items pile up leads to failed final inspections and delays.
- Document everything. Photos with timestamps, daily logs, and test results. If a dispute comes up months later, your documentation is your defense.
Environmental Compliance
Beyond stormwater permits, you may need to deal with dust control requirements, noise ordinances, and work hour restrictions. In populated areas, neighbors will complain. Having a plan to manage dust, noise, and traffic before the complaints start is much better than reacting after the fact.
Your site logistics plan should address all of these items. Think about haul routes, equipment staging, material storage, and how construction traffic impacts the surrounding area.
Budgeting and Scheduling Land Development Work
Land development budgets have a way of growing if you are not careful. The variables are real: weather, soil conditions, utility conflicts, and regulatory surprises can all push costs and timelines beyond what you planned.
Building an Accurate Budget
Start with good quantity takeoffs. Your earthwork volumes should come from the civil plans, verified against the topo survey. Do not eyeball it. Use software or have your estimator run the calculations from the contour data.
Key line items that contractors commonly underestimate:
- Rock excavation. If your geotech shows rock within your grading limits, price it separately. Rock removal can cost 5 to 10 times more per yard than normal dirt work.
- Dewatering. High water tables or perched water can require pumping during excavation. Budget for pumps, discharge treatment, and the time it adds to the work.
- Imported fill. If the site does not balance, you need to know the cost of importing suitable fill material, including trucking.
- Testing. Compaction testing, concrete testing for utility structures, and pipe pressure testing all cost money. Budget for it.
- Mobilization and demobilization. Getting heavy equipment to and from the site is not free.
A solid estimating process is what keeps your land development bids profitable. Take the time to do thorough takeoffs, get current material prices, and build in appropriate contingency for the unknowns.
Managing the Schedule
Land development schedules are weather-dependent in a way that few other construction phases are. You cannot compact fill in the rain. You cannot trench in saturated ground. You cannot pour concrete for utility structures when it is below freezing.
Build weather days into your schedule from the start. Look at historical weather data for your area and your planned construction window. If you are grading in the Pacific Northwest in November, you need more contingency than if you are doing the same work in Arizona in April.
Sequence your work to keep things moving even when conditions are not perfect. If it is too wet to grade, can you work on utility installation in a different area of the site? If the compaction tester cannot come until Thursday, is there other work the crew can do in the meantime?
Daily coordination keeps the schedule tight. Make sure your superintendent knows the plan for each day, your subs know when they are expected, and your material deliveries are timed to avoid idle equipment and crews.
Putting It All Together
Land development is not glamorous work. There are no framing walks or ribbon cuttings during the grading phase. But it is the foundation of everything that comes after. The contractors who do this work well are the ones who plan thoroughly, execute carefully, and stay on top of the details.
A few final thoughts:
Invest in your pre-construction process. The money you spend on surveys, geotech reports, and thorough planning pays back tenfold during construction. Rushing into the field without good information is a recipe for change orders and delays.
Build relationships with your inspectors and utility providers. These people control your schedule. Being professional, prepared, and responsive makes the process smoother for everyone.
Track your costs in real time. Earthwork quantities can shift as conditions change. If you are not tracking actual quantities against your budget as the work progresses, you will not know you have a problem until it is too late to fix it.
Use technology where it makes sense. GPS machine control, drone surveys for progress monitoring, and construction management software all make land development more efficient and more accurate. If you want to see how Projul can help you manage your projects from pre-construction through closeout, it is worth a look.
Land development is where the project starts. Get it right, and everything that follows has a solid base to build on. Get it wrong, and you will be dealing with the consequences long after the last piece of heavy equipment leaves the site.
Book a quick demo to see how Projul handles this for real contractors.
Do the work upfront. Trust the process. And always, always call before you dig.
Frequently Asked Questions
How much does land development typically cost per acre?
What permits do I need for land development?
How long does the land development phase usually take?
What is the difference between rough grading and finish grading?
Who is responsible for utility locates before excavation?
Related Articles
Construction Home Addition Management: What Every GC Needs to Know
Home additions are some of the most profitable and most complex residential projects a GC can take on. Here's what you...
Read More →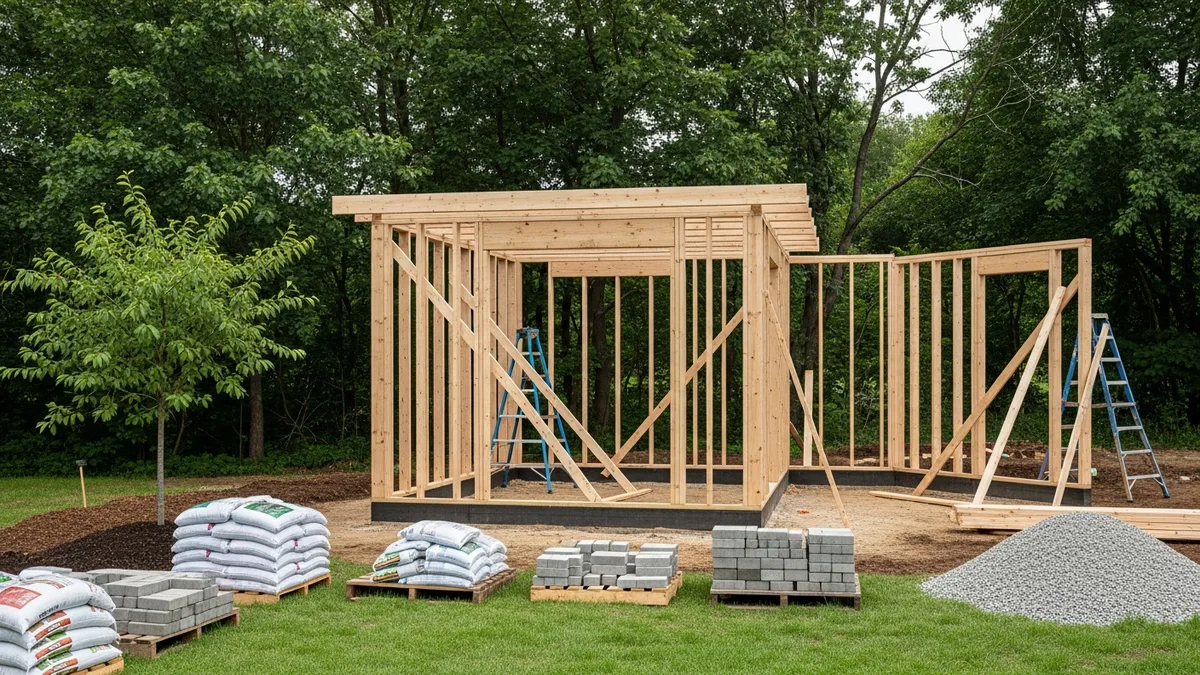
Construction Pool Building Guide: What Every GC Needs to Know
Pool construction is one of the most coordination-heavy projects a GC can take on. This guide breaks down what you...
Read More →
Design-Build vs. Design-Bid-Build: A Contractor's Honest Comparison
Design-build and design-bid-build are two fundamentally different ways to deliver a construction project. This guide...
Read More →