Metal Deck & Composite Floor Systems: A Contractor's Guide | Projul
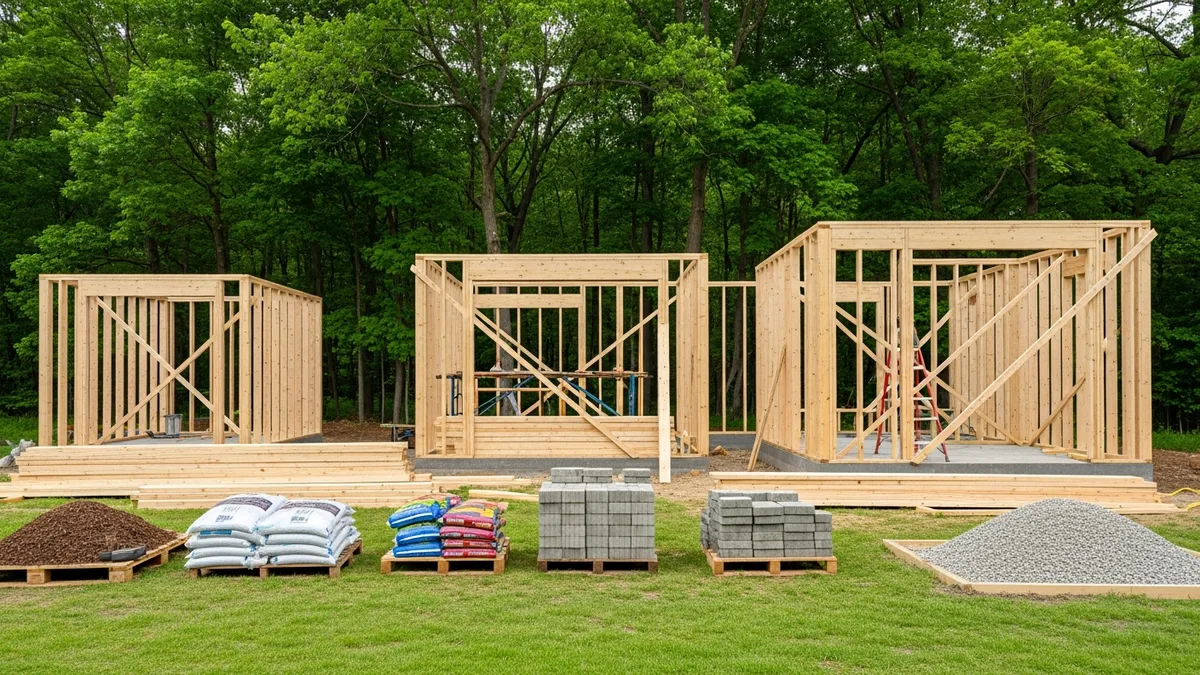
If you have spent any time on commercial job sites, you have walked across metal deck. It is one of those materials that shows up on nearly every multi-story steel frame project, and it plays a much bigger role than most people give it credit for. Metal deck is not just a platform to pour concrete on. When installed correctly as part of a composite floor system, it becomes a structural component that carries loads, reduces steel tonnage, and speeds up the construction schedule.
This guide breaks down what contractors need to know about metal deck and composite floor systems, from picking the right deck profile to getting the concrete pour right. Whether you are a GC coordinating the trades or a steel erector handling the deck installation, this is the practical stuff that keeps your project on track and your floor systems performing the way the engineer intended.
Understanding Metal Deck Types and Profiles
Not all metal deck is the same, and picking the wrong profile will cause problems that ripple through the rest of your project. There are three main categories you will run into on commercial jobs.
Composite Floor Deck is the most common type on multi-story buildings. It has embossments stamped into the steel that grip the concrete once it cures, creating a mechanical bond between the two materials. Common profiles include 1.5-inch, 2-inch, and 3-inch depths. The deeper the profile, the longer the span it can handle without shoring. Vulcraft, Nucor, and ASC Steel Deck are the manufacturers you will see most often.
Roof Deck is lighter and designed to support insulation and roofing materials rather than concrete. It comes in narrow rib, intermediate rib, and wide rib profiles. Do not confuse roof deck with floor deck on your submittals. It happens more often than you would think, and it is an expensive mistake.
Form Deck acts as a permanent form for concrete but does not contribute to the structural capacity of the finished slab. It is thinner and lacks the embossments found on composite deck. You will see form deck on projects where the engineer designed the concrete slab to carry all the load on its own.
The profile depth, gauge, and span tables all tie together. A 20-gauge, 2-inch composite deck might span 8 feet unshored, but bump up to 3-inch deck in 18 gauge and you could clear 12 feet or more. Always check the manufacturer’s load tables against the structural drawings. If the spans on your project do not match up with the deck that was specified, raise the flag early. Swapping deck profiles after delivery is a schedule killer.
For contractors working on steel erection projects, deck installation is one of the first activities that follows beam and column placement. Getting the deck type right from the start keeps the ironworkers moving and avoids costly rework.
How Composite Action Works
The term “composite” gets thrown around a lot, but it is worth understanding what is actually happening structurally. In a composite floor system, three components work together as a single unit: the steel beam, the metal deck, and the concrete slab.
Here is the basic idea. Steel is excellent in tension. Concrete is excellent in compression. When you connect them so they act together, the concrete handles the compression at the top of the floor section while the steel beam handles the tension at the bottom. This combined action is significantly stronger than either material working alone.
The connection between the beam and the slab happens through shear studs, also called headed studs or Nelson studs. These are short steel pins, typically 3/4-inch diameter, that get welded through the metal deck directly to the top flange of the steel beam. Once the concrete is poured and cured, those studs transfer horizontal shear forces between the beam and the slab, locking everything together.
Without shear studs, the concrete slab would slide relative to the beam under load. You would lose all the composite benefit, and the beam would need to be significantly heavier to carry the same load on its own.
The connection between the deck and the concrete is simpler. Those embossments stamped into composite deck create enough friction and interlock that the concrete grips the steel as it cures. Some deck profiles also have pour stops and side laps that contribute to the bond.
Understanding this relationship matters for contractors because it explains why the details are so important. Missed shear studs, poorly welded connections, and incorrect concrete thickness all reduce or eliminate the composite action the engineer is counting on. If you are managing structural steel connections on your project, the shear stud layout is just as critical as the bolted and welded connections in the frame.
Shear Stud Installation: Getting It Right
Curious what other contractors think? Check out Projul reviews from real users.
Shear stud welding is one of those operations that looks simple but requires real attention to detail. A crew with a stud gun can weld hundreds of studs in a day, but if the process is not controlled, you end up with studs that do not meet the structural requirements.
Equipment and Setup. Stud welding uses a specialized gun that creates an electric arc between the stud and the steel beam. The arc melts the base of the stud and the surface of the beam flange, then the gun plunges the stud into the molten pool. The whole weld takes less than a second. You need a dedicated stud welding machine (not a standard MIG or stick welder), a supply of studs with ceramic ferrules, and a crew that knows the setup.
Pre-weld checks matter. Before welding studs through the deck, the beam flange must be clean. Mill scale is generally acceptable, but rust, paint, galvanizing, or standing water on the flange will compromise the weld. If the beams were painted in the shop, the specification should call for the top flange to be left unpainted in the shear stud zones. Check this before the steel goes up, not after.
Testing protocol. The standard test is a bend test where you hit the stud with a hammer at a 15-degree angle (some specs call for 30 degrees). If the stud bends without breaking at the weld, it passes. The first studs welded each day and after any equipment change should be tested. Most specs require testing per AWS D1.1 or the project-specific structural notes.
Common problems and fixes:
- Studs that break off during bend testing usually indicate a dirty flange, worn ferrules, or incorrect machine settings
- Studs welded off-location need to be cut and replaced, not bent into position
- Deck that is not tight to the beam flange creates air gaps that affect weld quality
- Moisture on the deck surface from rain or dew can cause porosity in the weld
Stud placement patterns come from the structural engineer, and they are not random. Heavy load areas like mechanical rooms or corridors might have studs at every flute, while lighter areas might have studs at every other flute or every third flute. Always work from the approved shop drawings, not the design drawings, because the shop drawings account for actual beam sizes and deck layout.
Concrete Placement on Metal Deck
Pouring concrete on metal deck is a different animal than pouring a slab on grade. The deck flexes, the flutes create channels that affect how the concrete flows, and the tolerances for thickness are tighter than most contractors expect.
Pre-pour preparation. Before any concrete truck shows up, walk the deck and check for:
- All shear studs welded and tested
- Deck side laps fastened per the spec (screws or welds)
- Pour stops installed at slab edges and openings
- Deck deflection within tolerance (no sagging spans that would hold excess concrete)
- Reinforcing mesh or rebar placed at the correct elevation
- Penetrations framed and formed
- Embeds and edge angles set to grade
One of the biggest cost overruns on deck pours is excess concrete from deck deflection. If a span of deck sags even half an inch below the target elevation, that low spot fills with extra concrete across the entire bay. On a 50,000-square-foot floor, that adds up to truckloads of unplanned concrete and extra dead load the structure may not have been designed for.
Pumping vs. bucket placement. Most commercial deck pours use a concrete pump. Boom pumps can reach across multiple bays from a single setup, while line pumps work well for smaller pours or floors with limited pump access. Bucket placement from a crane is slower but sometimes necessary for early pours before the building has pump access. If you are coordinating concrete placement methods, the deck pour schedule should align with your pump availability and crew size.
Finishing considerations. The finish on a composite deck slab depends on what goes on top. If it is getting a raised floor system or carpet with underlayment, a screed finish is usually sufficient. If polished concrete or thin-set tile is the final floor, you need a power trowel finish and much tighter flatness tolerances. Specify the finish requirements in your concrete subcontract so there are no arguments after the pour.
Curing. Composite deck slabs need the same curing attention as any other concrete placement. Wet curing or curing compound application should start as soon as finishing is complete. The enclosed environment of a building under construction can be deceptively dry, especially with wind blowing through open floors. Cracked or weak concrete on a composite deck is not just a surface problem. It affects the structural capacity of the entire floor system.
For contractors tracking concrete mix design and testing requirements, composite deck pours typically call for normal-weight concrete at 3,000 to 4,000 psi with a 4 to 6 inch slump. Lightweight concrete is sometimes specified for upper floors to reduce dead load, but it requires different handling and finishing techniques.
Fire Rating and Inspection Requirements
Composite floor systems often serve double duty as fire-rated assemblies. The metal deck, concrete, and supplemental fireproofing work together to achieve the required fire resistance rating, and there are specific requirements contractors need to hit.
UL assemblies. Most composite floor systems are designed to meet a specific UL (Underwriters Laboratories) assembly number. That assembly dictates the exact combination of deck profile, concrete thickness, reinforcing, and fireproofing that achieves the rated fire resistance. Changing any one component without engineering review can void the rating. If you swap from one deck manufacturer to another, even with the same profile depth, you need to verify the new deck is listed in the same UL assembly.
Spray-applied fireproofing. On most commercial projects, the underside of the composite deck and the steel beams below receive spray-applied fire-resistive material (SFRM). This is typically applied after the concrete has cured and the deck is carrying load. The fireproofing thickness is specific to the UL assembly and varies by beam size and deck profile. Fireproofing contractors measure thickness with pins and gauges, and the special inspector verifies compliance.
Inspection checkpoints. Expect inspections at several stages:
- Deck installation (fastening pattern, side laps, pour stops)
- Shear stud welding (visual inspection plus bend tests)
- Pre-pour (reinforcing placement, concrete cover, embed locations)
- Concrete placement (slump tests, cylinder samples, thickness checks)
- Fireproofing application (thickness and adhesion)
If your project has a fire protection plan, the composite floor assembly is a key part of the building’s overall fire resistance strategy. Missing inspections or failing to document the assembly components creates liability that follows you long after the project is done.
Common inspection failures include concrete thickness below the minimum (especially over deflected deck spans), shear studs that were not tested, missing pour stops at slab edges that reduce the fire rating, and fireproofing that is too thin on beam bottom flanges. All of these are avoidable with proper planning and quality control during installation.
Coordinating the Deck Installation Sequence
Metal deck installation touches almost every trade on a commercial project, and poor coordination is the number one reason deck work falls behind schedule. Here is the sequence that works, along with the coordination points that trip up contractors who have not done it before.
Step 1: Steel erection. The structural steel frame has to be in place, plumbed, and connected before deck installation begins. Deck crews typically follow the steel erectors by one or two bays, which means the erection sequence directly controls the deck schedule. If your steel erection plan has the crane working from one end of the building to the other, the deck crew follows the same path.
Step 2: Deck delivery and staging. Metal deck is bulky and heavy. A bundle of 3-inch composite deck can weigh over 3,000 pounds. You need a crane or forklift to move it, and you need a staging plan that keeps bundles close to the installation area without overloading any single bay. Do not stack more bundles on a bay than the temporary load capacity allows. Crushed or buckled deck from overloading is a real problem on congested sites.
Step 3: Deck placement and fastening. The deck crew lays sheets across the beams, aligns them, and fastens the side laps and supports. Fastening to the beams is typically done with puddle welds (arc spot welds) or self-drilling screws, depending on the spec. Side lap connections are screws or button punches. The fastening pattern matters for diaphragm action, which is how the floor transfers lateral loads like wind and seismic forces to the bracing system.
Step 4: MEP coordination. Before shear studs go in and before the concrete pour, the mechanical, electrical, and plumbing trades need to install any sleeves, penetrations, or embeds that go through or into the slab. This is the coordination step that gets missed most often. A 6-inch conduit run that was not sleeved before the pour means someone is core drilling through your composite slab later, which weakens the section and costs a fortune.
Step 5: Shear studs and reinforcing. Once MEP penetrations are framed, the stud welding crew comes through. After studs are welded and tested, the reinforcing (usually welded wire mesh or light rebar) gets placed on chairs at the correct elevation.
Step 6: Concrete pour. With all the prep work done, the pour itself is the straightforward part. But it requires scheduling the concrete supplier, pump, finishing crew, and testing lab all for the same window. On multi-floor projects, you are repeating this cycle floor by floor, which means your deck crew, stud crew, and concrete crew are all working on different floors simultaneously.
For GCs managing complex schedules across multiple trades, keeping all of this organized is exactly where construction scheduling software earns its keep. When one trade falls behind, every trade after them shifts, and the deck-to-pour sequence is one of the most schedule-sensitive chains on any commercial project.
Budget tracking is the other piece that catches contractors off guard. Deck installation involves steel material, fasteners, shear studs, concrete, pumping, reinforcing, finishing, curing, fireproofing, and inspections. Each one is a cost line item, and overruns on concrete volume from deck deflection or stud replacement from failed welds add up quickly. Contractors who track costs in real time using a tool built for construction budget management catch these overruns before they eat the profit on the floor system.
See how Projul makes this easy. Schedule a free demo to get started.
Metal deck and composite floor systems are not glamorous, but they are foundational to getting a commercial building out of the ground and under roof. The contractors who do this work well are the ones who understand the engineering, respect the sequence, and coordinate the trades so every step builds on the one before it. Get the deck right, get the studs right, get the pour right, and the rest of the building has a solid platform to build from.
Frequently Asked Questions
What is the difference between composite and non-composite metal deck?
How thick is the concrete topping on composite metal deck?
What gauge metal deck do contractors typically use for composite floors?
Do you need shear studs for every composite deck installation?
How long does it take to install metal deck on a commercial project?
Related Articles

Construction Loading Dock Design and Installation Guide
A practical guide for contractors on loading dock design and installation, covering dock types, structural specs,...
Read More →
Parking Garage Waterproofing and Deck Coating: A Contractor's Complete Guide
Parking garage waterproofing and deck coating work is specialized, high-stakes, and easy to get wrong. This guide...
Read More →
Construction Plaster and Specialty Wall Finishes Guide
Plaster and specialty wall finishes are making a serious comeback in both residential and commercial construction. This...
Read More →