Outdoor Living Space Construction Guide for GCs
If you’ve been in the residential construction game for any length of time, you’ve watched outdoor living projects go from “nice to have” to the single biggest line item on a remodel bid. Homeowners are spending serious money on patios, pergolas, outdoor kitchens, fire features, and everything in between. And they expect the same quality and professionalism they’d demand on an interior kitchen remodel.
The problem? Outdoor living projects touch almost every trade. You’ve got concrete, framing, electrical, plumbing, gas, masonry, and finish carpentry all converging in one space, often with tight lot lines and zero margin for error. Managing these builds well is what separates the crews that make money from the ones that break even and wonder why.
Let’s break down how to run outdoor living projects the right way, from planning through punch list.
Understanding the Scope Before You Bid
The first mistake contractors make on outdoor living projects is underestimating the scope. A homeowner says “we want a patio with an outdoor kitchen,” and you picture a slab with a built-in grill. Then you get into the details and find out they want a 600-square-foot paver patio, a 16-foot pergola with a ceiling fan, a full kitchen island with a gas grill, side burner, sink, under-counter fridge, and a stone veneer base with granite countertops. Oh, and they want it done before their Fourth of July party.
Before you put a number on paper, nail down every single detail. Walk the site with the homeowner and talk through exactly what they’re imagining. Bring photos of past projects or reference images so you’re both looking at the same thing. The conversation should cover:
- Patio size, material, and pattern. Pavers, stamped concrete, natural stone, or a combination? Each has different prep requirements and costs. If you need a primer on the concrete side, our concrete finishing guide covers the techniques and common pitfalls.
- Pergola or shade structure. Freestanding or attached to the house? Wood, vinyl, aluminum, or steel? Is it carrying a roof, fans, lights, or a retractable canopy?
- Kitchen layout and appliances. What’s going in the island? Every appliance drives a utility requirement. A gas grill needs a gas line. A sink needs water supply and drainage. A fridge needs a dedicated circuit.
- Electrical needs. Outlets, lighting, ceiling fans, TV hookups, sound systems. Get this list locked in early because it drives your electrical rough-in plan.
- Drainage. Outdoor kitchens and patios need proper drainage, and your lot’s existing grading might work against you.
Getting this nailed down up front is the single best thing you can do for your margin. Every detail you miss at the bidding stage is a detail that eats into your profit later. If you’re using Projul’s estimating tools, you can build templates for outdoor living packages that cover all these line items so nothing falls through the cracks.
Site Prep and Grading: Get This Right or Pay for It Later
Outdoor living projects live and die on site prep. You’re building on grade, which means the ground underneath your work needs to be right. If it’s not, you’ll be dealing with settling pavers, cracked slabs, pooling water, and callbacks that destroy your reputation.
Start with a thorough site evaluation. Look at existing grade, soil conditions, drainage patterns, and proximity to the house foundation. If the lot slopes toward the house, you need to solve that problem before you do anything else. A patio that funnels water toward the foundation is a lawsuit waiting to happen.
Here’s the typical site prep sequence for a full outdoor living project:
- Lay out the footprint. Stake the patio perimeter, pergola post locations, and kitchen island position. Verify setbacks and utility easements.
- Call for locates. Every single time. Underground utilities are everywhere, and hitting a gas line or fiber optic cable will ruin your week.
- Excavate to subgrade. For pavers, you’re typically going 7 to 9 inches below finished grade (4 inches of base, 1 inch of bedding sand, plus the paver thickness). For a poured slab, you need 4 to 6 inches of compacted base under 4 inches of concrete.
- Address drainage. Install catch basins, channel drains, or French drains as needed. Slope the patio surface away from the house at a minimum of 1/8 inch per foot.
- Compact in lifts. This isn’t optional. Run a plate compactor over every 2-inch lift of base material. Skipping this step is the number one cause of paver settlement.
Contractors across the country trust Projul to run their businesses. Read their reviews.
If your outdoor living project ties into broader landscaping work, coordinate early. We’ve written about landscaping coordination in detail because it’s one of those areas where poor communication between trades causes real problems. The landscaper needs to know your finished grades, and you need to know where their irrigation and planting beds are going.
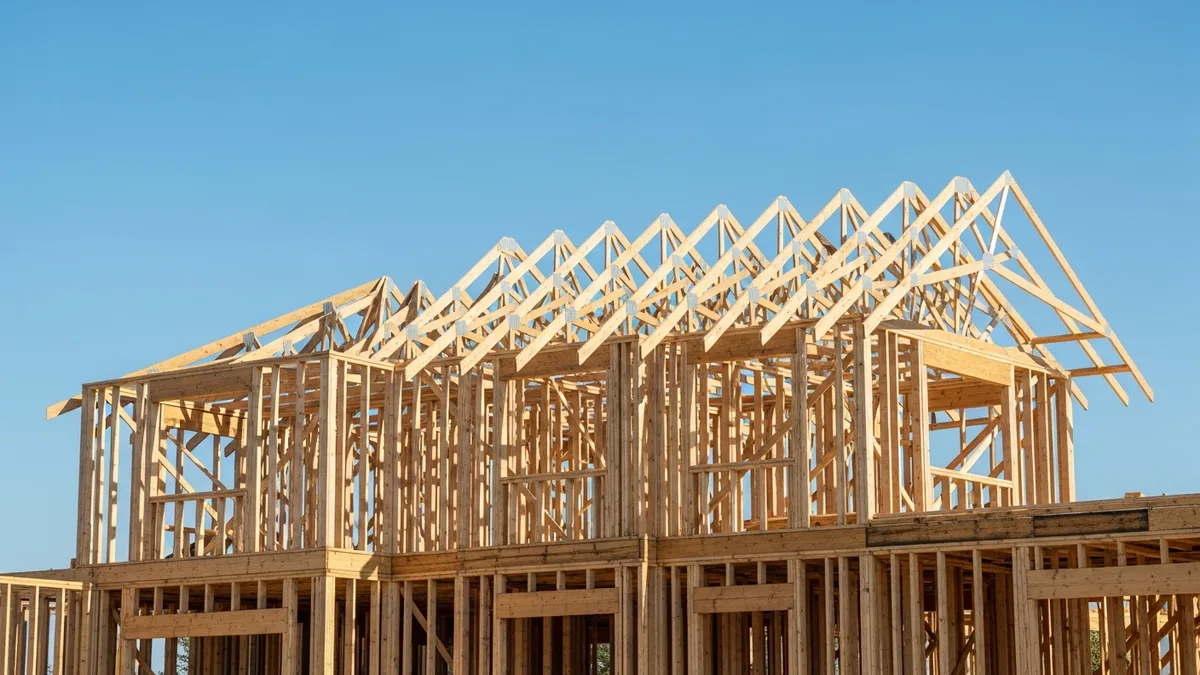
Pergola and Shade Structure Construction
Pergolas are the centerpiece of most outdoor living spaces, and they’re also where a lot of contractors get tripped up. Building a pergola isn’t complicated framing, but the details matter more than people think.
Footings and posts. Local code will dictate footing depth and size, but plan on a minimum of 42-inch-deep footings in most cold-climate zones. Use post bases or brackets rather than burying the wood directly in concrete. Even pressure-treated lumber will eventually rot if it’s sitting in a concrete pocket that holds moisture.
Beam and rafter sizing. This depends on span, spacing, load requirements, and whether you’re in a snow load zone. A freestanding pergola with 12-foot spans might call for doubled 2x10 beams and 2x8 rafters at 16 inches on center. If you’re attaching to the house, you need a ledger board, and that ledger needs to be properly flashed and lagged into the framing, not just the siding.
Attached vs. freestanding. Attaching to the house is cleaner aesthetically but comes with more liability. You’re penetrating the building envelope, and any water intrusion at the ledger connection is your problem. Freestanding structures avoid that risk but need four posts instead of two, which changes the layout.
Electrical in the pergola. Ceiling fans, pendant lights, string light outlets, and speaker wire all need to be planned before you close up any beams. Running conduit through hollow aluminum pergola posts is straightforward. Running wire through solid wood posts and beams requires pre-drilling and planning the chase before assembly.
If you’re already building decks, adding pergola construction to your scope is a natural fit. The framing skills transfer directly, and the material suppliers are the same.
Material choices. Cedar and redwood look great but need regular maintenance. Pressure-treated pine is the budget option but doesn’t age well without stain. Vinyl and aluminum pergola kits have come a long way and offer a zero-maintenance selling point. For high-end projects, steel frames with wood or composite cladding give you the best of both worlds.
Outdoor Kitchen Construction: Where the Money Is
Outdoor kitchens are where the profit sits in outdoor living projects, but they’re also where the most things can go wrong. You’re essentially building a small commercial kitchen outdoors, with all the utility requirements that implies but none of the controlled environment.
The base structure. Most outdoor kitchen islands are built with steel studs and cement board, then finished with stone veneer, stucco, brick, or tile. Some contractors use concrete block. The key is using materials that can handle freeze-thaw cycles, rain, and UV exposure year-round.
Utility rough-ins. This is where sequencing matters more than anywhere else on the project. You need to rough in gas, electric, water, and drainage BEFORE you close up the island. Map every appliance location, stub out every line, and pressure test gas and water before a single piece of veneer goes on. Trust me on this: tearing apart a finished stone island to fix a leaking gas connection or add a forgotten outlet is miserable, expensive work.
Your gas line needs to be sized for the total BTU load of all appliances. A 75,000 BTU grill, a 30,000 BTU side burner, and a 40,000 BTU fire pit add up fast. Undersized gas lines mean weak burner performance and unhappy homeowners.
Countertops. Granite and quartzite are the standards for outdoor kitchens because they handle weather well. Concrete countertops are an option too, but they need proper sealing. Marble looks beautiful but stains easily outdoors. Always template after the base structure is complete, not before, because field dimensions never match the plan exactly.
Appliance installation. Built-in grills and appliances need precise cutout dimensions. Get the spec sheets before you build the island, not after. Leave access panels for gas valves, electrical connections, and plumbing shutoffs. The homeowner will need to service these appliances, and so will you if something goes wrong.
Ventilation. If the outdoor kitchen is under a pergola with a solid roof or close to the house, you need to think about ventilation. A powerful gas grill throws a lot of heat and smoke, and that needs somewhere to go. Vent hoods exist for outdoor kitchens, and on covered installations, they’re worth the added cost.
Scheduling and Trade Coordination
Outdoor living projects have a unique scheduling challenge: almost everything is weather-dependent, and you’re stacking multiple trades into a small footprint. On a rainy week, your entire schedule slides.
Here’s a typical sequence for a full outdoor living build:
- Site prep and excavation (1-2 days)
- Underground utility rough-in: gas, electric, plumbing, drainage (2-3 days)
- Base compaction and patio substrate (1-2 days)
- Pergola footings (1 day plus cure time)
- Patio installation: pavers, stone, or concrete pour (2-5 days)
- Pergola framing and assembly (2-3 days)
- Kitchen island framing and rough-in (2-3 days)
- Electrical and plumbing inspections
- Kitchen island finish: veneer, countertop, appliance install (3-5 days)
- Pergola finish: stain, electrical trim-out, fan/light install (1-2 days)
- Final grading, landscaping, and cleanup (1-2 days)
- Punch list and final walkthrough
The critical path runs through the underground rough-ins and inspections. If your electrician or plumber can’t get there on time, or if the inspector kicks something back, your whole schedule shifts. Build buffer into the schedule for weather days and inspection delays.
Using scheduling software makes a real difference on these projects. When you’ve got concrete guys, electricians, plumbers, masons, and your own crew all needing to be on site at specific times, a shared schedule that everyone can see prevents the “I didn’t know I was supposed to be there Tuesday” problem.
The other scheduling headache is material lead times. Custom stone, specific paver colors, outdoor-rated appliances, and granite countertops all have lead times that can stretch from 2 weeks to 8 weeks or more. Order materials the day the contract is signed, not the day work starts.
Managing Client Expectations and Change Orders
Outdoor living projects attract a specific type of client: someone who’s spending a lot of money to create their dream backyard. They’ve been scrolling Pinterest and Instagram for months. They have a vision. And that vision will change approximately 47 times between contract signing and the final walkthrough.
This isn’t a bad thing if you manage it well. Change orders are profit opportunities, not headaches, as long as you have a clear process for handling them. The key is setting expectations up front about what’s included, what costs extra, and how changes affect the schedule.
Our guide on managing client expectations goes deep on this, but here are the outdoor-living-specific tips:
Show them the ugly phase. Outdoor living projects look terrible in the middle. The yard is torn up, there’s a pile of base material where the patio will be, and the kitchen island is just a steel stud skeleton. Homeowners panic during this phase. Show them progress photos from past projects at the same stage so they know it’s normal.
Document everything with photos. Take photos of every rough-in before it gets covered up. Photograph the base compaction, the utility stub-outs, the waterproofing, and every inspection sticker. This protects you if something goes wrong later and the homeowner claims it was done incorrectly.
Be specific about what “done” means. Does the contract include final grading? Sod repair? Landscape restoration? These are the line items that cause arguments at the end of the project. Spell it out in the scope of work.
Present change orders in writing, same day. When the homeowner says “could we also add a fire pit over there?”, don’t say “sure, we’ll figure it out.” Write up the change order with cost and schedule impact, get it signed, and then add it to the project. This protects both of you.
Payment schedule tied to milestones. Outdoor living projects work well with milestone-based payments. Deposit at signing, payment at base completion, payment at rough-in, payment at finish, and final payment at walkthrough. This keeps cash flow predictable and gives the homeowner clear checkpoints.
If you’re not already using project management software to track all of this, you’re making your life harder than it needs to be. Schedule a demo with Projul and see how other outdoor living contractors are keeping their projects organized, on budget, and profitable.
Putting It All Together
Outdoor living construction isn’t one trade. It’s the intersection of everything you know about residential building, compressed into a backyard. The contractors who do this well are the ones who plan thoroughly, sequence carefully, communicate constantly, and treat every project like the complex, multi-trade build that it is.
The demand for these projects isn’t slowing down. Homeowners are investing more in their outdoor spaces than ever before, and they’re willing to pay premium prices for quality work. If you can deliver a finished outdoor living space that looks great, functions perfectly, and gets done on time, you’ll have more referrals than you can handle.
Want to put this into practice? Book a demo with Projul and see the difference.
Start with the fundamentals: detailed scoping, accurate estimating, tight scheduling, and clear client communication. Get those right, and the craftsmanship takes care of itself.
Frequently Asked Questions
How long does a typical outdoor living space project take?
What permits are usually required for outdoor living construction?
How do you estimate outdoor kitchen projects accurately?
What's the biggest risk on outdoor living projects?
Should contractors specialize in outdoor living or offer it as an add-on?
Related Articles

Construction Home Addition Management: What Every GC Needs to Know
Home additions are some of the most profitable and most complex residential projects a GC can take on. Here's what you...
Read More →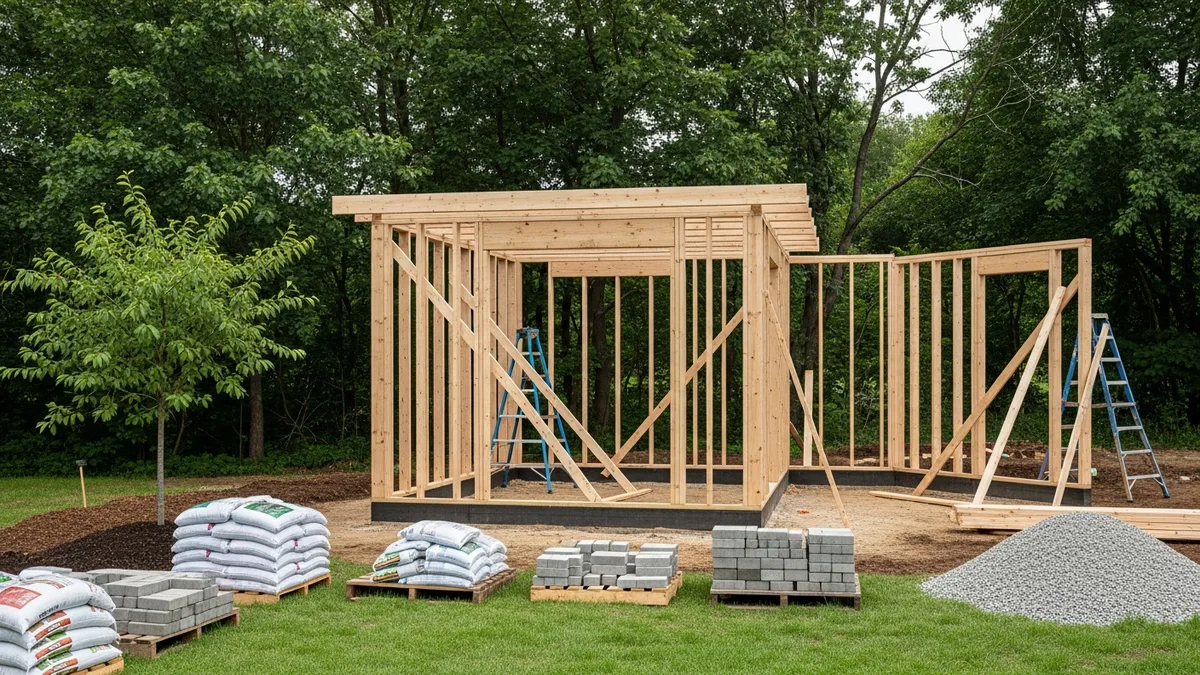
Construction Pool Building Guide: What Every GC Needs to Know
Pool construction is one of the most coordination-heavy projects a GC can take on. This guide breaks down what you...
Read More →
Design-Build vs. Design-Bid-Build: A Contractor's Honest Comparison
Design-build and design-bid-build are two fundamentally different ways to deliver a construction project. This guide...
Read More →