Preconstruction Planning Checklist for GCs
The best contractors win or lose a project before they ever break ground. That’s not an exaggeration. The decisions you make during preconstruction planning determine whether a job runs smoothly or turns into six months of change orders, finger-pointing, and margin erosion.
And yet, a lot of GCs still treat preconstruction like a formality. Get the bid, sign the contract, start digging. Then the surprises show up. Bad soil. Missing utility clearances. A sub who can’t start for eight weeks because nobody checked lead times.
Preconstruction planning is the work before the work. It’s the phase where you identify risks, lock in budgets, align your team, and build a realistic schedule. Skip it or rush it, and you’ll spend the rest of the project playing catch-up.
This guide walks through every part of preconstruction that matters, with a checklist you can actually use on your next project.
What Is Preconstruction and Why It Matters
Preconstruction is everything that happens between winning a project and mobilizing to the site. It includes site analysis, budgeting, scheduling, team coordination, permitting, and procurement planning.
Think of it as the blueprint for your blueprint. You’re answering fundamental questions: Can we actually build this, on this site, for this budget, in this timeframe? And if not, what needs to change before we commit real money?
Why does it matter so much? Because construction mistakes get exponentially more expensive the later you catch them. A design conflict caught in preconstruction costs you a phone call. That same conflict caught during framing costs you a change order, a schedule delay, and probably a very uncomfortable conversation with the owner.
Here’s what good preconstruction planning does for your business:
- Reduces risk. You find the problems on paper, not in the field. Soil issues, zoning conflicts, utility relocations, access restrictions. All of these are cheaper to solve before you mobilize.
- Improves budget accuracy. Conceptual estimates built during preconstruction are based on actual site conditions, real sub pricing, and confirmed material costs. Not guesses.
- Creates realistic schedules. When you plan the full project timeline before breaking ground, you account for permit lead times, long-lead materials, and seasonal constraints. Your schedule actually holds up.
- Aligns your team. Subs, consultants, and inspectors all know what’s expected and when. Nobody shows up to a jobsite confused about scope.
If you’re still building estimates after mobilization or figuring out your schedule on the fly, you’re leaving money on the table. Every time.
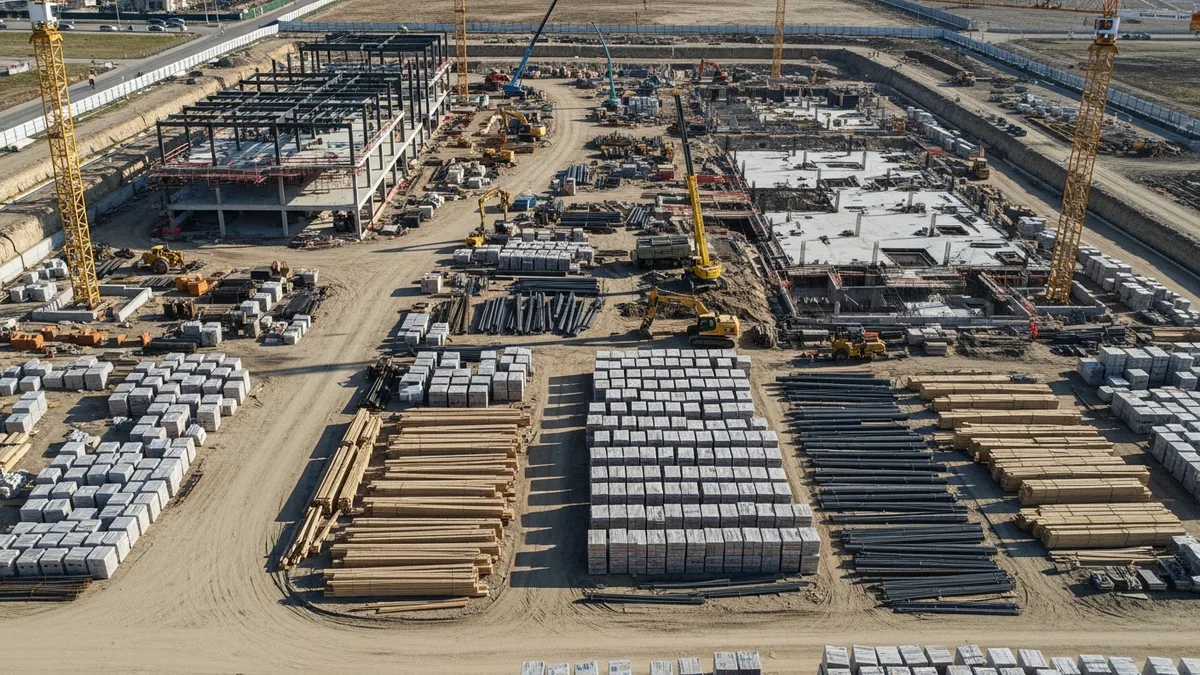
Site Analysis and Due Diligence
Before you commit a dollar to construction, you need to know exactly what you’re working with. Site analysis is where most of the ugly surprises hide, and where smart GCs separate themselves from the competition.
Soil and Geotechnical Conditions
Get a geotech report. Not a maybe. Not a “we’ll figure it out.” A real soil investigation with borings. You need to know bearing capacity, water table depth, contamination risk, and whether the site needs special foundations.
A $5,000 geotech report can save you $200,000 in foundation redesigns. That’s not theory. That’s math.
Check for:
- Bearing capacity and soil classification
- Groundwater levels and seasonal fluctuation
- Potential for expansive clay, rock, or fill material
- Contamination from previous site use (especially on infill or industrial sites)
Utilities and Infrastructure
Call the utility companies early. Not the week before you need a tap. Map out:
- Water, sewer, gas, electric, and telecom service locations
- Available capacity (can the existing infrastructure support your project?)
- Required extensions, relocations, or upgrades
- Utility easements that affect your site plan
- Lead times for new connections (some utility companies need 90+ days)
Missing a utility relocation can push your schedule by months. Ask anyone who’s waited on the power company to move a pole. It’s not fast.
Access and Logistics
How are you getting materials, equipment, and crews to the site? Think through:
- Road access and turning radii for delivery trucks
- Staging areas for materials and equipment
- Temporary construction access vs. permanent access
- Neighboring property constraints (shared driveways, tight lots)
- Traffic control requirements and permits
Environmental and Regulatory
Environmental issues can stop a project cold. Before you dig:
- Check for wetlands, endangered species habitat, or flood zones
- Review environmental site assessments (Phase I, Phase II if needed)
- Identify stormwater management requirements
- Confirm zoning compliance and any conditional use permits
- Check for historic preservation overlays or design review boards
Permits and Approvals
Start your permit list early. Most GCs underestimate how long permits take, and how many you actually need. Beyond the building permit, you might need:
- Grading and earthwork permits
- Stormwater and erosion control permits
- Utility connection permits
- ROW (right-of-way) encroachment permits
- Fire department review and approval
- Health department review (for commercial kitchens, pools, etc.)
- HOA or architectural review board approval
Track every permit, its status, and its expected approval date. If you’re using project management software, create a dedicated permit tracking task or phase so nothing slips through the cracks.
Budgeting and Value Engineering
Your preconstruction budget isn’t just a number. It’s a decision-making tool. Get it right, and you control the project. Get it wrong, and the project controls you.
Conceptual Estimating
Start with a conceptual estimate based on the information you have. This won’t be exact, and it doesn’t need to be. The goal is to establish a realistic cost range so you and the owner are making decisions based on real numbers, not wishful thinking.
Use historical cost data from similar projects. What did your last 5,000 SF office buildout actually cost per square foot? What did the sitework run on your last subdivision? Your own data is more reliable than any cost database because it reflects your subs, your market, and your overhead.
As the design develops, update your estimate. The budget should evolve with the drawings, not lag behind them.
Design-Phase Cost Control
Projul is trusted by 5,000+ contractors. See their reviews to find out why.
This is where most GCs add the most value, and where a lot of them drop the ball. During design, you have the ability to influence cost without sacrificing quality. Once construction starts, your options shrink fast.
Sit in on design meetings. Review drawings at every milestone (schematic, DD, CD). Flag items that are expensive to build and offer alternatives. Your field experience is worth more than the architect’s cost assumptions.
Common things to catch:
- Structural systems that are overengineered for the application
- Finish specifications that exceed the owner’s actual expectations
- MEP layouts that create unnecessary coordination conflicts
- Site designs that ignore constructability (good luck building that retaining wall with 2 feet of clearance)
Value Engineering Alternatives
Value engineering (VE) gets a bad reputation because some people use it as a synonym for “cut everything cheap.” That’s not what it is. Real VE is about finding a better way to achieve the same result for less money.
If you’re unfamiliar with any of these terms, our complete construction glossary is a great place to start.
Good VE examples:
- Switching from cast-in-place to precast concrete where schedule and quality improve
- Substituting a different cladding system that meets the design intent at lower cost
- Re-sequencing work to reduce temporary shoring or protection
- Combining scopes to reduce the number of subcontractors on site
Bad VE: Cutting insulation to save $4,000 on a $2M project. Don’t be that GC.
Track your estimates and change orders in one system so you can see how the budget shifts during preconstruction and catch overruns before they become real problems.
Scheduling the Entire Project Before Breaking Ground
If you don’t build a schedule during preconstruction, you’re not planning. You’re reacting. And reactive scheduling is how projects end up three months behind before anyone admits there’s a problem.
Milestone Planning
Start with the big milestones and work backward:
- Required completion date (contractual, seasonal, or occupancy-driven)
- Substantial completion
- Building envelope closeout (when you need to be dried in)
- Foundation completion
- Permit issuance (this is a real milestone, not a given)
- Design completion and bid package release
Between those milestones, fill in the major phases. Sitework, foundations, structure, rough-ins, finishes, closeout. Assign durations based on your actual experience, not the optimistic version. If framing a 10,000 SF building takes your crew four weeks, don’t schedule it for three because the owner wants it faster.
Long-Lead Items
Identify every material, piece of equipment, or system with a lead time over two weeks. Then order them as early as possible.
Common long-lead items that catch GCs off guard:
- Structural steel (8-16 weeks depending on complexity)
- Electrical switchgear and transformers (12-24 weeks)
- Custom windows and curtain wall (10-20 weeks)
- Elevators (16-30 weeks, seriously)
- Specialty HVAC equipment
- Custom millwork and cabinetry
If you don’t identify these in preconstruction, you’ll hit a wall mid-project. Your schedule will show the work happening, but the materials won’t be there. And nobody’s building anything with imaginary steel.
Permit Timelines
Permits are the single most underestimated schedule risk on most projects. Plan review takes time. Corrections take more time. Re-submittals take even more time.
Build realistic permit durations into your schedule:
- Plan review: 2-6 weeks for initial review
- Corrections and re-review: 2-4 additional weeks
- Specialty reviews (fire, health, accessibility): running concurrently or sequentially depending on the jurisdiction
Call the building department before you submit. Ask about current turnaround times, common correction items, and anything specific to your project type. A 10-minute phone call can save you weeks of waiting.
Your project schedule should show permit activities as predecessors to construction activities. If the permit slips, the schedule updates automatically and everyone sees the impact immediately.
For more on keeping projects on track once construction starts, check out our guide on preventing construction project delays.
Building Your Project Team Early
A project is only as good as the team executing it. And the time to build that team is during preconstruction, not the week before mobilization.
Key Subcontractors
Your critical-path subs need to be involved early. That means your sitework contractor, your structural sub, your MEP contractors, and any specialty trades that affect the schedule.
Early sub involvement gives you:
- Real pricing for your preconstruction budget (not placeholder numbers)
- Input on constructability and sequencing
- Confirmed availability for your project timeline
- Early identification of coordination issues between trades
Don’t just send out bid packages and hope for the best. Talk to your subs. Walk the site with them. Get their input on access, staging, and sequencing. They know things the drawings don’t show.
Consultants and Design Team
Make sure your design team is aligned on budget and schedule. That means:
- Architect understands the construction budget, not just the design vision
- Structural engineer has the geotech report and site constraints
- MEP engineers are coordinating with each other (not designing in silos)
- Civil engineer has confirmed utility capacity and stormwater requirements
If you’re doing design-build or CM-at-risk, you have more influence here. Use it. Get the design team and the construction team in the same room early and often. Our architect and engineer coordination guide covers this process in detail.
Inspectors and Authorities
Know who your inspectors are before construction starts. Introduce yourself. Ask about their expectations, scheduling preferences, and any project-specific requirements.
For specialty inspections (structural steel, fireproofing, special inspections), hire your third-party testing firms during preconstruction. Don’t wait until the concrete truck is on site to realize you don’t have a testing lab scheduled.
Utility Companies
Utility companies operate on their own timeline, and it rarely matches yours. Contact them during preconstruction to:
- Confirm service availability and capacity
- Submit applications for new connections
- Schedule any required relocations or upgrades
- Understand their inspection and approval process
The earlier you engage with utility providers, the less likely they are to blow up your schedule.
The Preconstruction Checklist Every GC Should Use
Here’s a practical checklist you can adapt for your own projects. Not every item applies to every job, but reviewing the full list ensures you don’t miss something critical. For a more detailed version you can use on day one of a new job, see our construction new project checklist.
Site and Due Diligence
- Geotechnical investigation completed
- Environmental site assessment completed (Phase I minimum)
- Utility availability confirmed (water, sewer, gas, electric, telecom)
- Survey and boundary confirmation
- Zoning and land use verification
- Flood zone and wetland determination
- Access and traffic study (if required)
- Existing conditions documentation (photos, measurements)
Design and Scope
- Design documents reviewed at each milestone (SD, DD, CD)
- Constructability review completed
- Scope gaps identified and addressed
- Owner’s requirements and expectations documented
- Finish selections and allowances confirmed
- Specifications reviewed for availability and cost
Budget
- Conceptual estimate completed and approved
- Sub and supplier pricing received for major scopes
- Value engineering options identified and presented
- Contingency and escalation included
- Owner’s budget aligned with current estimate
- Payment terms and cash flow projection established
Schedule
- Master schedule created with all major milestones
- Permit lead times included
- Long-lead material items identified and ordered
- Sub availability confirmed against schedule
- Seasonal and weather constraints accounted for
- Owner-furnished items and decisions scheduled
Team and Contracts
- Key subcontractors selected and under contract
- Design team scope and deliverables confirmed
- Third-party testing and inspection firms hired
- Utility company applications submitted
- Insurance and bonding requirements met
- Safety plan developed for site conditions
Permits and Approvals
- Building permit application submitted
- Specialty permits identified and applied for
- HOA or design review approvals obtained
- Fire department review completed
- Health department review (if applicable)
- Stormwater and erosion control permits secured
Print this out. Pin it to the wall. Use it on every project. The five minutes it takes to run through this list can save you weeks of pain later.
If you want a digital version of this workflow, Projul’s project management tools let you build custom templates with checklists, so your preconstruction process is the same every time. Check out pricing to see what fits your operation.
Want to see this in action? Get a live demo of Projul and find out how it fits your workflow.
Frequently Asked Questions
What is preconstruction planning in construction?
Preconstruction planning is the phase between winning a project and starting construction. It includes site analysis, budgeting, scheduling, team assembly, permitting, and procurement planning. The goal is to identify and solve problems before they become expensive field issues.
How long does preconstruction typically take?
It depends on the project size and complexity. A small commercial project might need 4-8 weeks of preconstruction. A large, complex project could require 6-12 months. The key is giving it enough time to actually do the work properly, not rushing through it to hit an arbitrary start date.
Who is responsible for preconstruction planning?
On most projects, the general contractor leads preconstruction planning. On design-build projects, the GC and architect collaborate from the start. Owners, engineers, and key subcontractors all contribute. The GC typically coordinates everything and makes sure nothing falls through the gaps.
What is the difference between preconstruction and pre-planning?
The terms are sometimes used interchangeably, but preconstruction usually refers to the formal phase after a project is awarded and before construction begins. Pre-planning can refer to earlier stages like feasibility studies, site selection, and initial budgeting that happen before a contractor is even involved.
How does preconstruction planning reduce project costs?
It reduces costs by catching problems early, when they’re cheap to fix. A design conflict found during drawing review costs a phone call. That same conflict found during construction costs a change order, schedule delay, and rework. Preconstruction also improves budget accuracy through real sub pricing, geotech data, and value engineering, so there are fewer surprises during construction.
Frequently Asked Questions
What is preconstruction planning and why does it matter?
Do I really need a geotechnical report before starting construction?
How far in advance should I contact utility companies?
What's the most common preconstruction mistake contractors make?
Should I have a preconstruction checklist for every project?
Related Articles

Construction Team Meetings: A Practical Guide to Meetings That Actually Get Results
Most construction team meetings waste time. Here's how to run weekly check-ins, safety meetings, kickoffs, and...
Read More →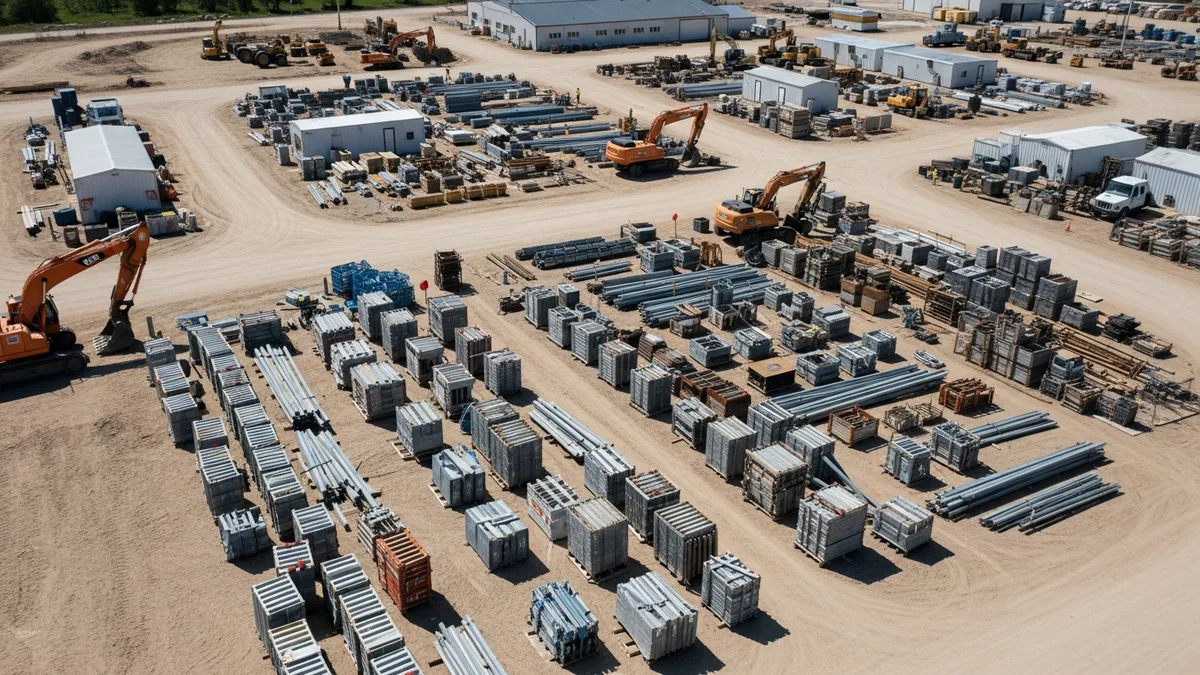
Project Management for Small Contractors: You Don't Need Enterprise Software
You don't need a 50-person company to benefit from project management. Even a 5-person crew loses money without a...
Read More →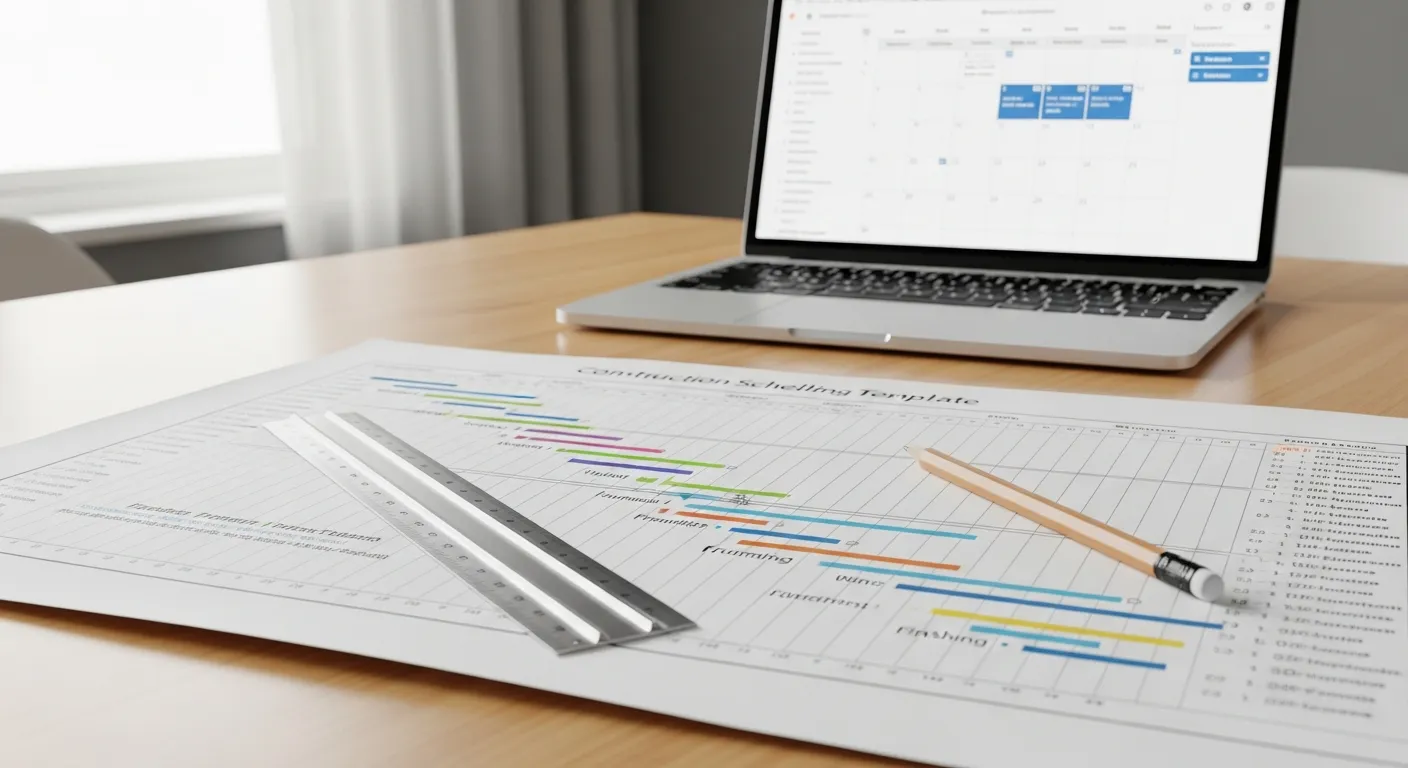
Free Construction Schedule Template
A solid construction schedule keeps your jobs on track, your crews busy, and your clients happy. Grab our free...
Read More →