Roofing Project Management Guide for GCs
If you’ve been a GC for more than a few years, you already know that roofing projects have a way of testing everything you thought you had under control. The schedule looks tight, the weather has other plans, the material delivery shows up a day late, and suddenly your client is calling because water is coming through their ceiling.
Roofing sits at a weird intersection in construction management. It’s one of the most common scopes of work on residential and light commercial projects, but it also carries some of the highest risk. Falls, weather exposure, material waste, warranty callbacks. The list goes on. And for GCs who don’t specialize in roofing, managing these projects can feel like you’re always one step behind.
This guide breaks down what actually matters when you’re running a roof replacement or new install. No theory, no fluff. Just the stuff that keeps projects on track and keeps you from losing money.
Understanding Roofing Scope: Replacements vs. New Installs
Before you price a single square of shingles, you need to be clear about what kind of roofing project you’re dealing with. Replacements and new installs share some overlap, but the planning, labor, and risk profiles are different enough to matter.
Roof replacements involve tearing off existing material, inspecting (and often repairing) the deck, and installing new roofing. The big variable here is what you find once the old roof comes off. Rotted decking, improper flashing from the last roofer, damaged trusses. You won’t know the full scope until demo is underway, which is why your estimates need to account for contingencies. A 10-15% contingency line item on replacement jobs is standard, and you should explain that to your client upfront.
New installs on new construction are more predictable. You’re working off plans, the deck is fresh, and you know exactly what’s going underneath. The challenge here is coordination. Roofing needs to happen after framing and sheathing are complete but before interior work begins. If your framing crew runs behind, roofing gets pushed, and then every trade after roofing gets pushed too.
Either way, the scope definition needs to be airtight in your contract. Spell out exactly what’s included: material type, underlayment spec, flashing details, number of layers being removed (for replacements), ventilation work, and cleanup. The more specific you are upfront, the fewer arguments you’ll have later.
One thing that catches newer GCs off guard is the code situation. Building codes for roofing have gotten more specific in the last decade, especially around wind uplift ratings, ice and water shield requirements, and ventilation calculations. If you’re pulling the permit, you’re on the hook for code compliance. Don’t assume your roofing sub knows the current local amendments. Verify it yourself.
Scheduling Roofing Work: Timing Is Everything
Roofing is probably the most weather-dependent trade on any job. You can frame in light rain. You can do interior rough-ins in a blizzard. But you cannot install roofing in wet conditions, and you definitely can’t leave a building with an open roof overnight when rain is in the forecast.
This means your scheduling has to be tighter on roofing phases than almost anything else. Here’s what that looks like in practice:
Build in buffer days. For a standard residential re-roof, if your crew says two days, schedule three. For commercial jobs, add 20-30% schedule buffer for weather. This isn’t padding for the sake of it. It’s realistic planning based on the fact that weather windows close without warning.
Monitor forecasts aggressively. Check the 10-day forecast daily once you’re within two weeks of a roofing phase. If you see a stretch of clear weather, that’s your window. Be ready to mobilize. If the forecast turns, communicate the delay to everyone immediately. Our weather planning guide goes deeper on building weather contingencies into your project plans.
Sequence the work correctly. On new construction, roofing should be one of the first things that happens after the building is dried in. On renovation projects, coordinate roofing with any exterior work (siding, windows, painting) so you’re not sending crews up twice or creating conflicts on scaffolding.
Time of year matters. Asphalt shingles need a minimum temperature for proper adhesion, usually around 40-45°F. Some manufacturers void warranties if shingles are installed below their minimum temp rating. Metal roofing is less temperature-sensitive but still has challenges in extreme cold. If you’re scheduling a roof for January in a northern climate, plan accordingly and check manufacturer specs.
Daily start and stop times. Roofing crews typically want to start early, especially in summer when afternoon heat makes roof work miserable and dangerous. Make sure your schedule accounts for early morning noise ordinances in residential areas. Nothing kills a client relationship faster than a roofing crew showing up at 6 AM in a quiet neighborhood.
Managing Roofing Subcontractors
Unless roofing is your company’s bread and butter, you’re probably subbing this work out. And that’s fine. Most GCs do. But managing roofing subs requires more attention than a lot of contractors give it.
Vetting matters more here than almost any other trade. Roofing has one of the highest injury rates in construction, which means insurance claims are common. Before you sign a sub agreement, verify their workers’ comp policy is current and has adequate limits. Check their general liability, too. If a roofer drops a bundle of shingles through a skylight or a worker falls off a ladder, you need to know the insurance situation is solid. Our insurance guide covers what to look for in sub insurance certificates.
For a deeper look at vetting, onboarding, and managing specialty subs, check out our subcontractor management guide. It applies across trades, but the principles are especially important for high-risk work like roofing.
Communication cadence. Touch base with your roofing sub at least twice a week when their work is approaching. Confirm material delivery dates, crew availability, and weather contingencies. On the day before they start, do a final check: materials on site, dumpster placed, area prepped, and access confirmed.
Quality checkpoints. Don’t wait until the roof is done to inspect. Set up checkpoints:
- After tear-off (for replacements): inspect the deck for damage before new material goes on
- After underlayment: verify overlap, fastening pattern, and ice/water shield placement in valleys and at eaves
- After flashing: check all penetrations, valleys, and wall-to-roof transitions
- Final inspection: overall appearance, ridge vent alignment, drip edge, and cleanup
Contractors across the country trust Projul to run their businesses. Read their reviews.
These checkpoints aren’t about micromanaging. They’re about catching problems when they’re cheap to fix instead of expensive. Replacing a section of improperly installed flashing during the job costs almost nothing. Tearing off finished roofing to fix it six months later costs a fortune.
Payment structure. For roofing subs, a common structure is 50% at material delivery/start and 50% at completion with approved inspection. Some GCs do a third milestone at the midpoint for larger commercial jobs. Whatever you do, don’t pay 100% upfront. That’s not a trust issue. It’s just basic project management.
Materials, Pricing, and Procurement
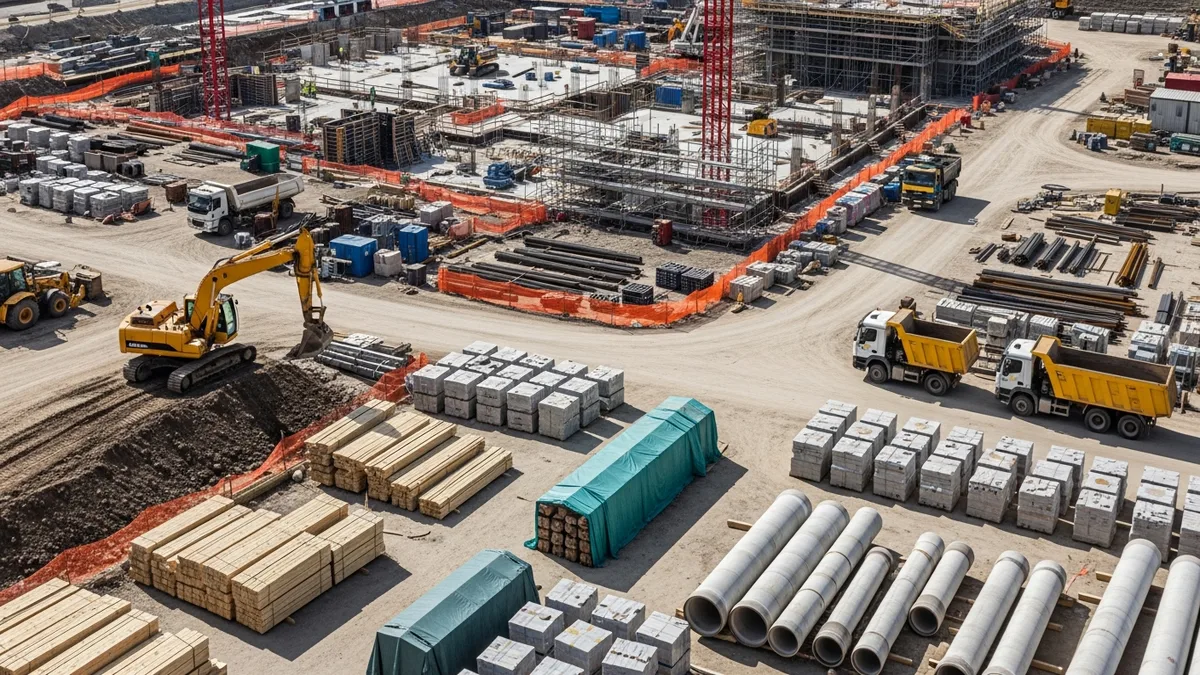
Material management on roofing projects is a bigger deal than most GCs realize until they get burned by it. Roofing materials are bulky, heavy, weather-sensitive, and subject to price swings that can wreck your margins if you’re not careful.
Lead times. Standard asphalt shingles are usually available within a few days from local distributors. But if you’re specifying a particular color, brand, or premium line, lead times can stretch to 2-4 weeks. Metal roofing panels, especially custom colors or profiles, can take 4-8 weeks. Clay and concrete tile can take even longer. Order early.
Price volatility. Asphalt shingles are petroleum-based products, so their pricing follows oil markets to some degree. After the supply chain disruptions of the early 2020s, most experienced GCs learned to include material escalation clauses in their contracts. If you’re not doing this already, start. A clause that allows price adjustments for material cost increases over a certain percentage (typically 5-10%) protects both you and your client.
Delivery logistics. Roofing materials are heavy. A typical residential re-roof might involve 60-80 bundles of shingles, plus underlayment, flashing, ridge vent, and fasteners. That’s multiple pallets. Make sure the delivery can actually access the site. Confirm that the driveway or staging area can handle a boom truck if materials are being rooftop-loaded. Rooftop delivery saves enormous labor time but requires advance coordination.
Waste factor. Always order 10-15% more material than your takeoff shows. Valleys, hips, ridges, and cuts around penetrations all generate waste. Running short mid-job means stopping work while someone runs to the supply house, which costs you labor hours and potentially pushes you into bad weather.
Storage. If materials arrive before the roofing phase starts, they need to be stored properly. Shingle bundles left in direct sun for weeks can soften and become difficult to work with. Materials left on the ground without protection can absorb moisture. Stage materials close to the work area but keep them covered and raised.
Getting your estimates right on roofing starts with accurate takeoffs. If you need a starting point, grab our free roofing estimate templates and customize them for your jobs. Accuracy starts and a solid understanding of current material pricing. Don’t rely on last quarter’s numbers. Call your supplier for current pricing before every bid.
Safety Planning for Roofing Projects
There’s no way around it: roofing is dangerous. Falls from roofs are consistently one of the leading causes of construction fatalities. As the GC, you carry responsibility for jobsite safety even when subs are performing the work. OSHA doesn’t care whose employee fell. If it’s your jobsite, you’re involved.
Fall protection is non-negotiable. For work at heights of 6 feet or more (which is every roofing job), fall protection must be in place. Options include guardrail systems, safety net systems, or personal fall arrest systems (harnesses). Your roofing sub should have their own fall protection plan, but you need to verify it exists and is being followed. Our safety plan guide covers how to build jobsite safety plans that actually get implemented.
Ladder safety. More injuries happen getting on and off roofs than during the actual roofing work. Ladders need to extend at least 3 feet above the roof edge, be secured at the top and bottom, and be placed on stable, level ground. This sounds basic, but walk onto any residential roofing job and you’ll see ladders set up wrong half the time.
Heat illness prevention. Roofing crews work on dark surfaces that can reach 150°F+ in summer. Heat exhaustion and heat stroke are real risks. Make sure water, shade, and rest breaks are available. In many states, heat illness prevention is now a regulatory requirement, not just a best practice.
Falling object protection. The ground around a roofing project is a danger zone. Old shingles, nails, tools, and debris can fall from the roof. Barricade the area below the work zone and make sure anyone on the ground wears a hard hat. On residential jobs, this also means protecting the homeowner’s property: landscaping, vehicles, windows, and outdoor furniture.
Electrical hazards. Roofing crews work near overhead power lines, especially on residential projects where service drops run close to the roof. Maintain safe distances and contact the utility company for temporary disconnection if clearances are tight.
Document everything. Take photos of safety measures in place, conduct regular safety briefings, and keep records of toolbox talks. If something goes wrong, your documentation is your defense. Our photo documentation guide explains how to build documentation habits that protect your company.
Putting It All Together: Running the Job From Start to Finish
Here’s the sequence that experienced GCs follow for a roofing project. This applies to both replacements and new installs, with some variation.
Phase 1: Pre-Construction (2-4 weeks before start)
- Complete material takeoff and place orders
- Confirm sub contract and insurance certificates
- Pull permits
- Schedule dumpster delivery
- Notify the client about timeline, noise, and access needs
- Review weather forecast and confirm start date
- Conduct a pre-job walkthrough with your roofing sub
Phase 2: Mobilization (Day before start)
- Verify material delivery is confirmed for the morning
- Confirm dumpster is on site
- Protect landscaping, vehicles, and property (plywood over AC units, tarps on bushes)
- Set up fall protection anchor points if using personal fall arrest systems
- Brief the crew on safety requirements and quality checkpoints
Phase 3: Execution (During the job)
- For replacements: tear-off and deck inspection first. Stop work and assess if significant deck damage is found.
- Install underlayment and ice/water shield per code and manufacturer specs
- Install flashing at all penetrations, valleys, and transitions
- Install roofing material per manufacturer installation instructions
- Install ridge vent, hip and ridge caps, and drip edge
- Conduct quality checks at each stage
Phase 4: Closeout
- Final cleanup: magnetic nail sweep of the yard and driveway, debris removal, gutter cleaning
- Final inspection with the client
- Submit for building department inspection
- Collect final payment
- File warranty registration with the manufacturer
- Archive project photos and documentation
Communication throughout. Keep your client updated daily during active roofing work. A quick text with a photo at the end of each day goes a long way. For larger projects, a weekly progress report is appropriate. When problems come up (and they will), communicate immediately. Clients handle bad news much better when they hear it from you right away instead of discovering it on their own.
Track your numbers. After every roofing job, compare your actual costs to your estimate. Where did you come in over budget? Under budget? What took longer than expected? This is how you get better at pricing the next one. If you’re still tracking this stuff on spreadsheets or paper, it might be time to look at project management tools built for contractors that keep everything in one place.
Try a live demo and see how Projul simplifies this for your team.
Roofing projects will always carry some inherent unpredictability. Weather, hidden conditions, and material issues are part of the game. But the GCs who consistently run profitable roofing jobs aren’t the ones who avoid problems. They’re the ones who plan for them, catch them early, and communicate clearly when things change. Get your systems dialed in, vet your subs properly, and build realistic schedules with actual buffer time. That’s the formula. It’s not complicated. It just takes discipline.
Frequently Asked Questions
How long does a typical residential roof replacement take?
What permits are required for roofing projects?
How do GCs handle weather delays on roofing projects?
Should GCs self-perform roofing or subcontract it?
What are the biggest risks GCs face on roofing projects?
Related Articles

Construction Septic System Installation: What Every GC Needs to Know
Septic systems on rural builds bring unique scheduling, permitting, and soil challenges that can wreck your timeline if...
Read More →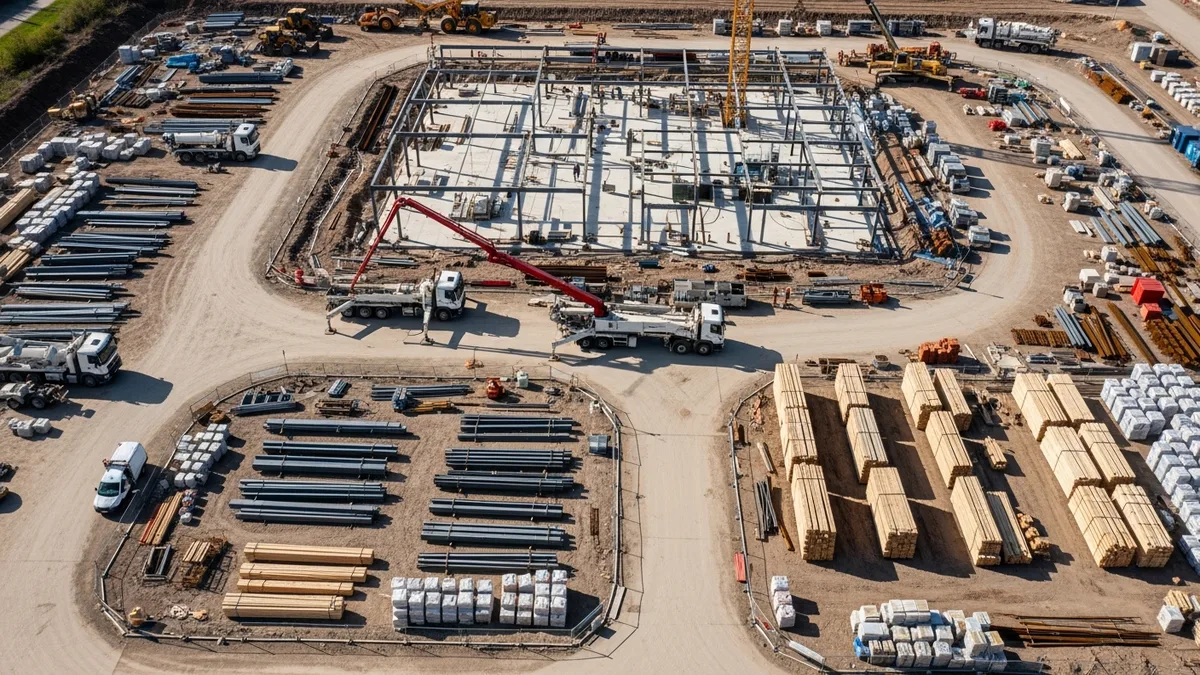
Construction Painting Project Management: Coordinating Interior and Exterior Phases
Painting is one of those trades that touches every other trade on the schedule. Get the sequencing wrong, and you're...
Read More →
Epoxy Flooring and Industrial Coatings: A Contractor's Complete Guide
Epoxy flooring and industrial coatings are high-margin work when you get the process right and a fast way to lose money...
Read More →