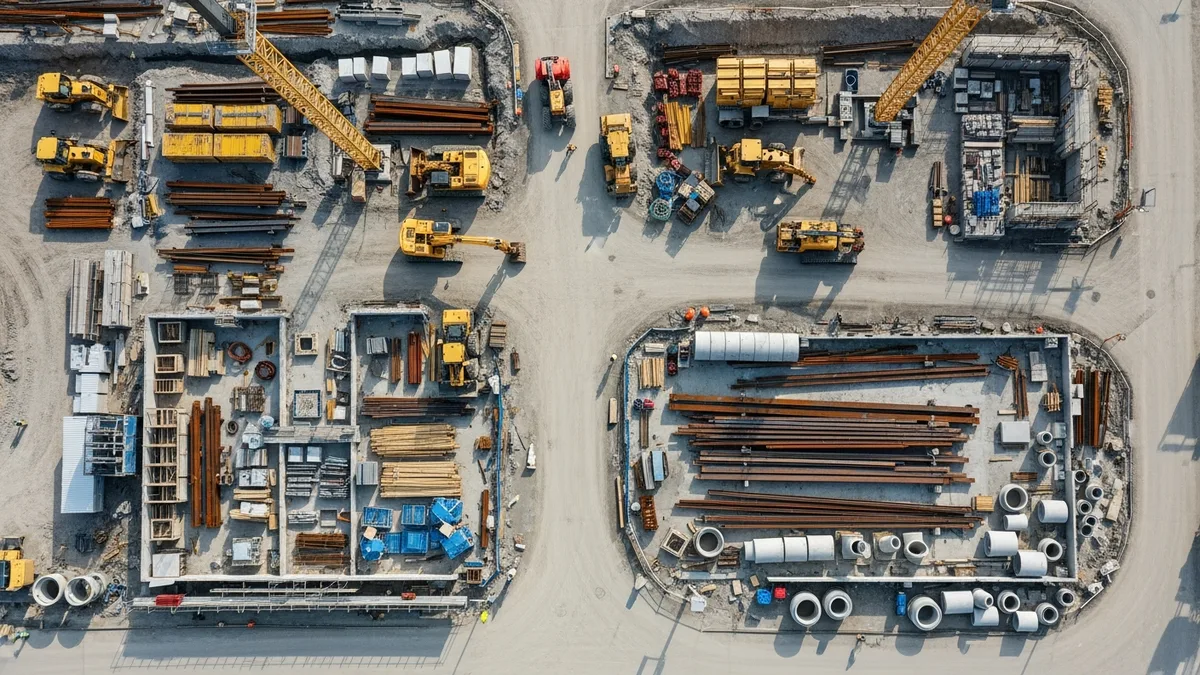
Construction Temporary Utilities Planning Guide
Every GC has a story about showing up to a jobsite on day one and realizing nobody ordered the temporary power. Crews are ready to go, the concrete guys are scheduled, and there is not a single outlet on the property. You end up running extension cords from a neighbor’s garage (if they are nice about it) or scrambling to get a generator delivered same-day at a premium.
Temporary utilities are not glamorous. Nobody wins an award for having great porta-john placement. But getting power, water, and sanitation squared away before your first crew hits the dirt is one of the most important parts of pre-construction planning. Skip it or half-do it, and you will feel the pain for the entire project.
This guide covers everything you need to plan, order, install, and manage temporary utilities on your construction site. No fluff, just the practical stuff that keeps your project moving.
Why Temporary Utilities Deserve Their Own Plan
It is easy to lump temporary utilities into the “we’ll figure it out” category. But treating them as an afterthought is a guaranteed way to blow your schedule in the first week.
Here is the reality: your electricians need power to run tools. Your concrete and masonry crews need water. Your workers need somewhere to go to the bathroom. These are not nice-to-haves. They are baseline requirements for getting anything done on site.
A solid temporary utility plan covers three things:
- What you need (power capacity, water volume, number of sanitation units)
- When you need it (tied to your project schedule)
- What it costs (rolled into your overhead budget)
The biggest mistake I see is GCs who treat temporary utilities as a single line item and forget about them until the week before mobilization. By then, you are behind. Utility companies do not move fast. Permit offices do not move fast. Rental companies during peak season do not move fast. You need lead time, and that means planning early.
The other thing worth mentioning: temporary utilities affect your site logistics in a big way. Where you place your temp power panel determines where cords run. Where your water source sits affects your wash stations and dust control. Where you put the porta-johns affects foot traffic and crew productivity. All of this needs to be thought through, not just dropped wherever there is space.
Temporary Power: Generators, Temp Poles, and Panel Sizing
Temporary power is usually the first utility you need and the one that causes the most headaches if you get it wrong. You have two main options: generator power or a temporary utility connection.
Generator Power
Generators make sense when:
- The project is short (a few weeks to a couple months)
- The site is remote with no nearby utility infrastructure
- You need power before the utility company can get a connection set up
For most residential and light commercial work, a towable generator in the 20kW to 100kW range covers your needs. Larger commercial projects might need 200kW or more, especially once you are running welders, hoists, and temporary HVAC.
The downsides of generators are cost and logistics. You are paying for the rental, fuel delivery, and maintenance. Someone has to monitor fuel levels and keep the thing running. On longer projects, those costs add up quickly compared to a metered utility connection.
Temporary Utility Connection
For projects lasting more than two or three months, a temporary power pole with a utility meter is almost always the better play. Here is what the process typically looks like:
- Contact the utility company during pre-construction. Ask about their requirements for temporary service, lead times, and fees.
- Pull your electrical permit. Most jurisdictions require a permit before the utility will connect. Check your local requirements as part of your permitting process.
- Install the temporary power pole and panel. This is usually a 200-amp service for residential, or larger for commercial. Your electrician sets the pole, mounts the meter base and disconnect, and wires the panel with the circuits you need.
- Schedule the utility connection and inspection. The inspector signs off, then the utility company connects and energizes.
The whole process takes 2 to 6 weeks depending on your area. In some regions with heavy construction activity, it can take longer. That is why you start early.
Sizing Your Temporary Panel
Do not just throw up a 200-amp panel and call it good. Think about what your crews actually need:
- Hand tools and small equipment: Most 15-amp and 20-amp circuits handle this fine
- Welders: Can pull 50 amps or more per unit
- Temporary lighting: Plan for tower lights or string lights, especially for winter work with short days
- Temporary heating/cooling: Space heaters and fans for enclosed work areas can draw significant power
- Job trailer or field office: HVAC, computers, printers, and charging stations all add up
Add up your expected loads and size accordingly. Having a panel that is too small means tripping breakers constantly, which kills productivity and frustrates everyone on site.
Power Distribution on Site
Once you have your source, you need to get power where crews are working. This means:
- Spider boxes (temporary power distribution units) placed at key locations
- Extension cords rated for construction use (GFCI protected, proper gauge for the load)
- Clear cord routing that does not create trip hazards or get run over by equipment
Keep cords off the ground where possible, and run them along fences or overhead when practical. Damaged cords are a safety hazard and an OSHA citation waiting to happen.
Temporary Water: Sourcing, Metering, and Distribution
Water does not get as much attention as power, but you will need it for more things than you might expect:
- Concrete mixing and curing
- Masonry work
- Dust control (especially in dry climates or during grading)
- Compaction
- Cleaning and wash-down
- Drinking water for crews
- Fire suppression (some jurisdictions require this during construction)
Getting Water to the Site
Your options depend on the project location and what infrastructure exists:
Temporary water meter from the municipality. This is the most common approach for urban and suburban projects. You apply through the local water utility, pay a deposit and connection fee, and they install a temporary meter at the property line. From there, you run lines to where you need water on site.
Water truck delivery. For rural sites or locations without nearby water mains, you may need water trucked in and stored in tanks. This is common for grading and earthwork phases where you need large volumes for compaction and dust control.
Well water. If the property has an existing well or you are drilling one as part of the project, you might be able to use it during construction. Check local regulations first, as some jurisdictions restrict this.
Planning Your Water Distribution
Think about where water needs to be at each phase of the project:
- Early grading and foundation: Water for compaction and dust control, usually at high volumes. A temporary hydrant or large-diameter hose from the meter works.
- Vertical construction: Smaller volumes for masonry, concrete, and cleaning. Hose bibs and garden hoses are usually enough.
- Interior finish: Minimal water needs, mostly for cleaning and testing plumbing.
Run your temporary water lines where they will not get crushed by equipment. Mark them clearly. Insulate or heat-trace them if you are working in cold weather, because a frozen water line on a construction site is a problem nobody wants to deal with on a Monday morning.
Water Costs
Temporary water is relatively cheap compared to power, but do not ignore it in your estimate. Account for:
- Meter deposit and connection fees ($200 to $1,000 depending on the municipality)
- Monthly water usage charges
- Cost of temporary piping, hoses, and fittings
- Water truck delivery if needed (can run $300 to $800 per load)
Sanitation: OSHA Requirements and Practical Placement
Nobody likes talking about portable toilets, but ignoring this topic leads to real problems. OSHA violations, unhappy crews, and sanitation issues that make your site look unprofessional to owners and inspectors.
OSHA Requirements
The rules are straightforward:
- 1 toilet per 20 workers (minimum of 1 unit on any site with workers)
- Handwashing facilities within close proximity to the toilets
- Regular servicing to keep units clean and stocked
These are minimums. On a busy site with 60 workers, three porta-johns might technically meet the requirement, but in practice you want more. Workers should not be walking 10 minutes across the site or waiting in line. That is lost productivity, and your crews will let you know about it.
Choosing the Right Units
Standard porta-johns work for most construction sites. For longer projects or sites with office staff, consider upgrading some units:
- Standard units: Basic, gets the job done. Fine for most construction phases.
- Units with handwashing stations: Built-in sinks save space and keep handwashing convenient.
- ADA-compliant units: Required if any workers or visitors need accessibility. Always have at least one on larger sites.
- Restroom trailers: For longer projects, especially commercial work with owner reps visiting regularly. More comfortable and professional, but significantly more expensive.
Placement Strategy
Where you put the sanitation units matters more than you might think:
- Close to work areas but not in the way of equipment and material staging
- Accessible for servicing (the pump truck needs to reach them without managing an obstacle course)
- Downwind from the field office and break areas when possible
- On level, stable ground so they do not tip over
- Moved as needed when the work shifts to different parts of the site
Plan for servicing frequency based on your crew size. Most rental companies offer weekly servicing as standard. For larger crews or summer months, bump that to twice per week. Nobody wants to deal with an overflowing unit in July heat.
Timing and Sequencing: When to Order What
Read real contractor reviews and see why Projul carries a 9.8/10 on G2.
Getting the timing right on temporary utilities means working backward from your mobilization date. Here is a rough timeline:
8 to 12 Weeks Before Mobilization
- Contact the utility company about temporary power and water connections
- Research local permit requirements for temporary installations
- Get quotes from generator rental companies as a backup plan
- Include temporary utility costs in your project estimate
6 to 8 Weeks Before Mobilization
- Submit permit applications for temporary electrical and plumbing
- Order the temporary power pole, panel, and meter base
- Arrange for a temporary water meter application with the municipality
4 to 6 Weeks Before Mobilization
- Schedule your electrician to install the temporary power pole and panel
- Line up portable sanitation delivery for the first day crews are on site
- Confirm delivery dates for any generators or water tanks
2 to 4 Weeks Before Mobilization
- Complete temporary power installation and schedule inspection
- Confirm utility company connection date
- Verify sanitation units and service schedule
- Set up temporary water lines and test flow
Week of Mobilization
- Verify everything is energized, flowing, and serviced
- Walk the site and confirm power distribution, water access, and sanitation placement
- Brief your superintendent and foremen on locations and any usage rules
This timeline is a starting point. Adjust based on your local conditions. If your utility company is known for slow turnaround, add buffer time. If you are in a jurisdiction with a quick permit process, you can compress things. The point is to have a plan, not to wing it.
Build this sequence into your project schedule as actual tasks with dates and owners. Temporary utility setup should never be a vague note in someone’s head.
Budgeting Temporary Utilities: What It Actually Costs
Temporary utilities are a real line item in your overhead, and they need to be estimated accurately. Underestimating these costs eats into your margin. Here is a breakdown of typical costs so you know what to expect.
Temporary Power Costs
| Item | Typical Range |
|---|---|
| Temp power pole and panel installation | $1,500 - $4,000 |
| Electrical permit | $100 - $500 |
| Utility connection fee | $200 - $1,000 |
| Monthly electricity charges | $200 - $1,500 |
| Generator rental (if needed) | $500 - $3,000/month |
| Generator fuel | $300 - $2,000/month |
Temporary Water Costs
| Item | Typical Range |
|---|---|
| Temp water meter deposit | $200 - $1,000 |
| Monthly water charges | $50 - $500 |
| Temporary piping and fittings | $200 - $800 |
| Water truck delivery (per load) | $300 - $800 |
Sanitation Costs
| Item | Typical Range |
|---|---|
| Standard porta-john rental | $150 - $300/month |
| Handwashing station rental | $75 - $150/month |
| ADA unit rental | $200 - $400/month |
| Restroom trailer rental | $800 - $2,500/month |
| Extra servicing (above weekly) | $50 - $100/service |
Total Budget Rule of Thumb
For most projects, plan on 1% to 2% of total project cost for all temporary utilities combined. On a $1 million project, that is $10,000 to $20,000. It sounds like a lot, but when you add up 6 to 12 months of power, water, sanitation, and all the associated setup costs, it tracks.
Include these numbers in your estimate from the start. Do not bury them in a contingency line or forget them altogether. They are predictable costs that belong in your overhead calculation. If you want a deeper look at all the indirect costs that affect your bottom line, check out our guide on construction overhead costs.
Common Mistakes and How to Avoid Them
After years of watching projects stumble over temporary utilities, the same mistakes come up again and again. Here are the ones that cost you the most time and money.
Waiting Too Long to Start
This is the number one issue. GCs assume they can call the utility company two weeks before mobilization and have power ready. That almost never works. Start the process during pre-construction and build in buffer time for delays.
Undersizing the Temporary Panel
A 100-amp panel might seem fine until your HVAC contractor shows up with three 50-amp welders. Know your peak loads and size accordingly. It is cheaper to install a slightly larger panel upfront than to upgrade mid-project.
Ignoring Cold Weather
Frozen water lines and generators that will not start in sub-zero temperatures are preventable problems. If you are building in a cold climate:
- Heat-trace or insulate all temporary water lines
- Use winter-grade diesel in generators and keep block heaters running
- Order heated porta-john units or insulated models
- Plan for temporary heating costs in your power budget
Poor Cord Management
Extension cords strung everywhere with no organization is a safety hazard and an OSHA violation. Use spider boxes to distribute power at the work areas. Route cords overhead or along protected paths. Replace damaged cords immediately.
Forgetting to Move Utilities as Work Progresses
Temporary utilities need to move with the work. What made sense during foundation is not going to work during interior finish. Build utility relocations into your schedule and assign someone to manage it.
Not Tracking Costs
Temporary utility costs can creep up without anyone noticing. Generator fuel, extra sanitation services, water truck deliveries. Track these expenses monthly and compare against your budget. If you are using construction management software like Projul, you can tie these costs to the project and see exactly where your overhead budget stands.
Skipping the Plan Entirely
Some GCs just show up and figure it out. That works on small projects where you can run off a single generator and one porta-john. But as projects get bigger, winging it leads to delays, change orders, and frustrated crews. Take 30 minutes during pre-construction to write out a temporary utility plan. It will save you hours of firefighting later.
Temporary utilities are one of those boring-but-critical parts of construction that separate well-run projects from chaotic ones. The GCs who plan their power, water, and sanitation early and thoroughly are the ones whose projects start on time and stay on schedule.
It does not take a huge effort. It takes starting early, knowing your requirements, building the costs into your estimate, and assigning someone to manage it. Do that, and you will never be the contractor scrambling for a generator on day one.
Want to see this in action? Get a live demo of Projul and find out how it fits your workflow.
If you are looking for a better way to keep track of all the moving pieces during pre-construction and beyond, Projul’s construction management platform helps GCs stay on top of scheduling, estimating, and project tracking so nothing falls through the cracks.
Frequently Asked Questions
How much does temporary power cost on a construction site?
When should I order temporary utilities for a construction project?
Do I need a permit for temporary construction power?
How many portable toilets do I need on a construction site?
Can I use a generator instead of temporary utility power?
Related Articles

Construction Septic System Installation: What Every GC Needs to Know
Septic systems on rural builds bring unique scheduling, permitting, and soil challenges that can wreck your timeline if...
Read More →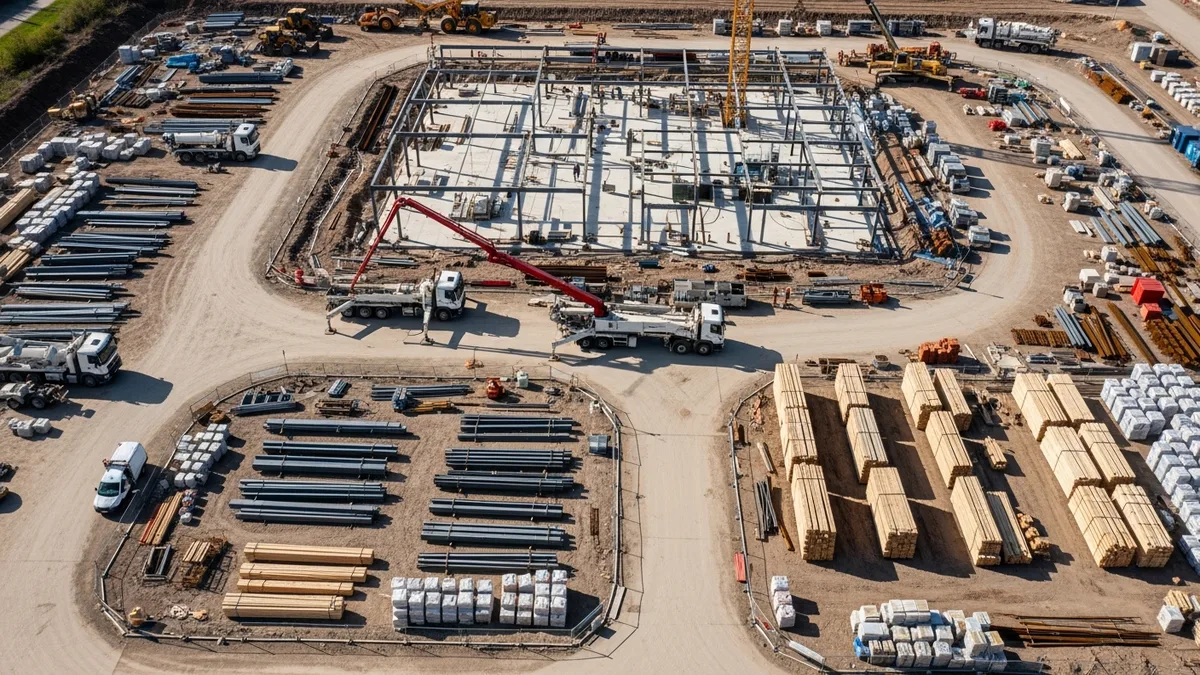
Construction Painting Project Management: Coordinating Interior and Exterior Phases
Painting is one of those trades that touches every other trade on the schedule. Get the sequencing wrong, and you're...
Read More →
Epoxy Flooring and Industrial Coatings: A Contractor's Complete Guide
Epoxy flooring and industrial coatings are high-margin work when you get the process right and a fast way to lose money...
Read More →