Construction Weather Delay Documentation & Recovery Guide | Projul
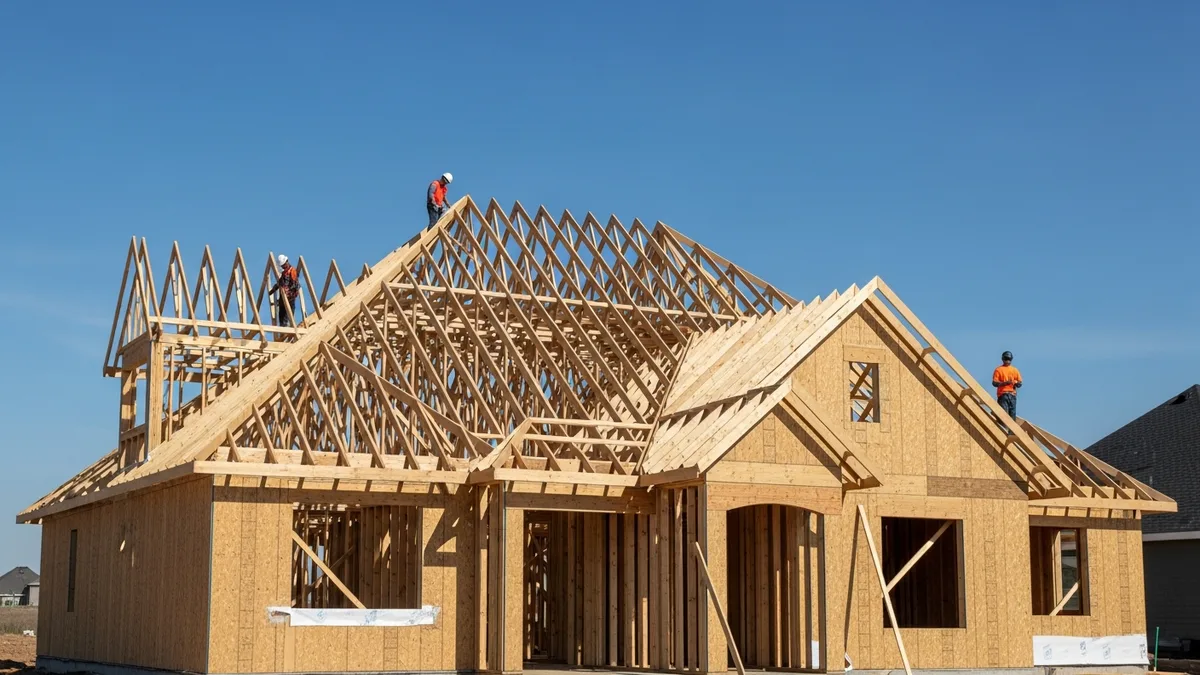
Every contractor has a war story about weather killing a schedule. A week of rain right when you needed to pour footings. A freak ice storm that shut down an entire region for days. Triple-digit heat that made roofing work genuinely dangerous. Weather is the one variable on a construction project that nobody controls, and it will find the worst possible moment to show up.
Here’s what separates contractors who survive weather delays from those who eat the cost: documentation. Not the weather itself, but how you record it, communicate it, and recover from it. I’ve watched contractors lose tens of thousands of dollars on legitimate weather delays simply because they didn’t write it down properly or missed a contractual notice deadline by 48 hours.
This guide covers everything you need to know about documenting weather delays, protecting your contractual rights, communicating with owners and GCs, and getting your schedule back on track once the skies clear.
Understanding Weather Delay Clauses in Your Contract
Before a single raindrop falls, you need to know exactly what your contract says about weather. This sounds obvious, but I can’t tell you how many contractors I’ve talked to who have never actually read their weather delay clause. They just assume they’ll get extra time if it rains. That assumption has bankrupted people.
Most construction contracts fall into a few categories when it comes to weather delays:
Force majeure clauses are the broadest. They typically cover “acts of God” including severe weather, and they usually grant time extensions. The language matters, though. Some force majeure clauses require the weather to be “unusual” or “unprecedented” for your area, which means normal seasonal rain might not qualify.
Specific weather day allowances are common in commercial and public work contracts. The contract might say something like “the schedule includes 10 anticipated weather days.” That means you only get to claim a delay after you’ve used up those 10 days. If you’re working in Seattle from November through March, 10 days might be gone before you finish the foundation.
No-excuse clauses are the ones that hurt. Some contracts, especially in fast-track or design-build work, put all weather risk on the contractor. If you signed one of these, your only protection is the schedule buffer you built in yourself.
The most important thing to look for is the notice requirement. Almost every contract requires written notice of a delay within a specific window, often 48 to 72 hours, sometimes as little as 24 hours. Miss that window and your claim is dead, regardless of how legitimate the delay was. If you need a refresher on how contract terms affect your project, our construction contract types guide breaks down the differences.
Don’t just take our word for it. See what contractors say about Projul.
Read your weather clause before you start the project. Highlight the notice deadline. Put it somewhere your entire team can see it. This is not something you want to figure out for the first time while standing in a flooded excavation.
What Counts as a Documentable Weather Delay
Not every bad weather day is a claimable delay. This is where a lot of contractors get tripped up. The standard is not “it rained today” but rather “the weather prevented work on critical path activities that were actually scheduled for today.”
Here’s the distinction that matters: if it rained all day but you were scheduled for interior rough-in, that’s not a weather delay. Your crew could have worked. But if it rained all day and you were scheduled to set trusses, that’s a legitimate delay because crane work in the rain is unsafe and most truss manufacturers void their warranty if trusses get soaked during installation.
Types of weather that typically qualify:
- Sustained rain or snowfall that makes the work area unsafe or inaccessible
- Extreme temperatures (usually below 20°F or above 105°F) that prevent certain work or violate material specifications
- High winds above 25-30 mph that prevent crane operations, roofing, or work at height
- Lightning within a certain radius (OSHA doesn’t have a specific standard, but most safety plans call for stopping work when lightning is within 6 miles)
- Flooding or saturated ground conditions that prevent excavation, grading, or foundation work
- Frozen ground that prevents digging even if the air temperature is above freezing
What usually doesn’t qualify:
- Light rain or drizzle that doesn’t actually prevent the scheduled work
- Cold weather when indoor work was scheduled
- A forecast of bad weather (you can’t claim a delay because weather was predicted but didn’t actually happen)
- Seasonal conditions that should have been anticipated in your baseline schedule
The gray area is “day after” effects. Say it rained hard on Tuesday but cleared up Wednesday. If the site is still too muddy to get equipment in on Wednesday, that’s still a weather impact day. Document it as such, noting the specific condition (saturated soil, standing water, unsafe access roads) rather than just “rain.”
For tips on building proper daily documentation habits, check out our construction daily logs complete guide.
How to Document Weather Delays Properly
Documentation is where most contractors either protect themselves or shoot themselves in the foot. Good weather delay documentation needs five components, every single time:
1. Date, time, and specific conditions. Don’t write “bad weather.” Write “Rain began at 6:45 AM, sustained through 2:30 PM, approximately 1.2 inches total precipitation per National Weather Service station KSLC. Temperature ranged from 38°F to 44°F.” Pull data from the nearest official weather station to back up your field observations.
2. What work was scheduled. Reference your baseline schedule or look-ahead schedule. If you were supposed to pour the second-floor deck slab, say that. If you had three crews scheduled for different tasks, list each one and note which were affected and which could still work. Our construction look-ahead schedule guide covers how to keep your short-term planning tight enough to support this kind of detail.
3. What work was actually performed (if any). Maybe you pulled your framing crew off the exterior walls but kept your electricians working inside. Document both. This shows you made reasonable efforts to mitigate the delay, which matters for claims.
4. Photos and video. Take timestamped photos of standing water, muddy access roads, ice-covered scaffolding, whatever the condition is. Photograph your weather station reading if you have one on site. Get wide shots of the overall site and close-ups of specific problem areas. Photo documentation is one of the strongest pieces of evidence you can have. We’ve covered this in depth in our construction photo documentation guide.
5. Written notice to the owner/GC. This is the piece people forget. Your daily log is for your records. The contractual notice is what preserves your right to a time extension. Send it in writing (email is usually fine) within whatever window your contract requires. Keep the notice factual and short: date, weather conditions, affected work, reference to the contract clause, and a statement that you’re requesting a time extension. Save the back-and-forth for later.
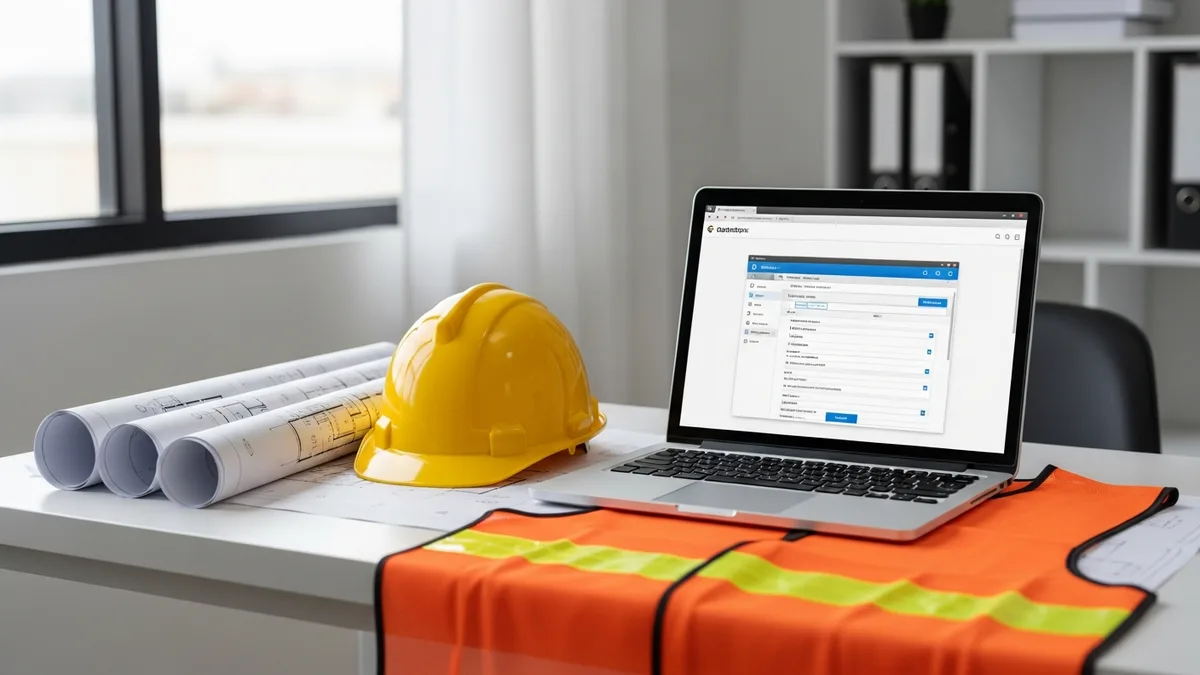
Pro tip: Create a weather delay documentation template that your team can fill out in the field. If the superintendent has to think about what to include every time, details get missed. A simple one-page form with fields for each of the five components above takes the guesswork out of it. Your project management software should make this easy. If you’re still doing this on paper or in random text messages, you’re making your life harder than it needs to be.
Communicating Weather Delays to Clients and Stakeholders
Weather delays test client relationships. The homeowner who’s been waiting three months for their kitchen remodel doesn’t care that it rained for a week. They just want to know when the project will be done. Commercial owners are usually more understanding of weather, but they still want clear, timely communication about schedule impacts.
Communicate early and often. Don’t wait until the weather delay is over to tell the client. As soon as you know work is going to be impacted, send a brief update. Something like: “We’re expecting heavy rain through Thursday. Exterior framing is on hold until the site dries out, which typically takes 1-2 days after rain stops. I’ll update you Friday with a revised timeline.”
Be specific about impacts. Clients hate vague updates. “We’re a little behind due to weather” tells them nothing. “The rain delay pushed our roofing start from March 10 to March 17, which means drywall will start March 24 instead of March 18” tells them exactly what’s happening and shows you have a plan.
Separate weather delays from other delays. If your project is also behind because a material shipment was late, don’t lump everything together as “weather delays.” Owners and GCs will eventually figure out the truth, and mixing delay causes destroys your credibility. Be honest about what’s weather and what’s not. For more on managing client expectations during disruptions, take a look at our construction client communication guide.
Document every communication. Follow up phone calls with a written summary. “Per our phone conversation today, I confirmed that the weather delay has pushed the substantial completion date from April 15 to April 22. You acknowledged receipt of our formal delay notice dated March 5.” This protects both parties and prevents the “I never agreed to that” conversation three months later.
Address cost implications upfront. If the weather delay is going to cost the client money (extended general conditions, re-mobilization, material price increases), bring it up as soon as you know. Nobody likes financial surprises at the end of a project. Even if the contract says weather delays are non-compensable for the contractor, there may be knock-on costs the owner needs to know about.
The best client communicators I know treat weather delays as a chance to build trust. When you’re transparent about problems and proactive about solutions, clients remember that. They’ll hire you again because you handled the tough stuff well, not because you never had problems.
Schedule Recovery Strategies After Weather Delays
The rain stopped. The site is drying out. Now what? Getting your schedule back on track after a weather delay requires a plan, not just throwing more labor at the problem and hoping for the best.
Step 1: Assess the actual impact. Before you start making recovery plans, figure out exactly where you stand. How many working days did you lose? Which activities on the critical path were affected? Did the delay cause any knock-on effects like expired concrete batch tickets, material reorders, or subcontractor scheduling conflicts? Do a thorough walk of the site and note any weather damage that needs to be addressed before work resumes.
Step 2: Update your schedule. Plug the actual delay into your project schedule and let the software recalculate your critical path. You might find that some activities can absorb the delay because they had float built in. Others might now be on the critical path when they weren’t before. You need to see the real picture before you start making promises. If you need help with schedule management, our construction schedule recovery techniques guide goes deep on this topic.
Step 3: Identify recovery options. There are really only a few ways to recover lost time:
- Increase crew sizes. Add workers to critical path activities. This works for some trades (concrete, framing) but not others (finish carpentry, electrical trim). There are diminishing returns, and stacking trades on top of each other creates its own problems.
- Work overtime or extended shifts. Weekend work and 10-hour days can recover time, but factor in the cost and the productivity drop that comes with fatigue. After about 50 hours per week, productivity per hour drops significantly. Two weeks of overtime is recoverable. Six weeks of overtime and your crews will be burned out and making mistakes.
- Re-sequence activities. Look for tasks that can be done out of order or in parallel. Maybe you can start interior work on the first floor while still doing exterior work on the second floor. This requires careful coordination but can recover significant time without added cost.
- Compress or fast-track non-critical activities. Focus your recovery efforts on the critical path. If a non-critical activity can be delayed without affecting the end date, leave it alone and put your resources where they matter.
Step 4: Communicate the recovery plan. Share your updated schedule and recovery strategy with the owner, GC, and all affected subcontractors. Everyone needs to know the new plan so they can adjust their own resources and schedules. A recovery plan that only exists in your head is not a plan.
Step 5: Monitor daily. During schedule recovery, you need to be watching progress against the recovery schedule daily, not weekly. Small slips during recovery mode compound fast. If your recovery plan assumed four framing days and you’re on day three with only half the work done, you need to know immediately so you can adjust.
One more thing: don’t promise a recovery timeline you can’t deliver. If you lost seven working days to weather and the honest recovery is five days of schedule extension plus two days recovered through overtime, say that. Promising to recover all seven days and then missing the new deadline is worse than setting a realistic expectation from the start.
Building Weather Resilience Into Future Projects
The best time to deal with weather delays is before they happen. Every project you complete gives you data on how weather affects your work, and smart contractors use that data to plan better next time.
Review historical weather data during pre-construction. Before you commit to a schedule, look at average precipitation, temperature ranges, and severe weather frequency for your area during the project timeline. NOAA’s Climate Data Online is free and gives you monthly averages going back decades. If you’re scheduling a roof in Denver in April, historical data will tell you to expect 3-5 snow events. Build that into your baseline.
Add weather contingency to your baseline schedule. The exact amount depends on your region, the season, and the work. As a starting point, I’ve seen experienced contractors use these rough guidelines:
- Interior-heavy projects: 5% schedule contingency for weather
- Mixed interior/exterior: 10% contingency
- Site work and exterior-heavy projects: 15% contingency
- Winter work in northern climates: 15-20% contingency
Choose weather-appropriate sequencing. If you have flexibility in your schedule, put weather-sensitive work during the driest months. Schedule excavation and foundation work before the rainy season. Plan interior rough-in for the months when exterior work is risky. This isn’t always possible, but when it is, it’s the cheapest form of weather protection you have.
Invest in weather monitoring. A $200 weather station on your jobsite gives you real-time data and historical records that are way more useful than checking your phone app. Some project management platforms pull in weather data automatically and attach it to your daily logs, which is a huge time saver for documentation. Our construction daily reports guide talks about how to build weather tracking into your regular reporting workflow.
Pre-negotiate weather terms in your contracts. If you’re in a position to negotiate, push for clear weather delay language, reasonable notice periods (72 hours minimum), and fair weather day allowances. If the contract gives you five weather days for a 12-month project in the Pacific Northwest, negotiate that number up or price the risk into your bid.
Create a wet weather work plan. Identify which tasks your crews can perform during different types of weather. If it’s raining but above 50°F, maybe your crew can do interior insulation. If it’s below freezing, maybe they can organize materials in the shop. Having a plan for productive rainy-day work reduces the financial impact of weather even when you can’t work on primary tasks.
Weather will always be part of construction. You can’t control it, but you can control how prepared you are, how well you document it, and how fast you recover from it. The contractors who do those three things well don’t just survive weather delays. They come out the other side with their margins, their schedules, and their client relationships intact.
Want to see this in action? Get a live demo of Projul and find out how it fits your workflow.
And if you’re still tracking weather delays on paper timesheets and sticky notes, it might be time to look at a platform that ties your scheduling, daily logs, and documentation together in one place. Projul was built for contractors who need to keep projects moving regardless of what the forecast says.
Frequently Asked Questions
How do I document a weather delay on a construction project?
What qualifies as a weather delay in construction?
Can a contractor claim extra time for weather delays?
How far in advance should I plan for weather delays in my construction schedule?
What is the difference between an excusable and a compensable weather delay?
Related Articles
Why Contractors Need Construction Project Scheduling Software to Stay Competitive
In today's construction landscape, success hinges on more than just quality craftsmanship. With razor-thin margins,...
Read More →
Construction Project Scheduling Software: Managing Tasks from Start to Finish
In today's competitive construction industry, success depends on how well you execute your projects. Modern scheduling...
Read More →
The Best Construction Scheduling Software Features That Save Time & Money
If you're managing construction projects, you know how crucial scheduling is. A solid construction schedule keeps your...
Read More →