Well Drilling Coordination Guide for GCs
Construction Well Drilling Coordination: What GCs Need to Know About Rural Water Wells
If you’ve spent most of your career building in areas with municipal water, your first rural project with a well can be a rude awakening. There’s no meter to hook up to. No city main running along the road. You’re drilling a hole in the ground and hoping to hit water, and that uncertainty ripples through every phase of the build.
I’ve seen GCs treat well drilling like it’s just another line item on the site work scope. They pencil it in, get a number from a driller, and move on. Then the driller shows up six weeks late because they’re booked solid. Or the first hole comes up dry and they need to move the rig and try again. Or the well produces four gallons per minute when the house needs seven, and now everyone’s scrambling.
The truth is, well drilling touches your schedule, your budget, your site plan, and your plumbing design. Getting it wrong doesn’t just cost money. It costs time, and on a rural build where you’re already dealing with longer lead times on everything, time is the one thing you can’t afford to waste.
Here’s what you actually need to know.
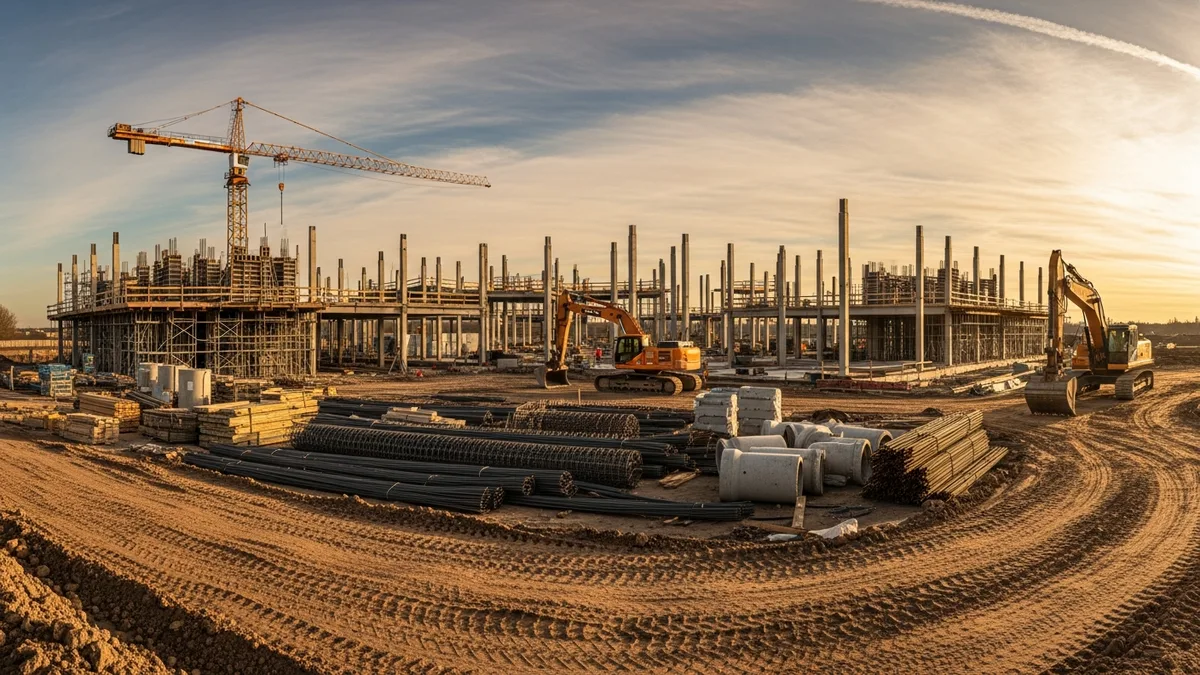
Understanding the Basics of Well Drilling for Construction
Before you can coordinate a well project, you need to understand what’s actually happening when that drill rig shows up. Most residential wells in the U.S. are drilled wells, meaning a truck-mounted rotary rig bores down through soil and rock until it hits a water-bearing formation, called an aquifer.
The well itself is a steel or PVC casing that lines the borehole and keeps it from collapsing. At the bottom, a well screen allows water to flow in while keeping sediment out. Once the hole is drilled and cased, the driller installs a submersible pump down in the well, runs the electrical and discharge piping to the surface, and connects it to a pressure tank.
There are a few types of wells you might encounter:
- Drilled wells are the most common for new construction. They can go hundreds of feet deep and produce reliable water in most geologies.
- Driven wells are shallow, typically under 50 feet, and only work in areas with high water tables and sandy soil. You won’t see these much on new builds.
- Dug wells are the old-school hand-dug variety. They’re shallow, prone to contamination, and generally not permitted for new construction anymore.
For new residential builds, you’re almost always looking at a drilled well. The depth depends entirely on the local geology. In some areas, you’ll hit water at 80 feet. In others, you’re going 400 feet or more. That’s a massive cost swing, which is exactly why your estimating process needs to account for the uncertainty.
Talk to local drillers before you bid the job. They’ll tell you what typical depths look like in that specific area. Most experienced drillers can look at a property’s location and give you a reasonable range. That range is what you should be carrying in your estimate, not a single number pulled from thin air.
Timing Well Drilling in Your Construction Schedule
This is where most GCs get tripped up. Well drilling needs to happen early, but it also needs to happen at the right time relative to everything else on site. Get the sequencing wrong and you’ll create conflicts that slow everyone down.
Here’s the general rule: drill the well after site clearing and rough grading, but before you pour the foundation. There are two reasons for this.
First, you need water on site. Construction activities like concrete work, dust control, and compaction testing all require water. If you wait too long to drill the well, you’re either trucking water in or running a hose from a neighbor’s spigot, neither of which is a real solution on a months-long project.
Second, drilling early gives you a buffer. If the first attempt doesn’t produce enough water, you have time to drill deeper, try a different location, or explore other options before the rest of the build is breathing down your neck.
The challenge is that well drillers are often booked weeks or even months out, especially in rural areas where there might only be a handful of licensed drillers serving a wide territory. You can’t call them two weeks before you need them and expect to get on the schedule.
Build well drilling into your project schedule from day one. Reach out to drillers during preconstruction, get on their calendar early, and confirm the date as you get closer. Treat the driller like you’d treat your concrete sub. They need lead time, they need clear site access, and they need to know exactly where they’re working.
One more thing about timing: drill rigs are big. We’re talking a truck and trailer that can weigh 40,000 pounds or more. If you’ve just graded your site and the driller tears it up with a rig, your grading sub is going to have words for you. Coordinate the access route and staging area ahead of time so the rig doesn’t wreck work that’s already done. If you’re already thinking through your site logistics plan, add the drill rig to the list.
Site Planning and Well Location
Where you put the well matters more than most GCs realize. It’s not just “somewhere on the property.” There are setback requirements, practical considerations, and long-term maintenance access to think about.
Every state has minimum setback distances that dictate how far the well must be from potential contamination sources. The most critical one is the distance from the septic system. In most jurisdictions, you need at least 50 to 100 feet between the well and any part of the septic system, including the tank, distribution box, and drain field. Some states require even more.
Other common setback requirements include:
- Property lines: Usually 10 to 25 feet minimum
- Structures (buildings, foundations): 10 to 25 feet
- Driveways and parking areas: 10 feet or more
- Surface water (streams, ponds): 25 to 100 feet
- Fuel storage tanks: 50 to 100 feet
When you’re working on the site plan, plot the well location alongside the septic layout, building footprint, driveway, and any other site features. On a tight rural lot, it can be a puzzle to make everything fit. If you’ve already been through a soil testing process for the septic design, you’ll have data that helps inform both the septic and well placement.
The well location also needs to work for the driller’s equipment. The rig needs a relatively flat area to set up, with enough overhead clearance (no trees or power lines directly above), and a path wide enough to get the truck in and out. If the best spot geologically is at the bottom of a steep hill with no access road, you’ve got a problem.
Talk to your well driller during site planning, not after. They’ll walk the property with you and help identify the best location based on geology, access, and setback requirements. A good driller is worth their weight in gold at this stage.
Read real contractor reviews and see why Projul carries a 9.8/10 on G2.
One last consideration: think about the water line run from the well to the house. The shorter and more direct, the better. Long runs mean more trenching, more pipe, more cost, and more potential for issues down the road. Keep the well reasonably close to where it connects to the plumbing rough-in, and you’ll save yourself headaches later.
Permits, Regulations, and Water Testing
Well drilling is regulated in every state, but the specific rules vary widely. In some states, the permitting process is straightforward. In others, it’s a multi-step ordeal that can take weeks. Either way, it’s your job as the GC to make sure permits are in hand before the driller shows up.
Here’s what the permit process typically looks like:
- Application: Submit a well permit application to the local health department or state water resources agency. The application usually requires a site plan showing the proposed well location and setback distances.
- Review: The agency reviews the application, checks setbacks, and may require additional documentation. Some jurisdictions require a hydrogeological assessment for properties in sensitive areas.
- Approval: Once approved, you’ll receive a well permit. This is separate from your building permit, and your general construction permits won’t cover well work.
- Inspection: After drilling, most jurisdictions require an inspection. The driller submits a well completion report documenting the depth, casing, geology encountered, and yield test results.
- Water quality testing: Before the well can be used for domestic supply, water samples must be tested for bacteria, nitrates, and sometimes other contaminants. Testing requirements vary by state.
The permitting timeline is the part that catches people off guard. Don’t assume it’s a quick turnaround. In busy jurisdictions, permit review can take two to four weeks. Factor that into your preconstruction timeline.
Water quality testing is another potential schedule hit. After the well is drilled, you’ll collect samples and send them to a certified lab. Results can take one to two weeks. If the water fails the initial test (bacteria is the most common issue), you’ll need to chlorinate the well and retest, which adds another week or two.
Smart GCs handle well permitting as part of their overall permit strategy. If you’re already managing building permits, septic permits, and grading permits for a rural project, add the well permit to the list and process them in parallel. This is exactly the kind of multi-permit coordination where having your land development plan dialed in pays off.
Costs, Contracts, and Managing the Budget
Well drilling costs are notoriously hard to pin down before you actually drill. The biggest variable is depth, and nobody knows exactly how deep you’ll need to go until the drill bit is turning. That said, you can build a realistic budget if you understand the cost components.
Here’s how well drilling costs typically break down:
Drilling: This is charged per foot, usually somewhere between $25 and $65 depending on your region and the geology. Hard rock drilling costs more than drilling through sand and gravel. A 200-foot well at $40 per foot is $8,000 just for the drilling.
Casing: Steel or PVC casing is installed in the borehole. Cost depends on diameter and material, but figure $10 to $25 per foot installed.
Well pump: A submersible pump runs $800 to $2,500 depending on the depth and required capacity. Deeper wells need more powerful (and more expensive) pumps.
Pressure tank and controls: The pressure tank, pressure switch, and control box typically run $500 to $1,500.
Piping and trenching: Running the water line from the well to the building includes trenching, pipe, fittings, and backfill. Depending on the distance and depth of frost line, figure $1,000 to $3,000.
Water testing: Lab fees for required water quality testing are usually $100 to $300.
Permits: Well permit fees vary, typically $50 to $500 depending on jurisdiction.
Total range for a typical residential well: $5,000 to $25,000, with most falling in the $8,000 to $15,000 range.
The biggest risk in your budget is hitting unexpected conditions. Maybe the first location is a dry hole and you need to move. Maybe you hit a layer of unstable formation that requires extra casing. Maybe the well needs to go 100 feet deeper than expected. Each of these scenarios can add $3,000 to $10,000 to the cost.
When you’re putting together your estimate, carry a contingency of 20 to 30 percent on the well scope. If you’re working in an area where geology is unpredictable, bump that higher. It’s much better to have contingency you don’t need than to eat an overrun because you carried a tight number.
On the contract side, make sure your agreement with the well driller is clear about what’s included and what triggers additional cost. Key items to address:
- Per-foot rate and what it covers (drilling, casing, grout seal)
- Maximum depth before requiring authorization for additional drilling
- Yield guarantee or minimum acceptable flow rate
- Dry hole provisions (who pays if the first attempt produces nothing)
- Mobilization and demobilization fees
- Pump, tank, and piping (some drillers include this, others don’t)
Get all of this in writing before the rig rolls onto your site. Verbal agreements with well drillers lead to the same arguments they lead to with every other sub.
Putting It All Together: Coordinating Well Drilling With the Rest of the Build
Well drilling doesn’t happen in a vacuum. It connects to your site work, your plumbing, your electrical, and your schedule. The GCs who handle rural builds well are the ones who treat the well as an integrated part of the project, not an afterthought.
Here’s a practical coordination checklist:
During preconstruction:
- Research local geology and typical well depths for the area
- Get quotes from two or three licensed well drillers
- Include well costs with appropriate contingency in your estimate
- Apply for the well permit alongside other project permits
- Lock in a driller and get on their schedule
During site work:
- Confirm well location with the driller, surveyor, and septic designer
- Ensure site access for the drill rig is clear and stable
- Schedule drilling after clearing and rough grading
- Coordinate with your grading sub so the rig access doesn’t destroy finished grades
- Have the electrician plan for a 240V circuit to the well location
After drilling:
- Collect water samples and submit for testing
- Schedule the well inspection with the permitting agency
- Coordinate trenching for the water line from well to building
- Connect the pressure tank and plumbing system
- Test the full system before closing up walls
Ongoing:
- Keep the well completion report in your project file
- Make sure the homeowner gets the water test results and well specs
- Document the well location on the as-built survey
The biggest mistake I see GCs make is treating the well as someone else’s problem. Yes, the driller does the actual work. But the coordination, the scheduling, the permitting, and the integration with every other scope on the job? That’s on you.
Rural builds have enough variables without adding a poorly coordinated well to the mix. Do the homework upfront, get the right people involved early, and build enough buffer into your schedule and budget to handle surprises. That’s the difference between a well project that runs smooth and one that puts your whole job behind.
If you’re managing rural projects and want to keep every moving piece in one place, take a look at how Projul handles scheduling and coordination. When you’ve got a well driller, a septic installer, a grading sub, and a concrete crew all trying to work on the same dirt at the same time, having a clear schedule that everyone can see is the only way to keep it together.
Curious how this looks in practice? Schedule a demo and we will show you.
Managing rural construction projects means juggling scopes that suburban builders never deal with. Wells, septic systems, long utility runs, and unpredictable site conditions are all part of the job. The GCs who thrive on these projects are the ones who plan ahead, build in contingency, and coordinate every trade like it matters. Because on a rural build, it all matters.
Frequently Asked Questions
When should well drilling happen in the construction schedule?
How much does it cost to drill a residential water well?
What permits are needed for well drilling?
Who is responsible for well drilling on a new construction project?
What happens if the well doesn't produce enough water?
Related Articles

Construction Septic System Installation: What Every GC Needs to Know
Septic systems on rural builds bring unique scheduling, permitting, and soil challenges that can wreck your timeline if...
Read More →
Construction Painting Project Management: Coordinating Interior and Exterior Phases
Painting is one of those trades that touches every other trade on the schedule. Get the sequencing wrong, and you're...
Read More →
Epoxy Flooring and Industrial Coatings: A Contractor's Complete Guide
Epoxy flooring and industrial coatings are high-margin work when you get the process right and a fast way to lose money...
Read More →