Crane Foundation & Mat Design Guide for Contractors | Projul

If you have spent any time around high-rise or heavy commercial construction, you know that the tower crane is the heartbeat of the project. It goes up early, it runs all day, and every trade on site depends on it. But before that crane can lift a single beam, it needs a foundation that can handle enormous loads, resist overturning forces, and stay stable through months or years of continuous operation.
Getting the crane foundation wrong is not a minor problem. A foundation failure can tip a crane, delay a project by months, trigger lawsuits, and put lives at risk. And yet, crane foundations are one of the most commonly rushed and under-planned elements on a jobsite. Contractors treat them as a box to check instead of the engineered system they actually are.
This guide covers everything you need to know about crane foundation and mat design, from the soil work that happens before you pour a yard of concrete to the final inspection before the crane crew shows up. Whether you are a GC managing the process, a concrete sub pouring the mat, or a project engineer coordinating the paperwork, this is the information that keeps the project on track and everyone safe.
Understanding Tower Crane Loads and Base Reactions
Before you can design a crane foundation, you need to understand what forces that foundation has to resist. Tower cranes do not just push straight down. They create a complex set of loads that change constantly as the crane swings, picks, and operates in wind.
The crane manufacturer provides a document called the base reaction sheet, sometimes called the foundation loading data. This is the starting point for every crane foundation design. It includes the maximum vertical load (the combined weight of the crane, counterweights, and maximum pick), the maximum horizontal shear at the base, and the overturning moment, which is the big one.
The overturning moment is what makes crane foundations so different from a typical column footing. When a tower crane picks a load at the end of its jib, the combination of the load weight, jib length, and wind forces creates a massive rotational force at the base. The foundation has to resist that force without rocking, sliding, or failing.
Here is a rough sense of scale. A mid-size tower crane with a 200-foot jib might produce base reactions of 800,000 pounds of vertical load and an overturning moment of 15 million foot-pounds. Larger cranes on tall towers can produce overturning moments of 30 million foot-pounds or more. These are not numbers you estimate or guess at. They come directly from the crane manufacturer for the specific crane configuration being used on your project.
There are two main foundation types for tower cranes. A spread footing or mat foundation sits on the ground and relies on its own weight and the soil beneath it to resist overturning. A pile-supported foundation transfers loads through deep foundation elements down to a bearing stratum below the surface. The right choice depends on your soil conditions, and that decision starts with the geotechnical report.
If you are still getting a handle on soil investigation basics, our construction soil testing and geotechnical reports guide breaks down the process in detail.
Soil Bearing Capacity and Geotechnical Requirements
The geotechnical report is the single most important document in crane foundation design. Without it, the structural engineer is designing blind. And “the soil looked pretty solid” is not a geotechnical report.
For crane foundations, the geotech needs to evaluate the soil at the specific location where the crane will sit, not just somewhere on the property. Soil conditions can change dramatically across a site. A boring 50 feet away might show completely different bearing capacity than what exists under your crane pad.
The geotechnical engineer will typically drill one or more borings at the crane location and run lab tests to determine the allowable soil bearing pressure. Most tower crane mat foundations need a minimum bearing capacity in the range of 3,000 to 5,000 pounds per square foot (psf). Some larger cranes on tall towers require 6,000 psf or more.
But bearing capacity is only part of the picture. The geotech also evaluates settlement, which is how much the soil will compress under load over time. Even if the soil can technically support the pressure, excessive settlement can tilt the crane out of plumb, and tower cranes have very tight tolerances for vertical alignment. Most manufacturers allow no more than 1:500 out of plumb, which means less than half an inch of differential settlement across the foundation.
The report should also address groundwater. A high water table can reduce effective soil bearing capacity and create buoyancy issues with the foundation. If the crane pad sits below the water table, the design needs to account for uplift forces and may require dewatering during and after construction.
If the native soil cannot support the crane loads, the options include soil improvement (compaction, grouting, or soil mixing), overexcavation and replacement with engineered fill, or switching to a deep foundation system with driven piles or drilled shafts. Each option has cost and schedule implications, which is why you want the geotech report in hand early, not two weeks before the crane is scheduled to arrive.
For a deeper look at soil testing and what those reports actually tell you, check out our construction soil testing guide.
Mat Foundation Design and Reinforcement Details
Once the structural engineer has the crane base reactions and the geotechnical report, the actual mat design begins. A crane mat foundation is essentially a massive reinforced concrete pad, and every dimension, rebar size, and concrete specification is calculated, not assumed.
The mat footprint is sized so that the maximum soil pressure under the worst-case loading combination stays below the allowable bearing capacity from the geotech report. For a spread mat, the footprint is typically square and ranges from 20 feet by 20 feet for smaller cranes up to 40 feet by 40 feet or larger for heavy-duty tower cranes. The bigger the overturning moment and the lower the soil bearing capacity, the bigger the mat needs to be.
Mat thickness is driven by punching shear at the crane base and by the bending moments across the mat. Typical thicknesses for tower crane mats range from 4 to 8 feet. Yes, feet. These are serious pours. A 30-foot by 30-foot mat that is 6 feet thick contains over 200 cubic yards of concrete. That is a significant placement that needs careful planning for delivery, pumping, vibration, and curing.
Reinforcement in a crane mat is heavy. You will typically see a grid of #8 or #10 rebar at 6-inch to 12-inch spacing in both directions, top and bottom. Some designs call for #11 bars or bundled bars in high-stress zones around the anchor bolt group. The rebar layout is detailed on the engineered drawings, and it is not something the iron workers should be improvising in the field.
Concrete strength requirements are typically 4,000 to 6,000 psi at 28 days, though the engineer may specify early-strength requirements if the crane needs to be erected before the concrete reaches full strength. Cylinder break tests at 3, 7, and 14 days are common so the team can track strength gain and confirm the concrete will hit the target before crane erection begins.
One detail that gets missed more than it should: the top of the mat must be flat and level. The crane base bolts to the foundation through a steel grading frame or base section, and that connection is unforgiving. A mat surface that is out of level by even half an inch across the anchor bolt pattern will cause problems during erection and can stress the base connection during operation.
If you want to brush up on concrete placement fundamentals, our construction concrete basics guide is a solid starting point. And for formwork considerations on a pour this size, see the concrete formwork best practices guide.
Anchor Bolt Design and Embedded Steel
The anchor bolt assembly is the physical connection between the crane and its foundation. Get this wrong and nothing else matters. Anchor bolt failures have caused crane collapses, and the tolerances involved are tighter than most contractors expect.
Tower crane anchor bolts are not the same as the anchor bolts you use for structural steel columns. They are typically 2 to 3 inches in diameter, made from high-strength steel (often ASTM A449 or A354 Grade BD), and embedded 4 to 6 feet into the mat. The bolt group is arranged in a pattern that matches the crane base, usually a square or rectangular layout with 4 to 8 bolts.
The critical dimensions are the bolt circle diameter (the distance across the pattern), the bolt spacing, the embedment depth, and the projection above the mat surface. Every one of these dimensions comes from the crane manufacturer’s installation manual and the structural engineer’s design. The tolerances are typically plus or minus 1/8 inch on bolt location and plus or minus 1/4 inch on the bolt circle diameter. That is not much room for error on a 6-foot-thick concrete pour.
To hold the bolts in position during the pour, the contractor builds a template, usually a steel plate or frame that matches the bolt pattern and is secured to the formwork or rebar cage. The template keeps the bolts plumb and in the correct position while the concrete is placed and vibrated. After the pour, the template stays in place until the concrete has set enough that the bolts will not shift.
Beyond the anchor bolts themselves, many crane foundations include additional embedded steel: bearing plates, shear keys, or a complete embedded grading frame. These elements transfer the crane loads into the concrete and need to be placed exactly per the engineered drawings.
Read real contractor reviews and see why Projul carries a 9.8/10 on G2.
One common mistake is not protecting the anchor bolt threads during the pour. Concrete splatter on the threads can make it impossible to install the nuts during crane erection. Thread protectors or wrapping the exposed threads with tape and plastic is simple insurance that prevents a headache on erection day.
After the pour, the anchor bolts are inspected for position, projection, plumbness, and condition. Any bolt that is out of tolerance needs to be addressed before the crane crew arrives, not while they are standing there with a 500-ton mobile crane waiting to set the tower.
Inspection Requirements and Quality Control
Crane foundations go through multiple inspection checkpoints, and skipping any of them is a recipe for problems. The inspection process involves the general contractor’s quality control team, the structural engineer of record, a third-party testing agency, and in many jurisdictions, the local building department.
Before the pour, the key inspections include subgrade preparation (confirming the soil at the bottom of the excavation matches the geotech assumptions), formwork dimensions and bracing, rebar placement and spacing versus the approved drawings, anchor bolt template position and bolt condition, and any embedded items called for in the design.
The rebar inspection is particularly important. The inspector verifies bar sizes, spacing, lap splice lengths, cover dimensions, and tie wire at intersections. On a crane mat with thousands of pounds of reinforcement, a missed layer or incorrect spacing can compromise the structural capacity of the entire foundation.
During the pour, the testing agency collects concrete cylinders for compressive strength testing and may also test slump, air content, and temperature at the truck. For a mass concrete pour like a thick crane mat, temperature monitoring is critical. The heat generated by cement hydration in a thick pour can cause thermal cracking if not managed. The engineer may specify a thermal control plan that includes low-heat concrete mixes, insulated blankets, or even cooling pipes embedded in the mat.
After the pour and curing, the post-pour inspection confirms that the finished mat dimensions match the drawings, the top surface is level within tolerance, the anchor bolts are in the correct position and undamaged, and the concrete has reached the required compressive strength based on cylinder break results.
The structural engineer of record typically provides a letter confirming that the foundation was built per the approved design and is ready for crane erection. Without this letter, most crane rental companies will not mobilize the erection crew. And if you are working under a building permit, the local inspector will want to see the foundation before the crane goes up.
If inspection processes in general are a weak spot for your team, our construction inspection checklist guide walks through building better QC programs across all trades.
Coordinating with Structural Engineers and the Project Team
Crane foundation work does not happen in a vacuum. It involves the general contractor, the crane rental company, the geotechnical engineer, the structural engineer, the concrete subcontractor, and sometimes the building’s design team. Getting all of these parties aligned is one of the biggest coordination challenges in early-phase construction.
The process typically starts months before the crane arrives on site. The GC selects a crane based on the project’s lifting requirements, and the crane company provides the base reaction data. The GC hires a structural engineer (often separate from the building’s structural engineer) to design the crane foundation using the base reactions and the geotech report. The engineer produces the foundation drawings and specifications, which go through a review and approval process.
Timing matters. The crane foundation design cannot start until the crane is selected, and the crane cannot be selected until the lift plan is developed, and the lift plan cannot be finalized until the building design is far enough along to know what needs to be lifted and where. This chain of dependencies means that any delay in the building design phase can push the crane foundation design, which pushes the crane erection date, which pushes every activity that depends on the crane.
Smart GCs start the crane planning process during preconstruction. They rough out the lift requirements, get preliminary crane selections from vendors, and commission the geotech borings at potential crane locations early. This gives the structural engineer a head start on the foundation design and reduces the risk of schedule surprises.
One coordination item that catches teams off guard is the relationship between the crane foundation and the permanent building. If the crane sits inside the building footprint (which is common on high-rise projects), the crane foundation may need to be integrated with or at least not conflict with the building’s permanent foundation system. This requires close coordination between the crane foundation engineer and the building structural engineer.
Similarly, the crane foundation location affects site logistics: truck access, material laydown, excavation sequencing, and utility routing. The project team needs to plan around the crane pad from day one, because moving a crane foundation after it is poured is not a realistic option.
Communication between all parties should be documented. Requests for information (RFIs), submittals, meeting minutes, and inspection reports all need to be tracked and accessible. If your team is still managing this through email chains and spreadsheets, you are taking unnecessary risk. A purpose-built project management platform keeps everything in one place and makes sure nothing falls through the cracks. Our construction project management software guide can help you find the right fit.
And if coordinating with architects and engineers is a regular pain point, the architect and engineer coordination guide has practical tips for keeping those relationships productive.
Wrapping It Up
Crane foundations are not glamorous work. Nobody takes a photo of a concrete mat and puts it on the company website. But getting this piece right is what makes everything else on the project possible. A well-designed, properly inspected crane foundation keeps the crane running safely, the schedule on track, and your team out of trouble.
The key takeaways are straightforward. Start the planning process early. Get a site-specific geotech report. Hire a qualified structural engineer. Follow the engineered drawings to the letter. Inspect everything before, during, and after the pour. And keep the communication channels open between every party involved.
Curious how this looks in practice? Schedule a demo and we will show you.
If your crane foundation process has been running on tribal knowledge and last-minute scrambles, now is a good time to build a better system. The stakes are too high and the margins too thin to wing it on something this important.
Frequently Asked Questions
What is the typical soil bearing capacity required for a tower crane foundation?
How thick does a crane mat foundation need to be?
Who is responsible for designing a tower crane foundation?
Do crane foundations need to be inspected before the crane is erected?
Can a crane mat foundation be reused for the permanent building foundation?
Related Articles
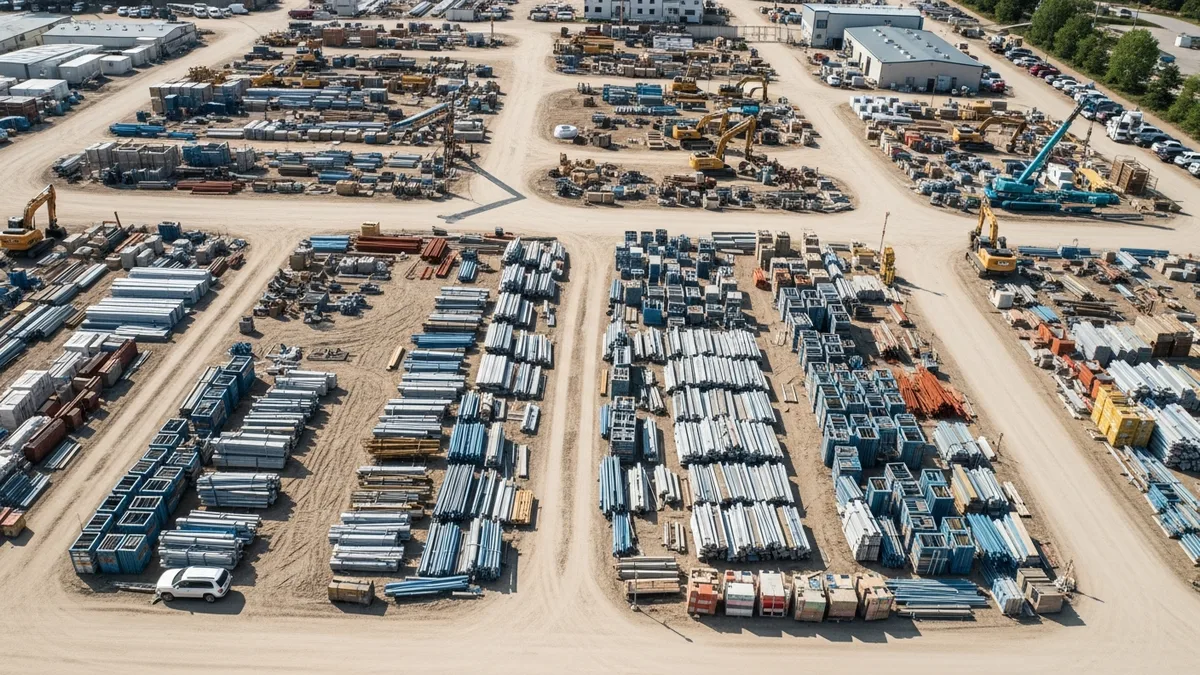
Construction Inventory Management: How to Track Materials Across Multiple Jobsites
How to track materials across multiple jobsites so nothing gets lost, wasted, or double-ordered.
Read More →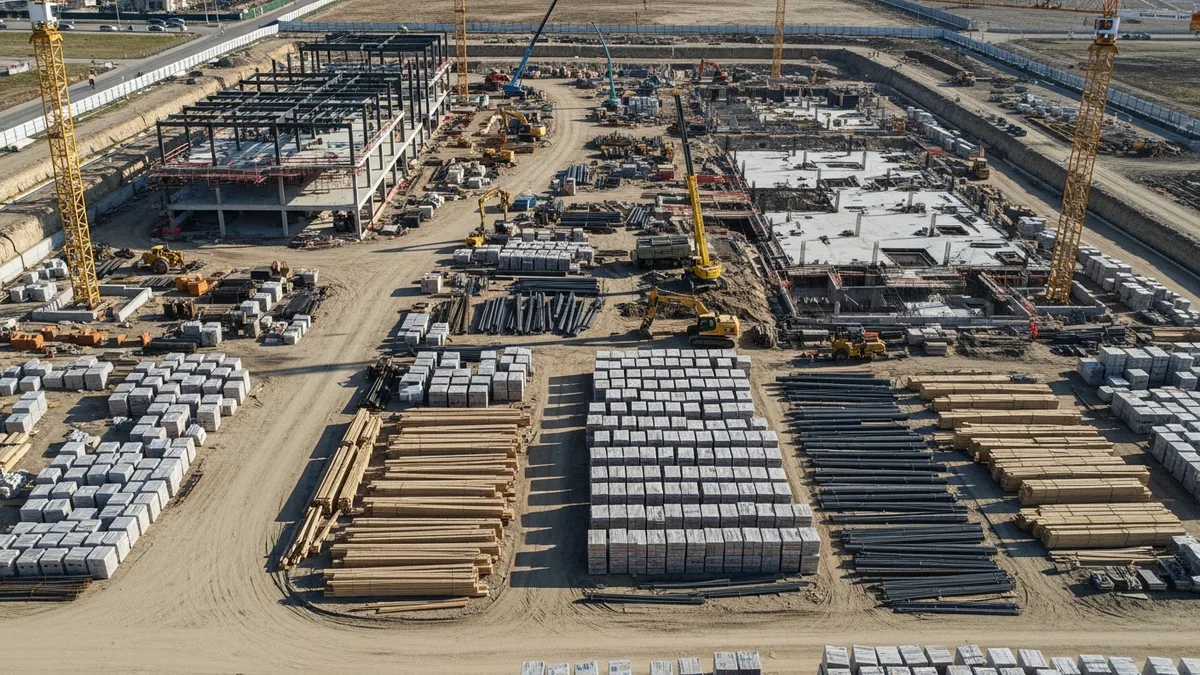
Construction Preconstruction Planning: How to Set Up Every Project for Success
The best contractors win or lose a project before they ever break ground. Preconstruction planning is where you catch...
Read More →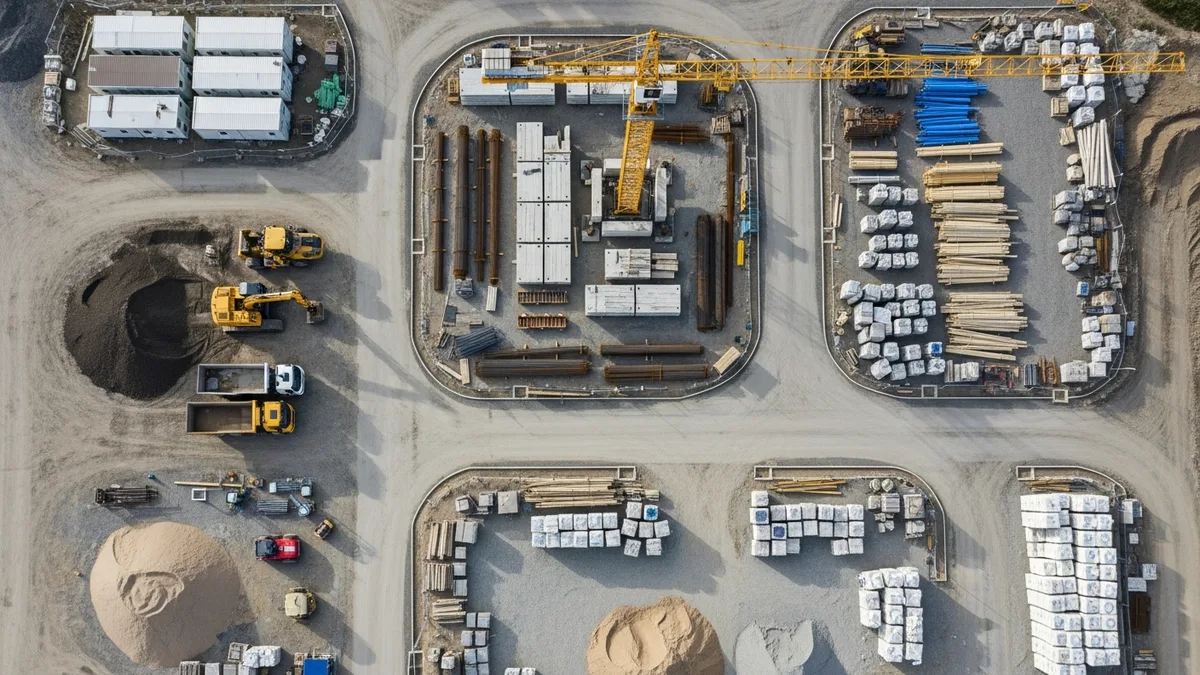
Construction Time Management: How to Stop Wasting Hours Every Week
Where you're losing hours every week and simple systems to get that time back.
Read More →